
I finally cleaned my old desktop. Has been my main gaming rig for quite some time.
This build is really old, it is way back when RGB and Tempered Glass isn’t yet a thing. But this rig has served me well.
Quick specs:
CPU: Intel i5 – 2500k Sandy Bridge Overclocked to 4.6 GHz
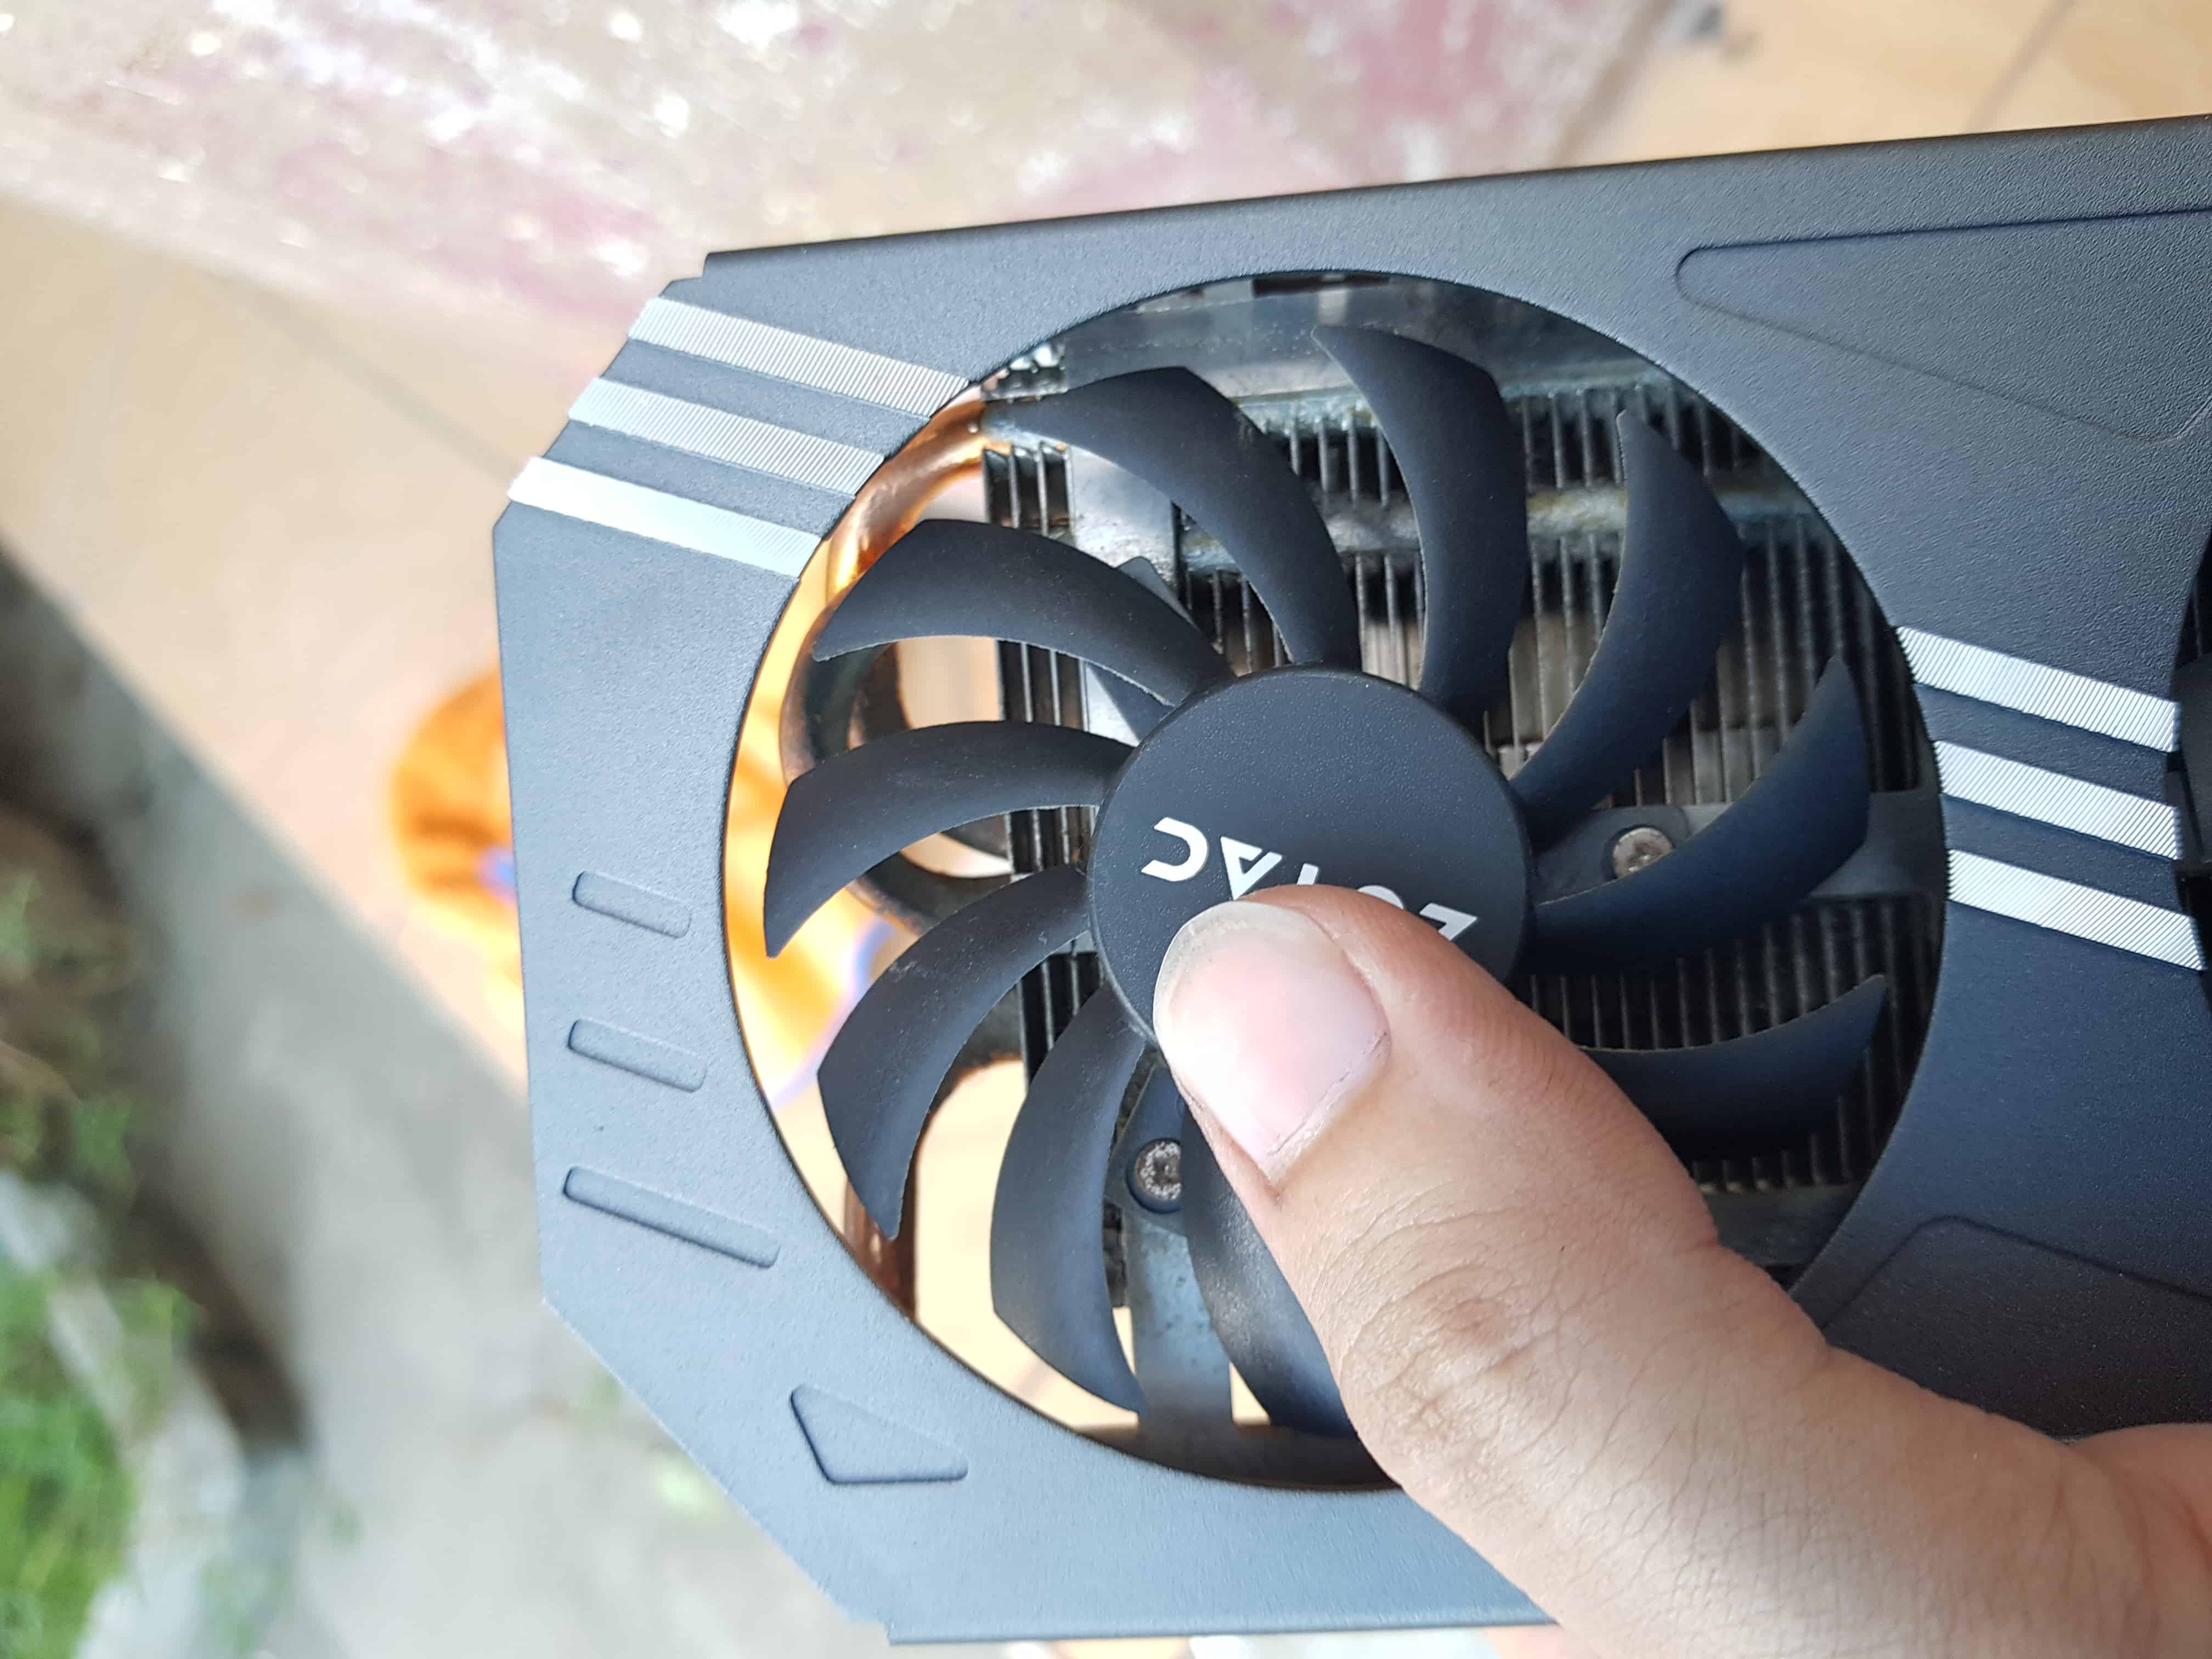
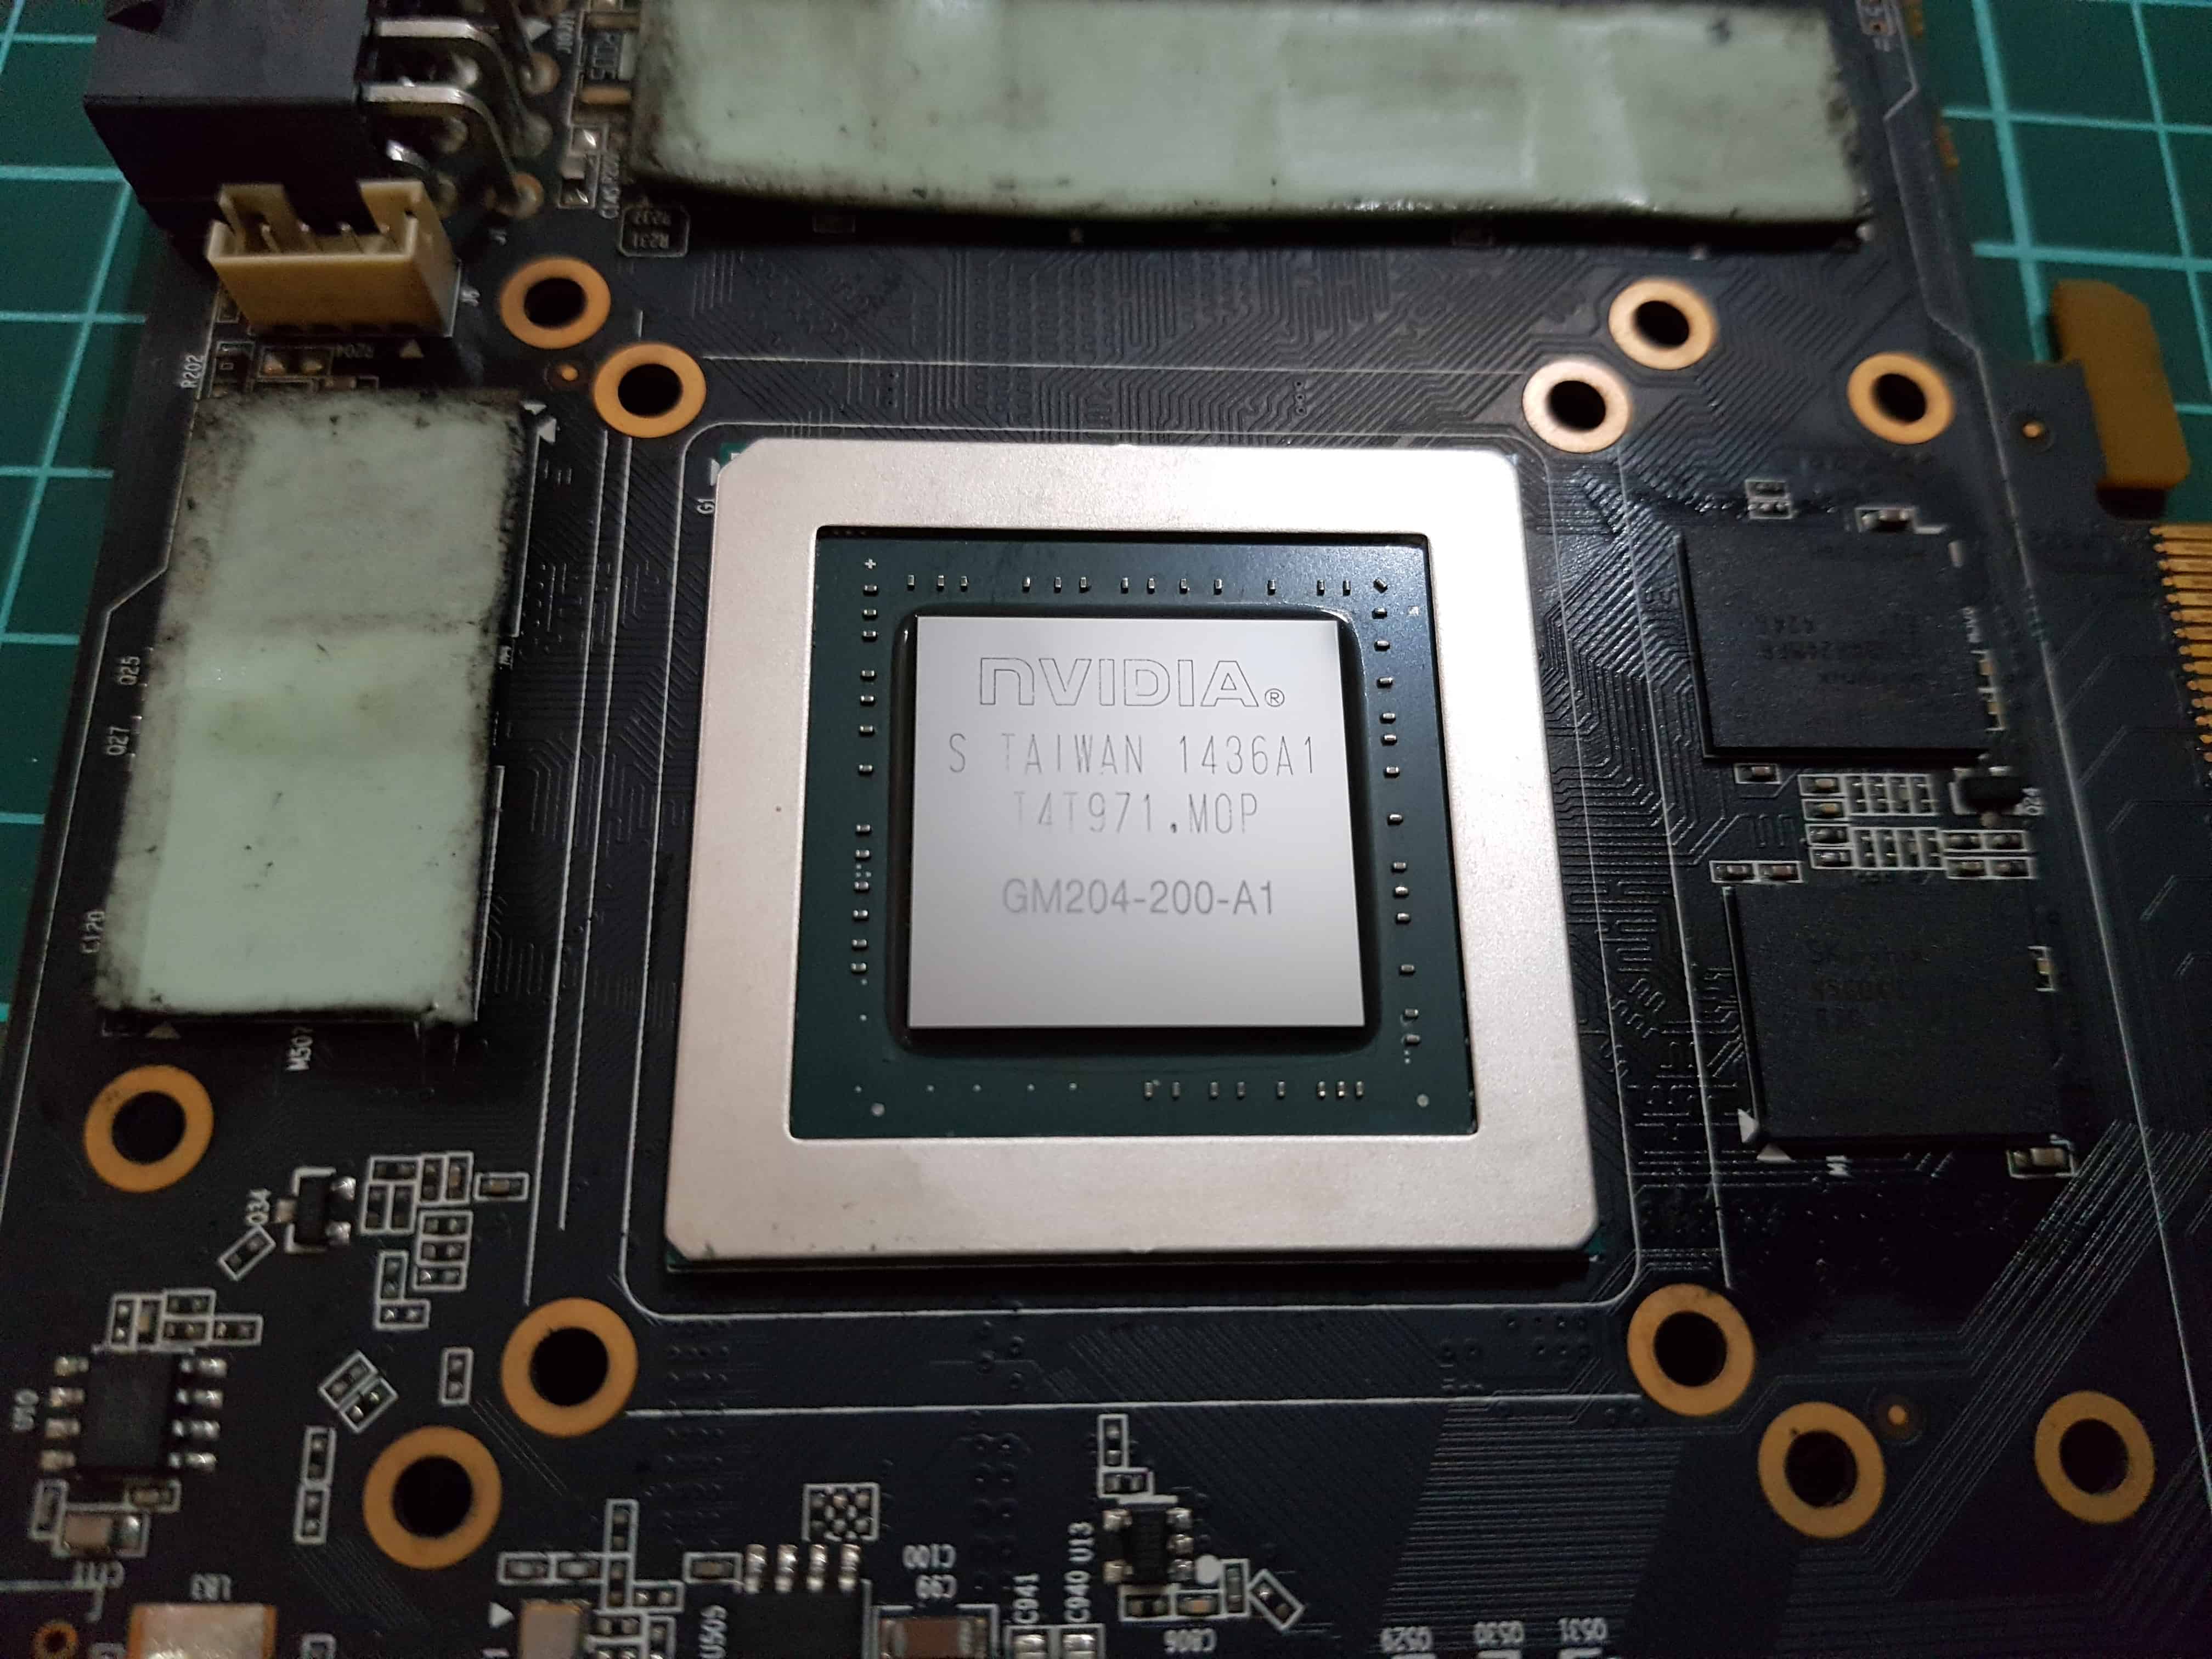
GPU: Zotac GTX 970
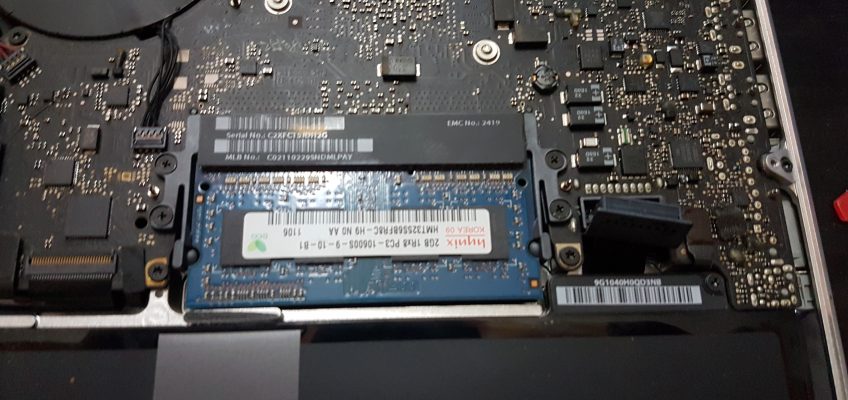
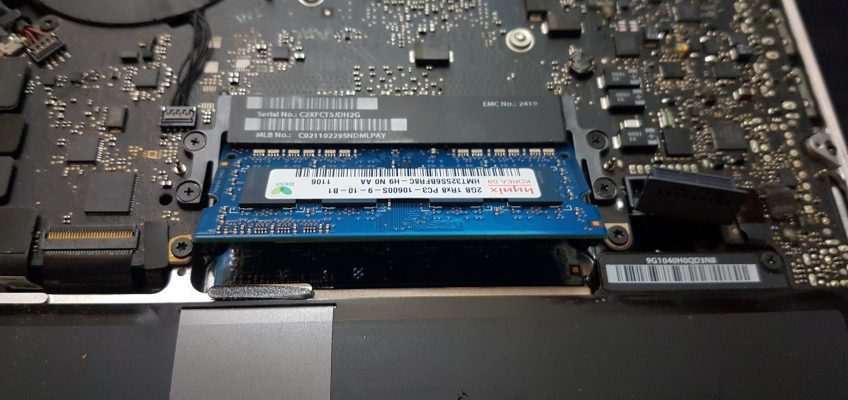
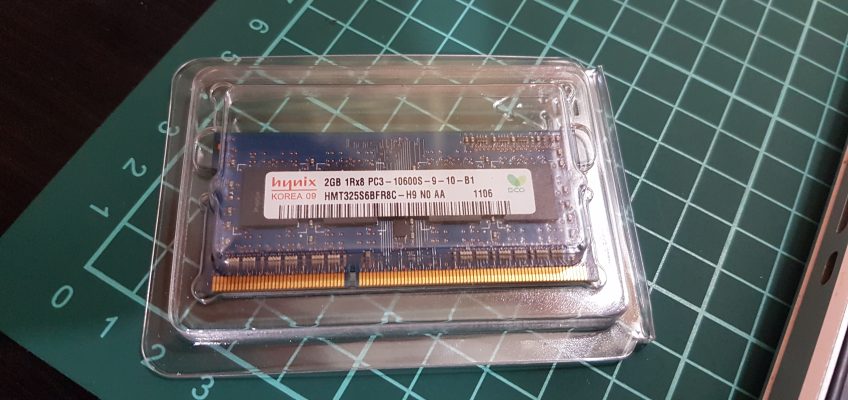
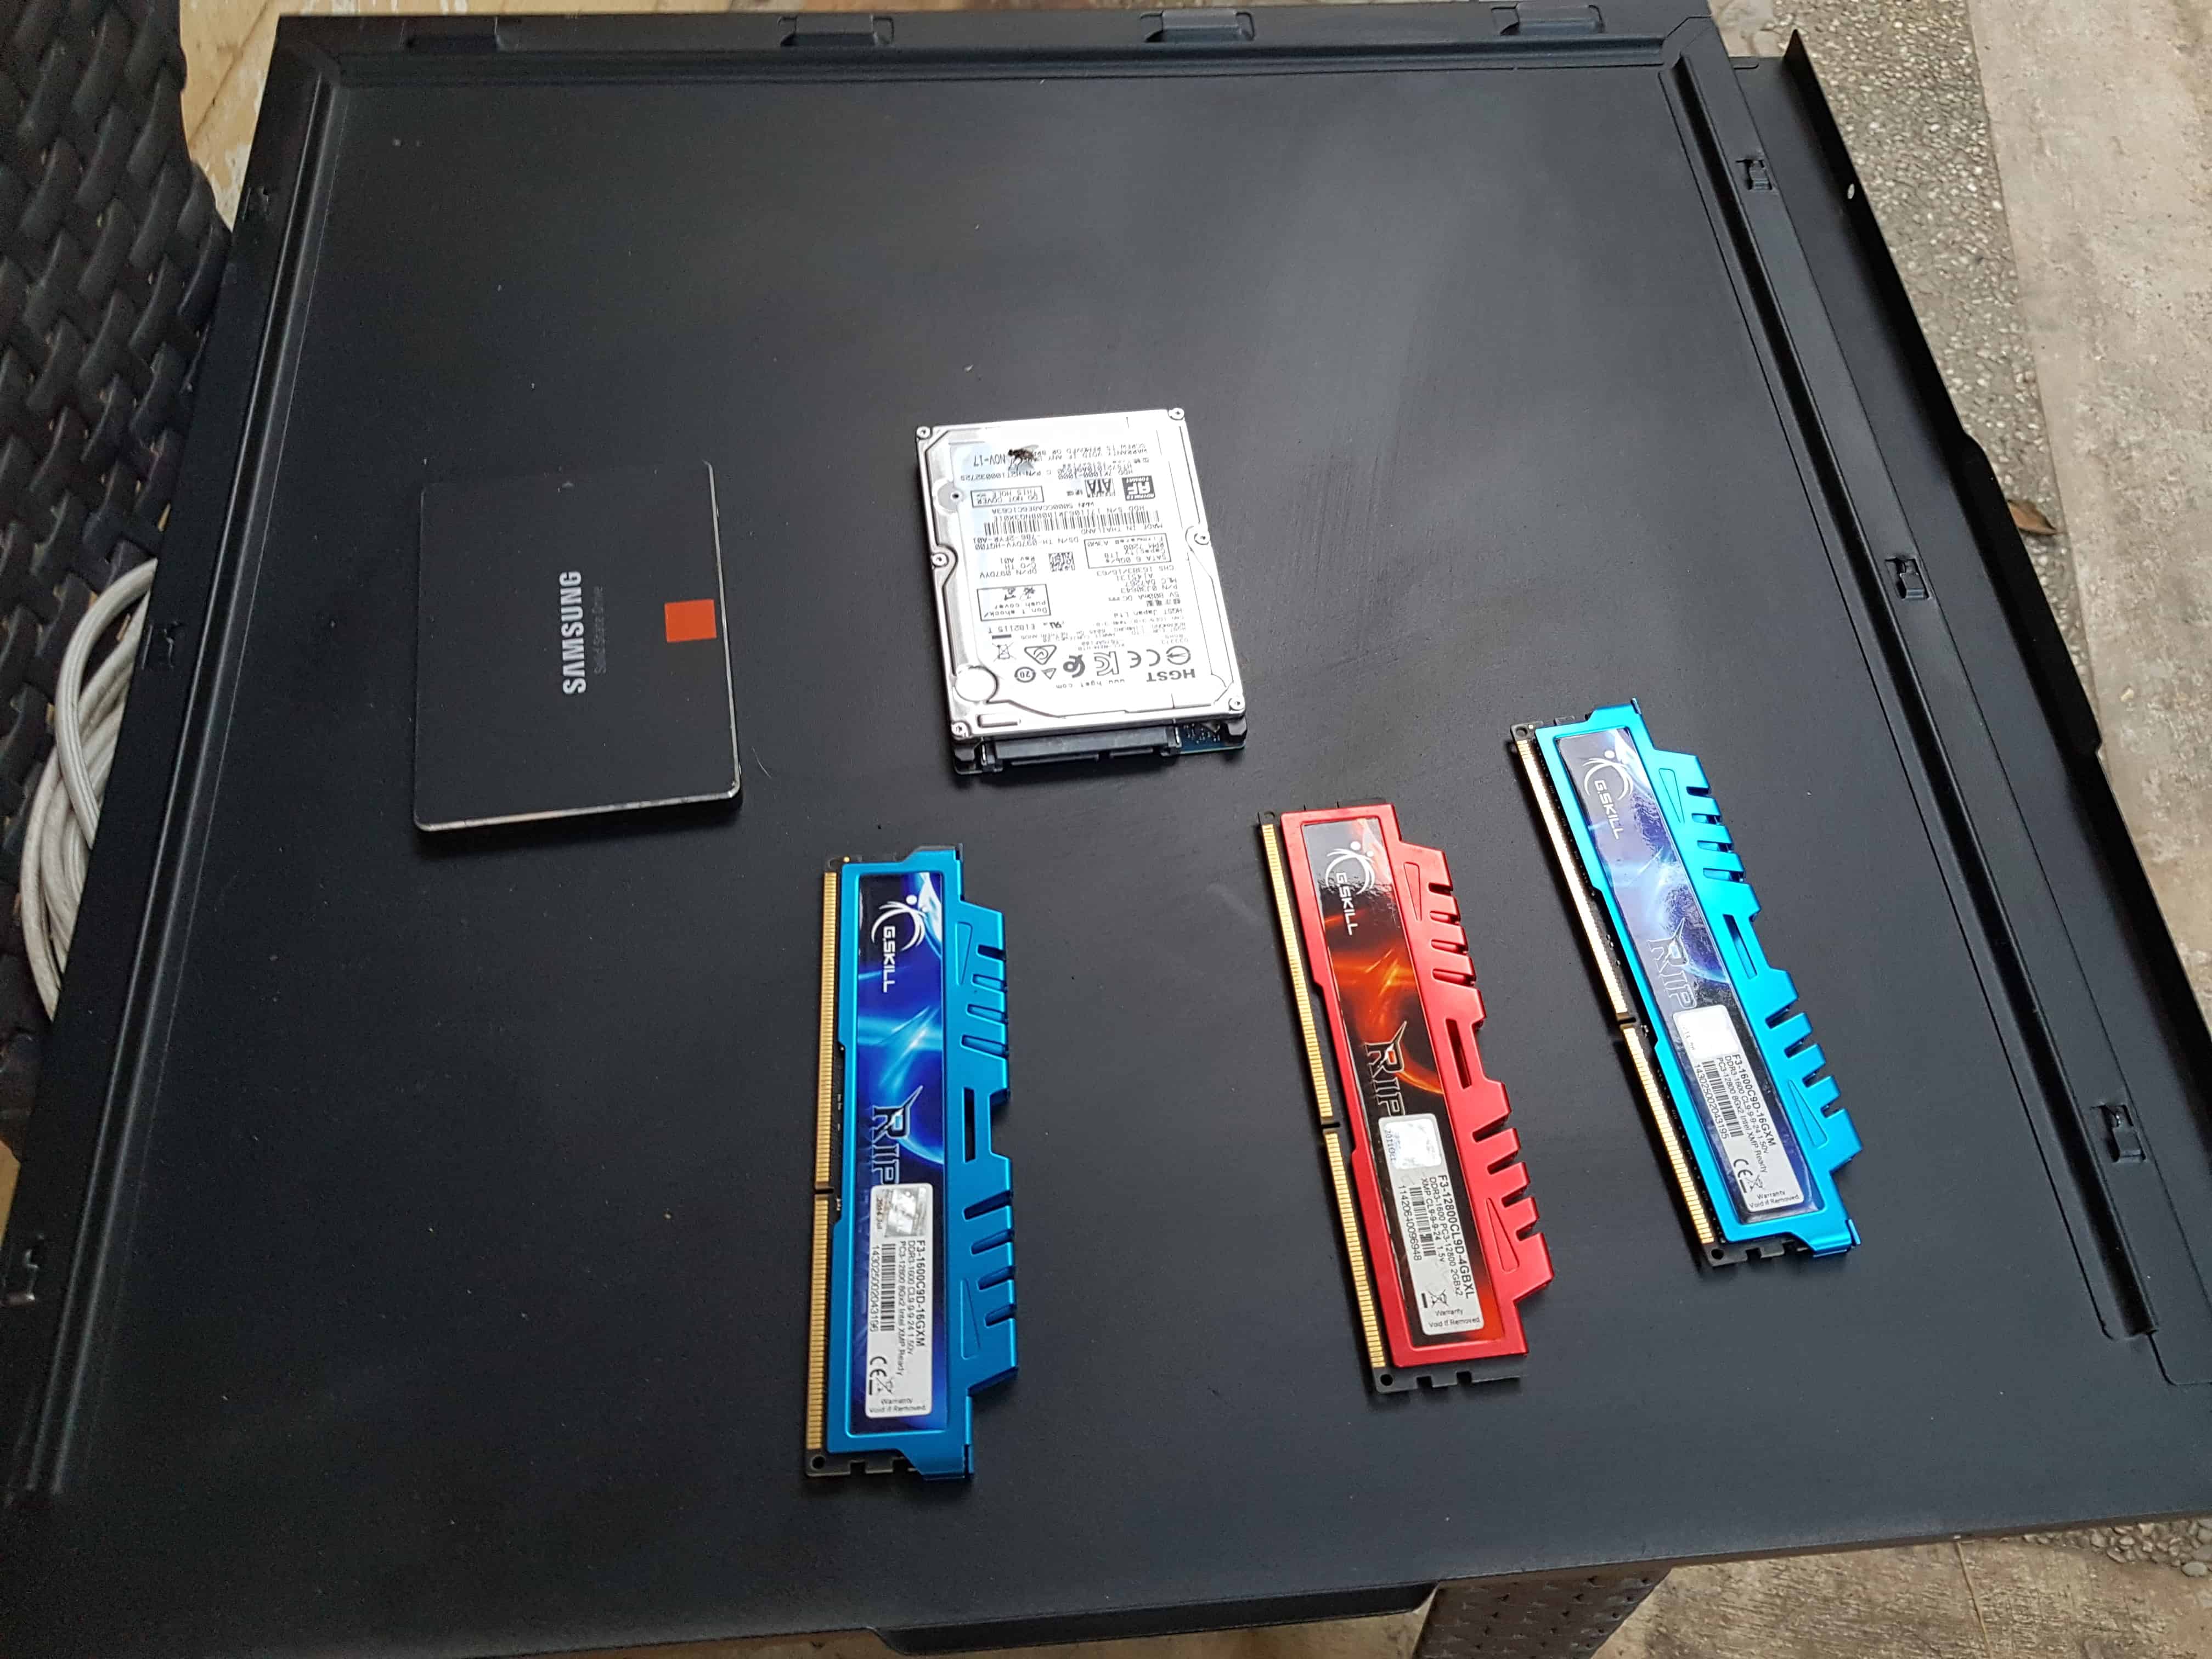
RAM: G. Skill20 GB RAM (8+8+4 one of the slots is broken)
PSU: EVGA 500 Watts
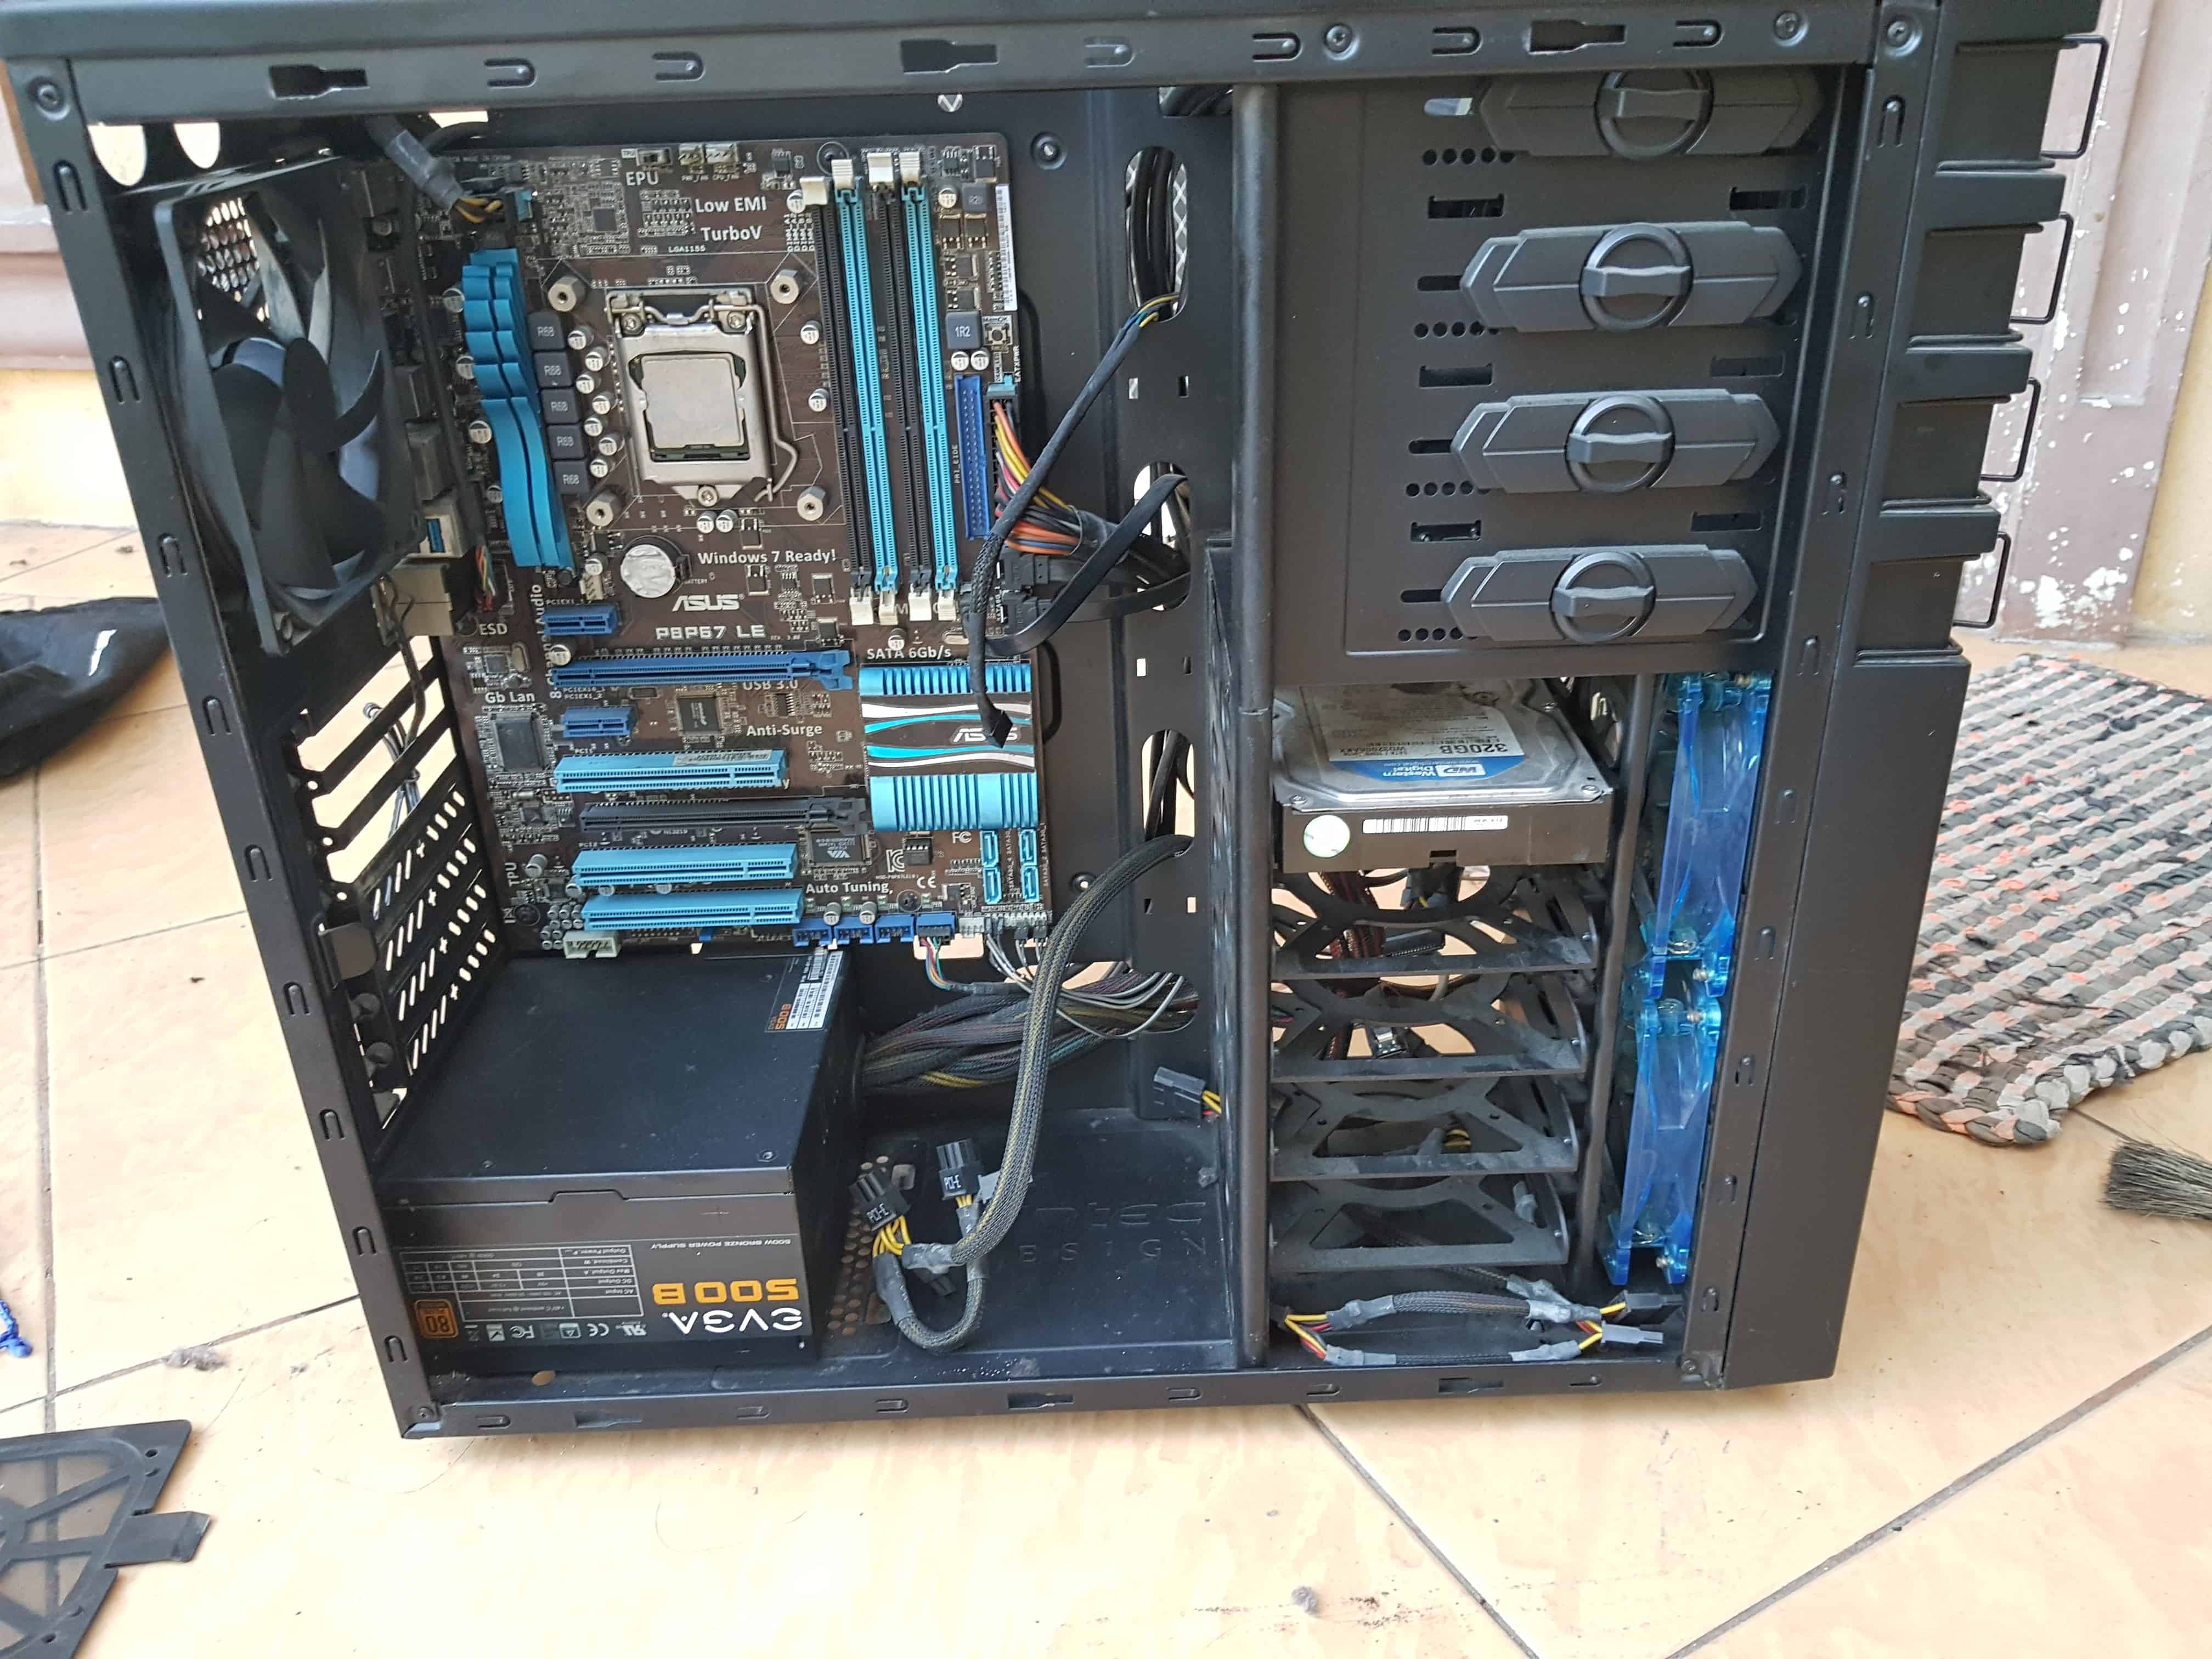
Motherboard: Asus P8P67-LE
Cooling: CoolerMaster Seidon 240M
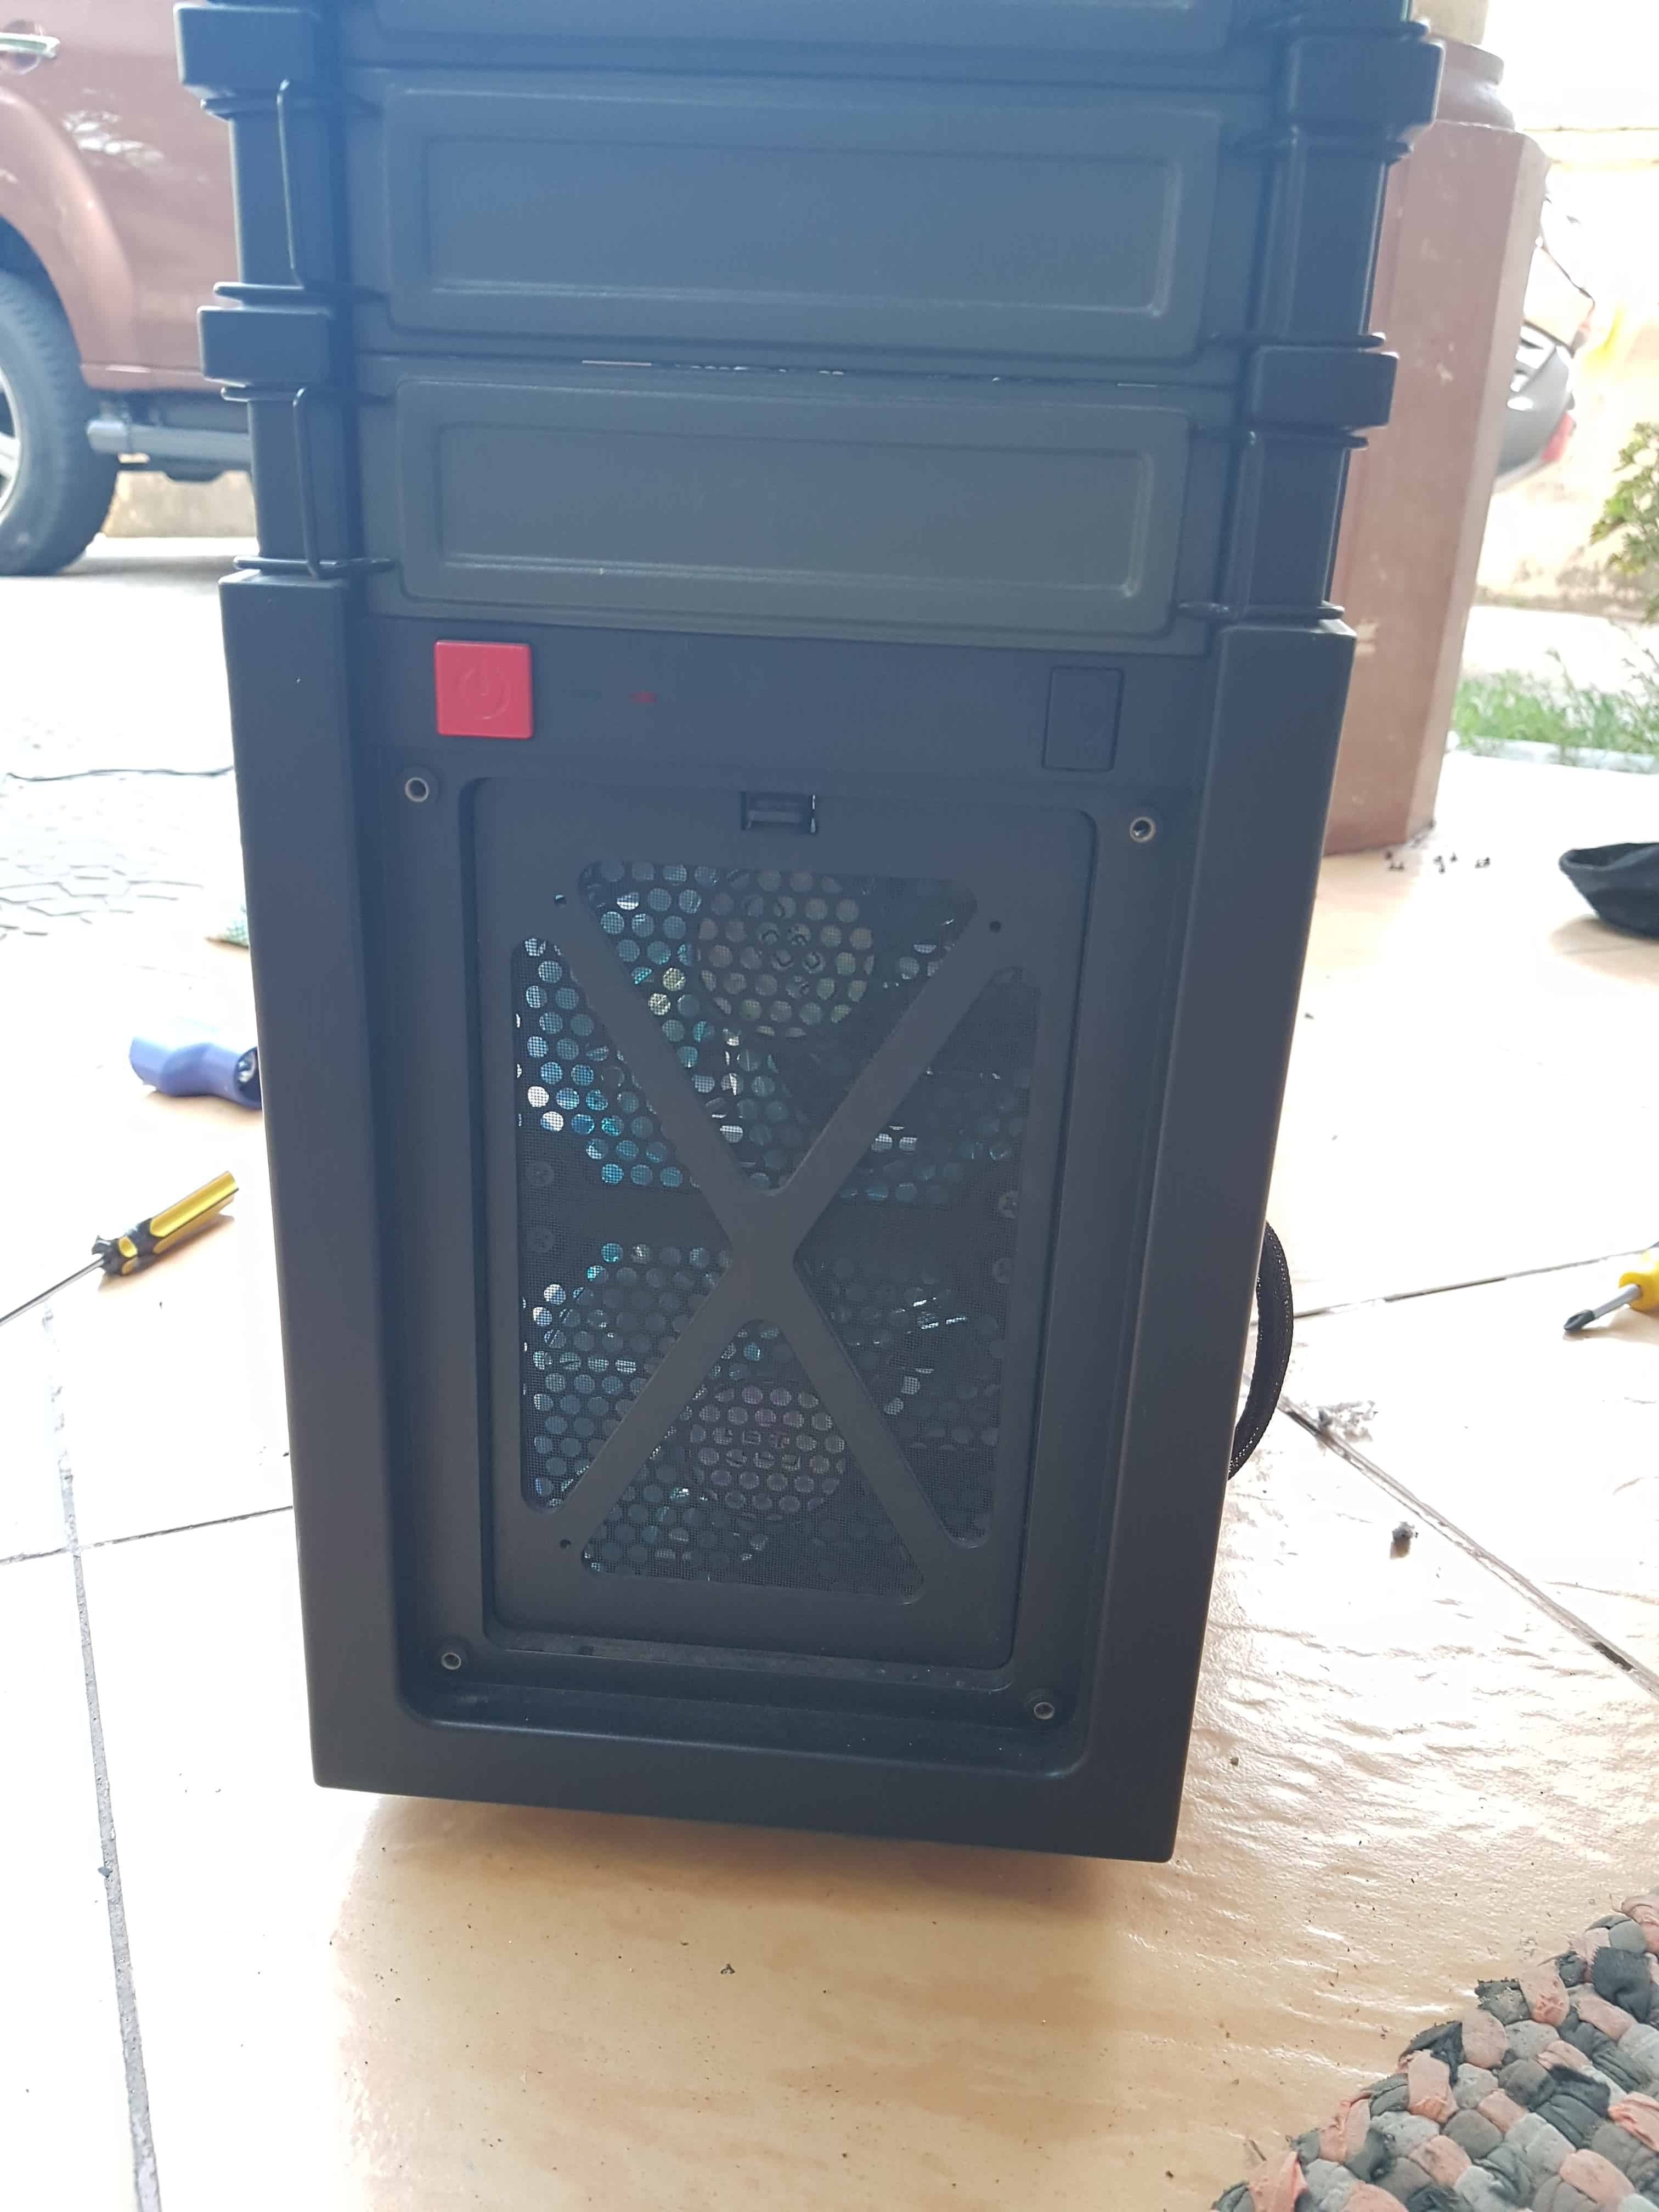
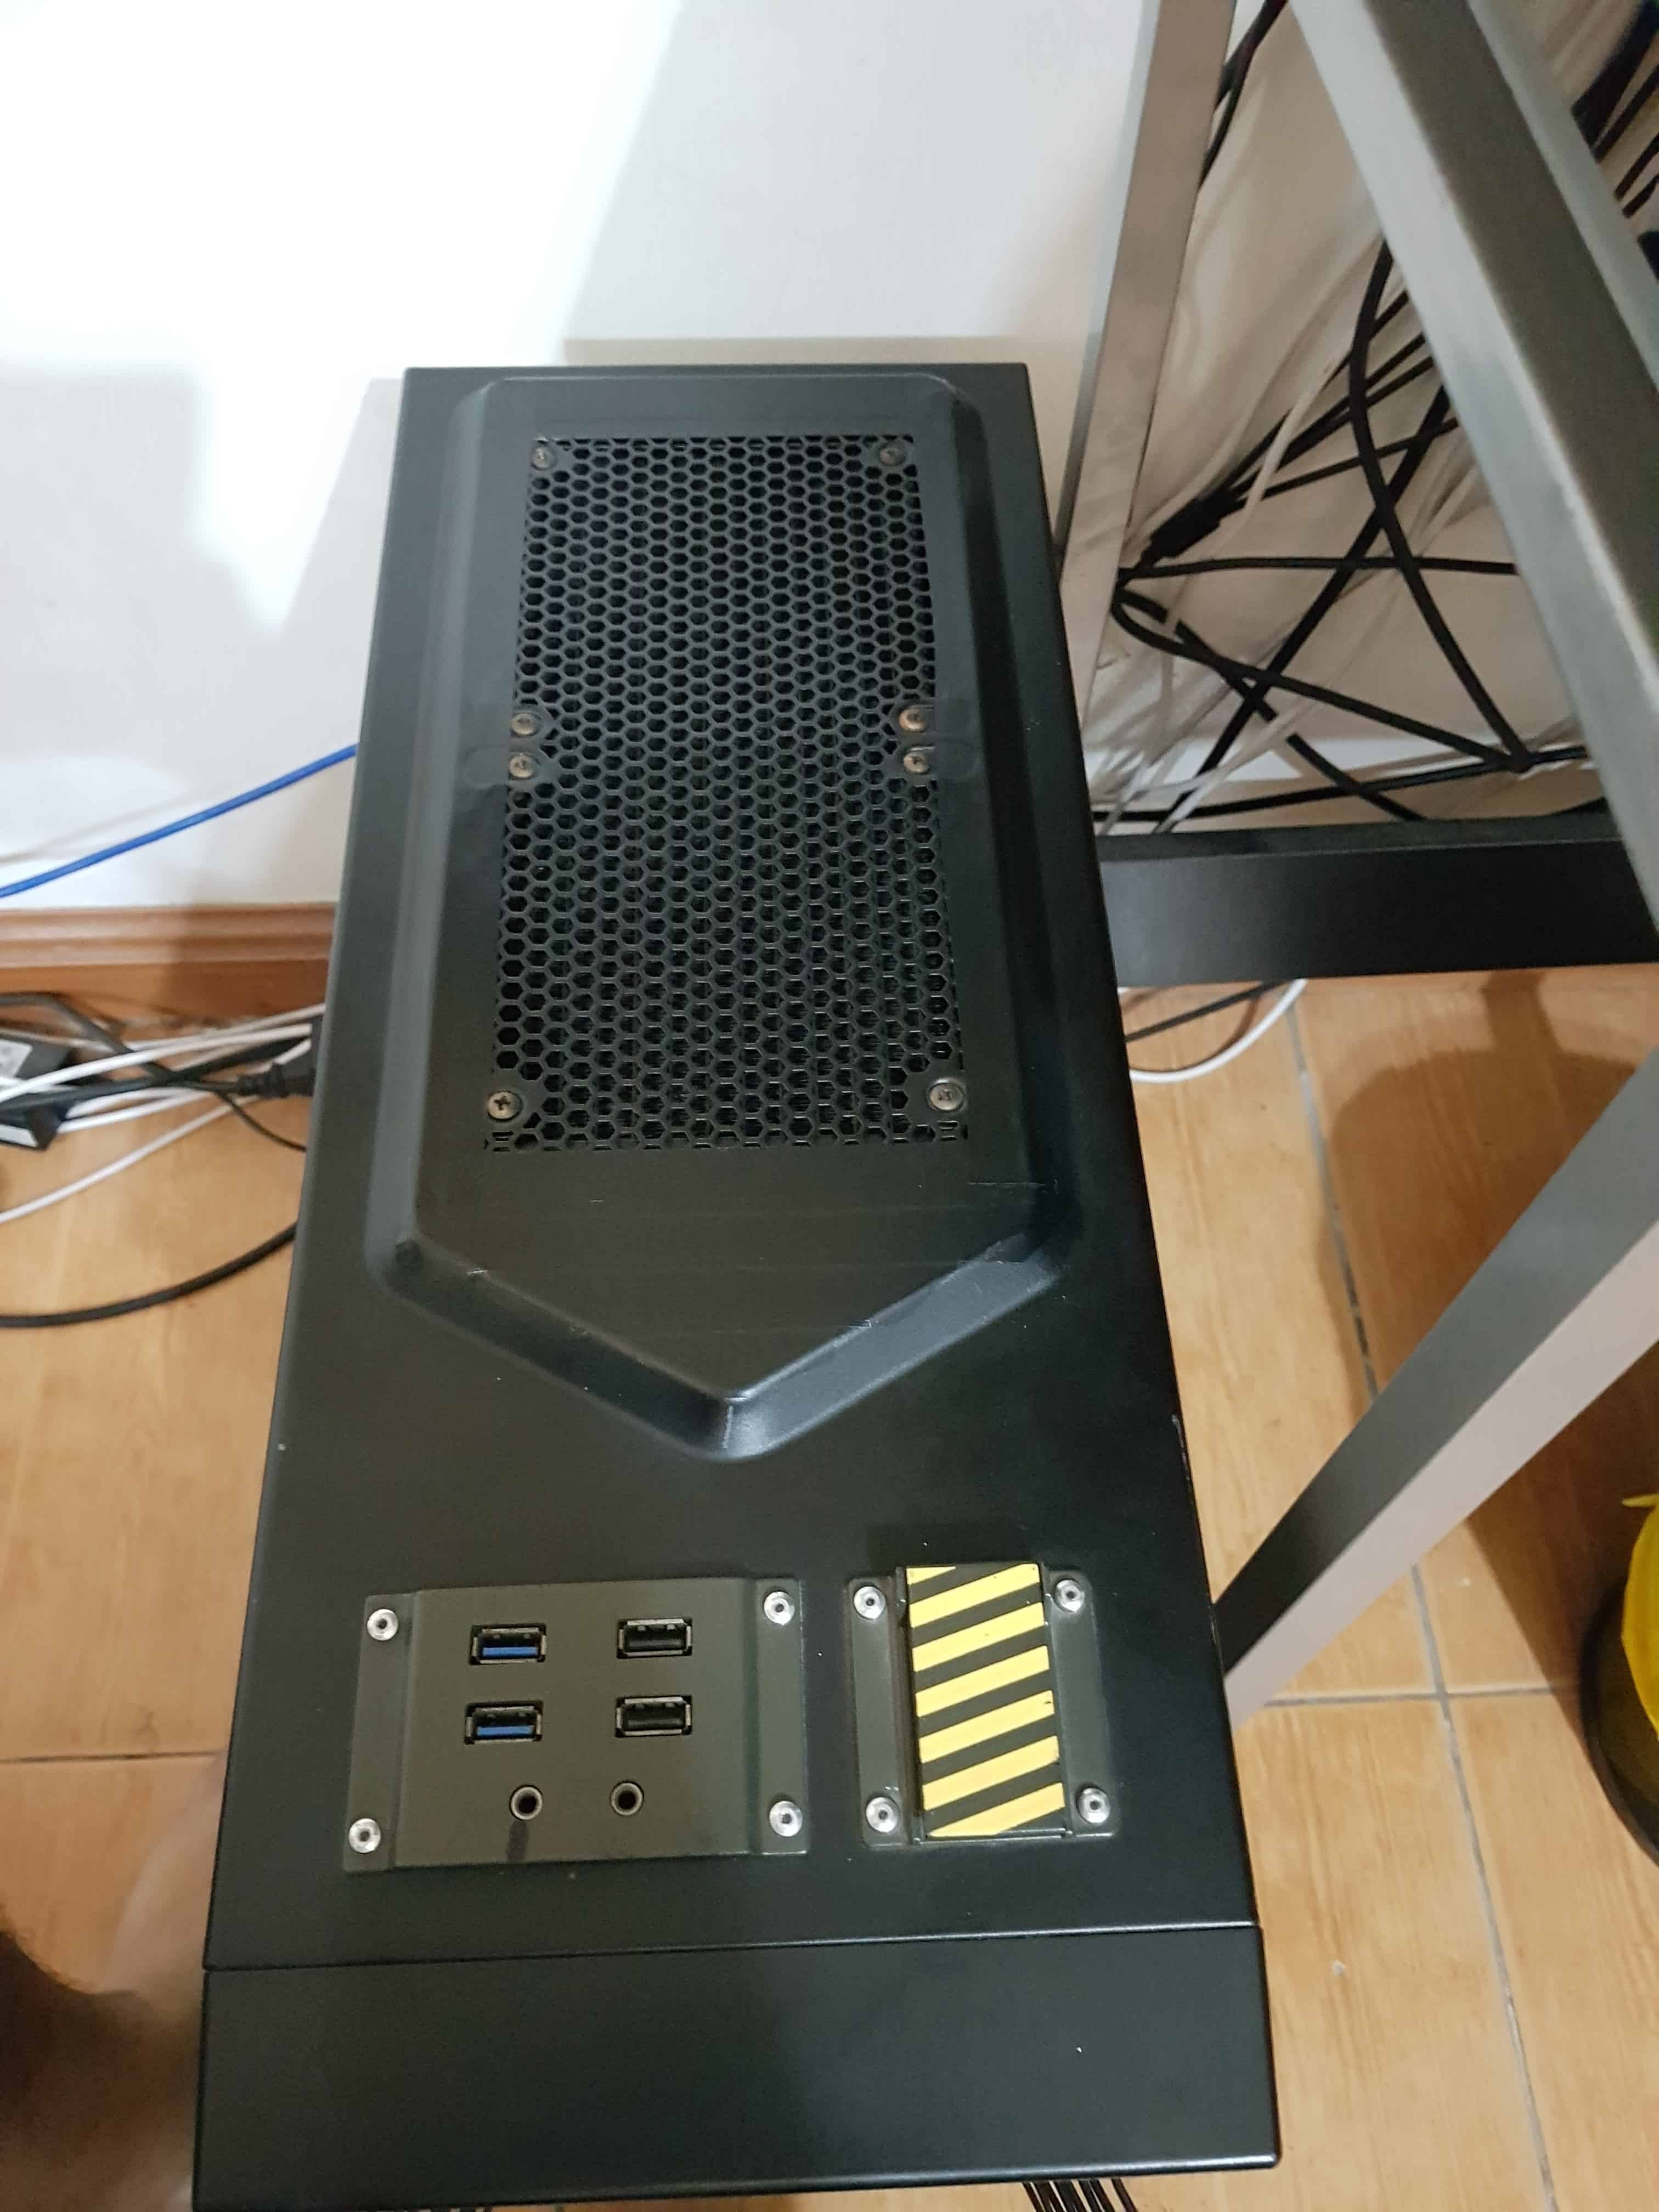
Case: Antec GX700
Has been around 4 years wheen I cleaned this PC up, the last time was when I upgraded the CPU cooler from Hyper 212 to the CM Seidon 240M.
Time for some photos!
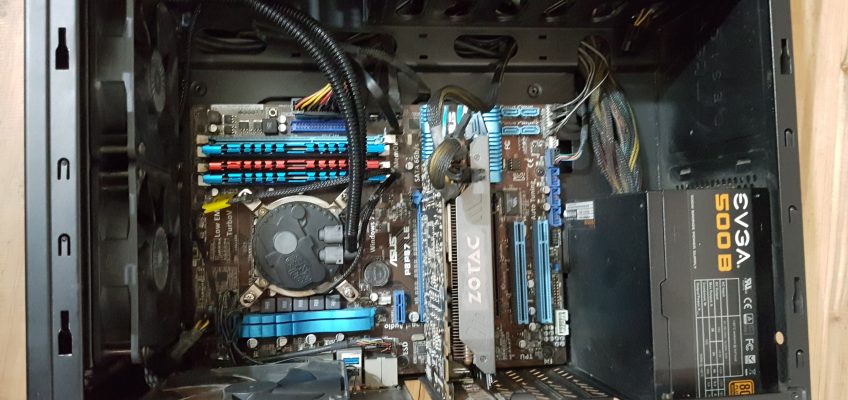
Here’s a photo of before cleaning.
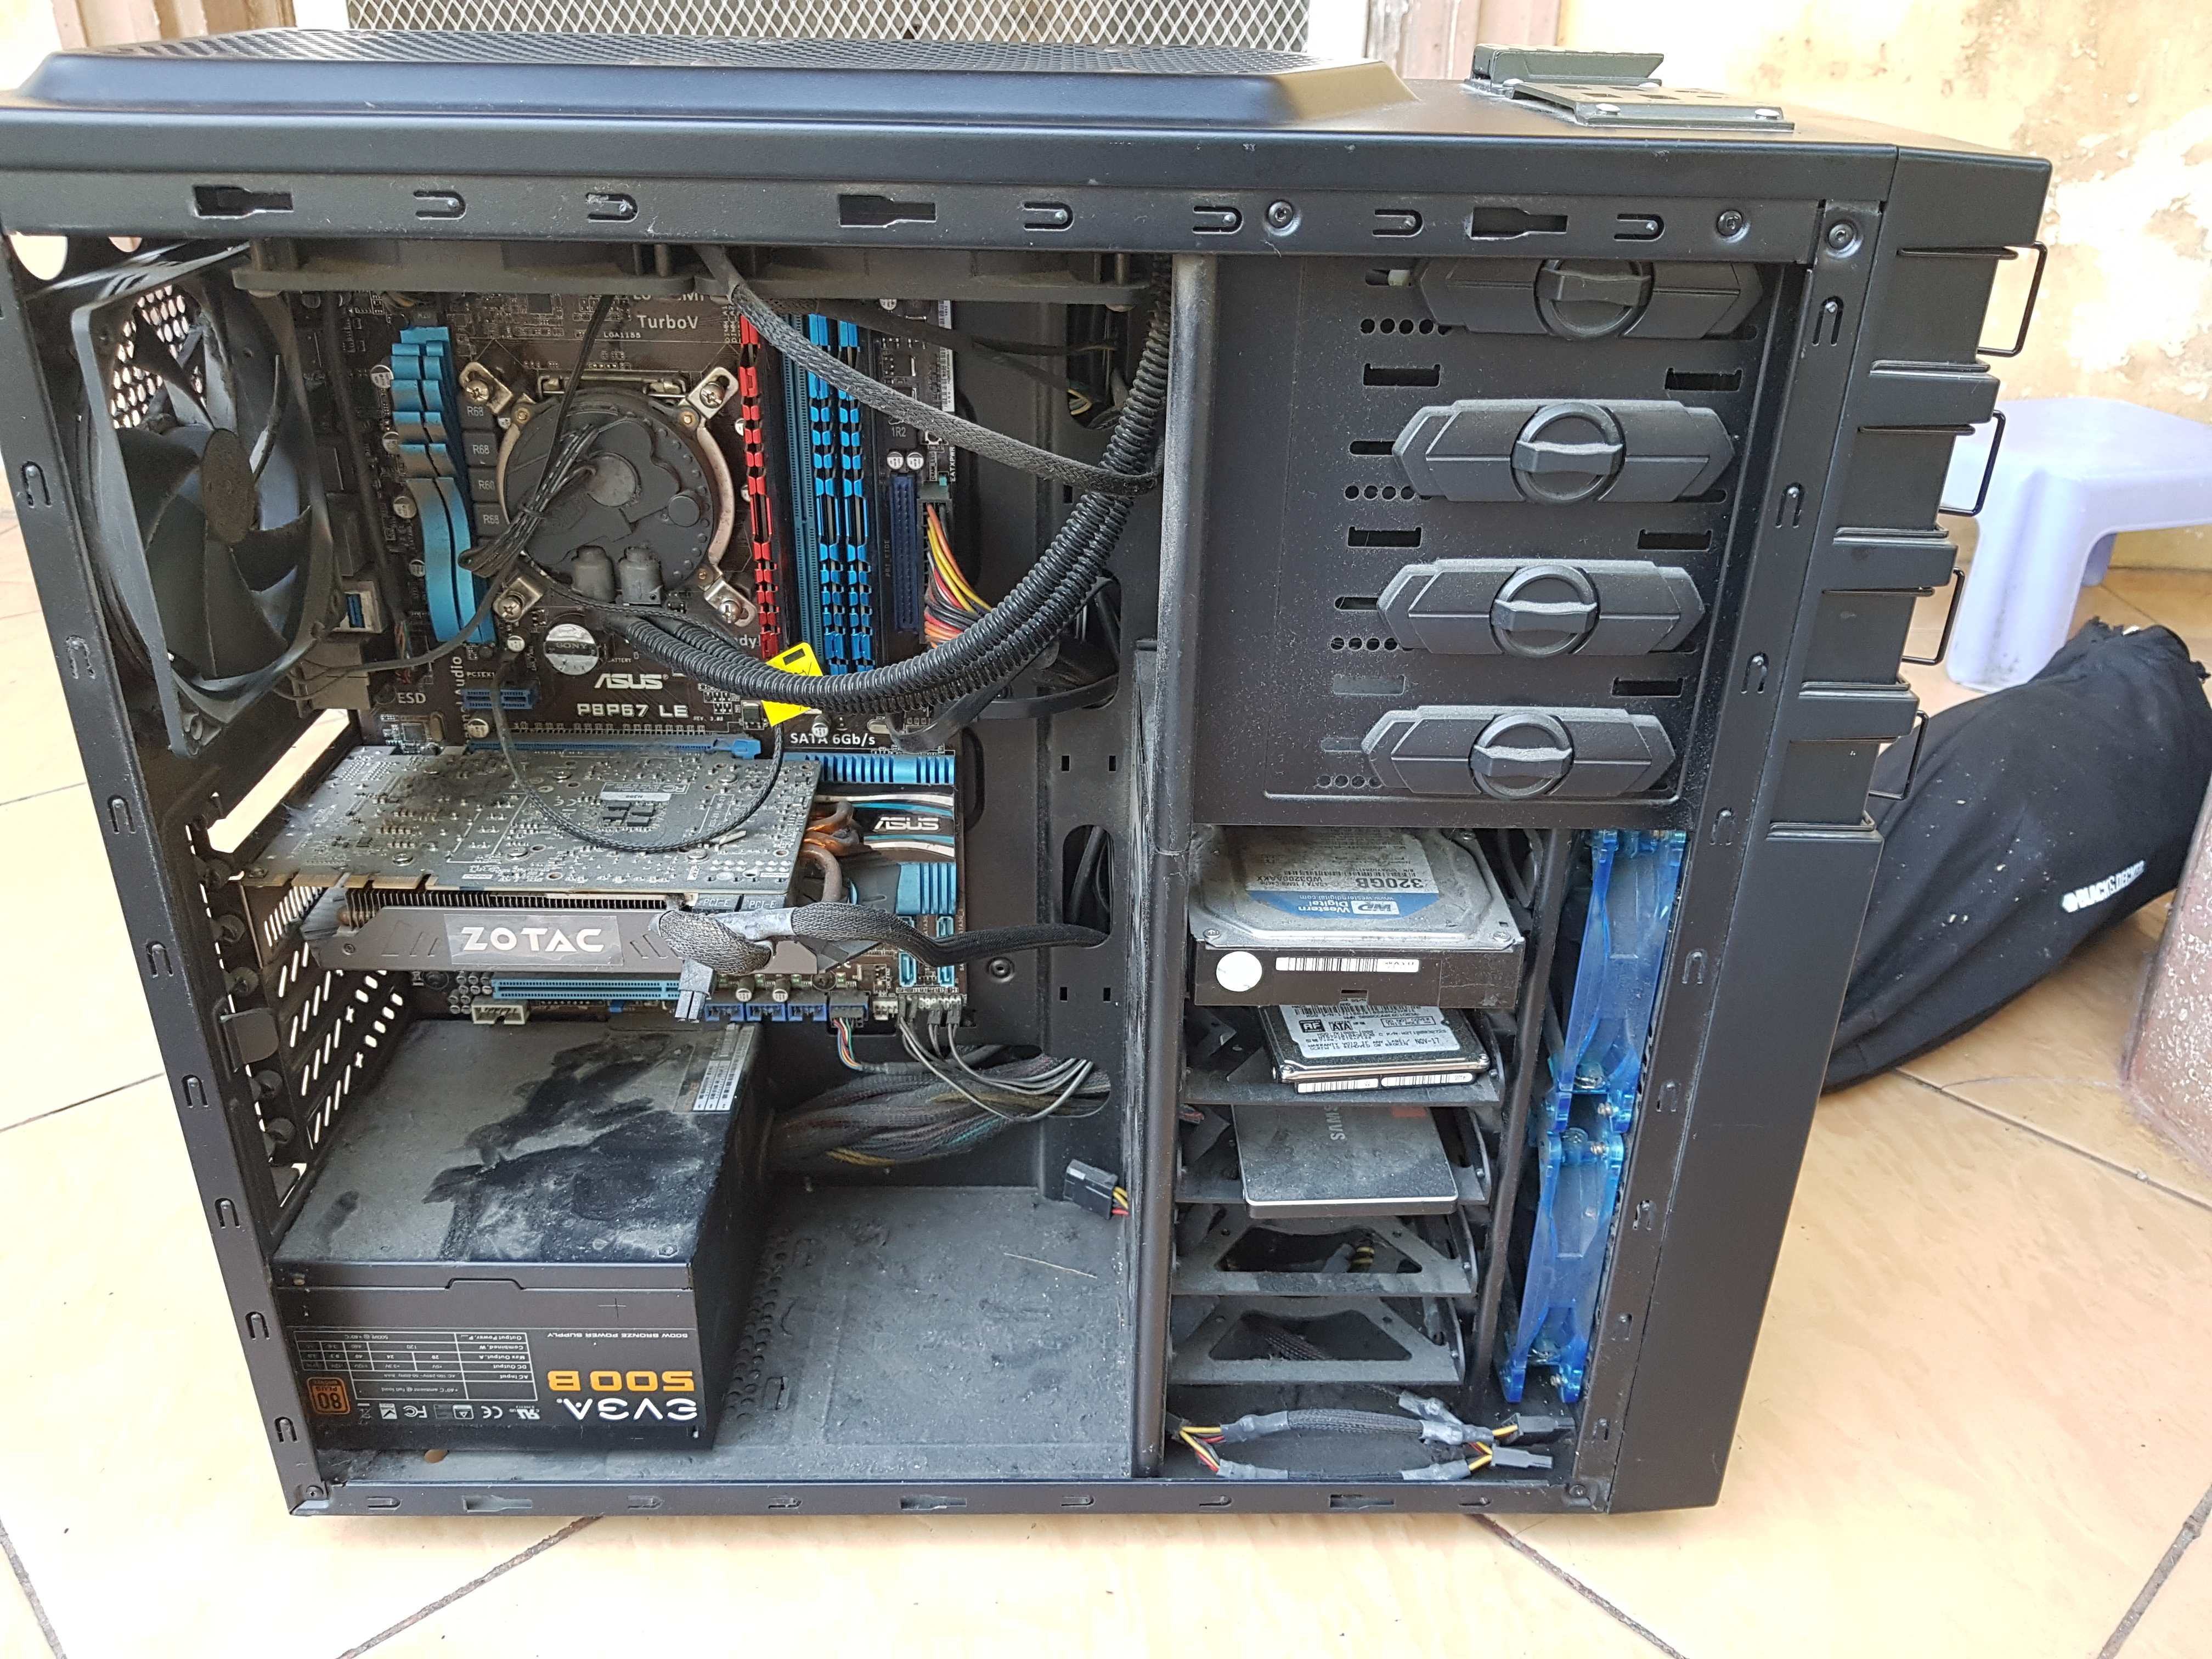

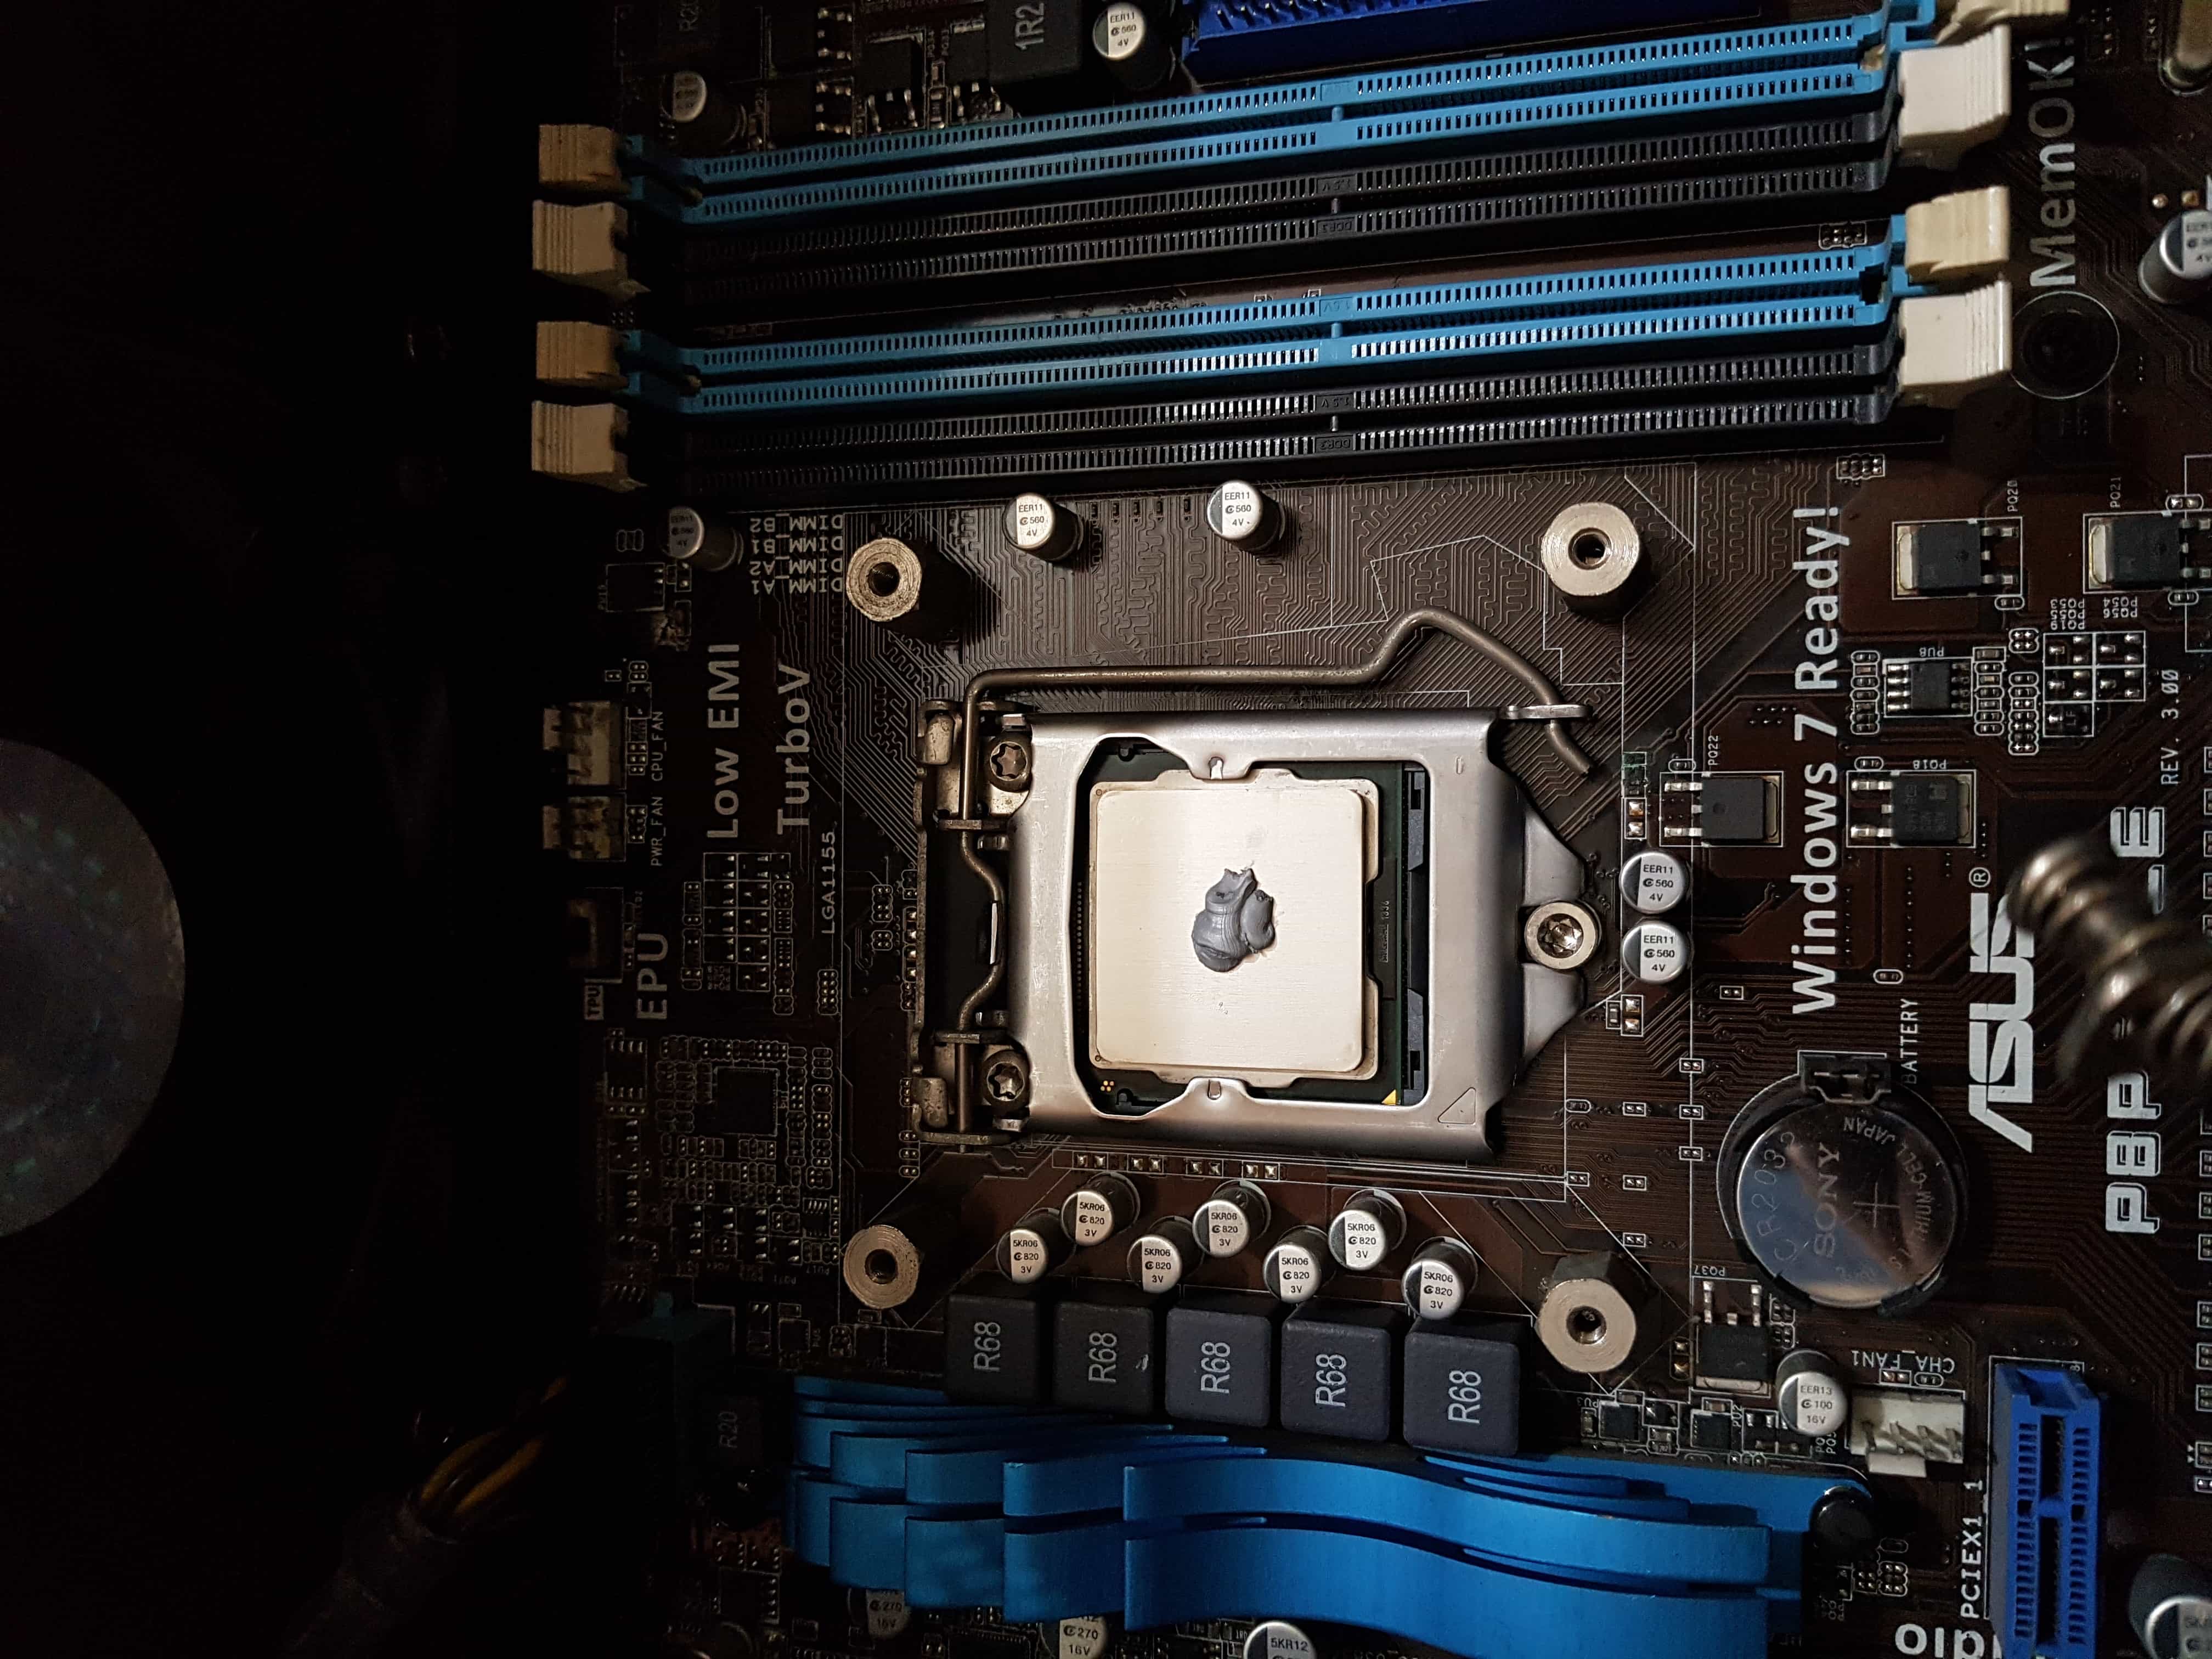
Let’s take a look at the radiator / cpu block.
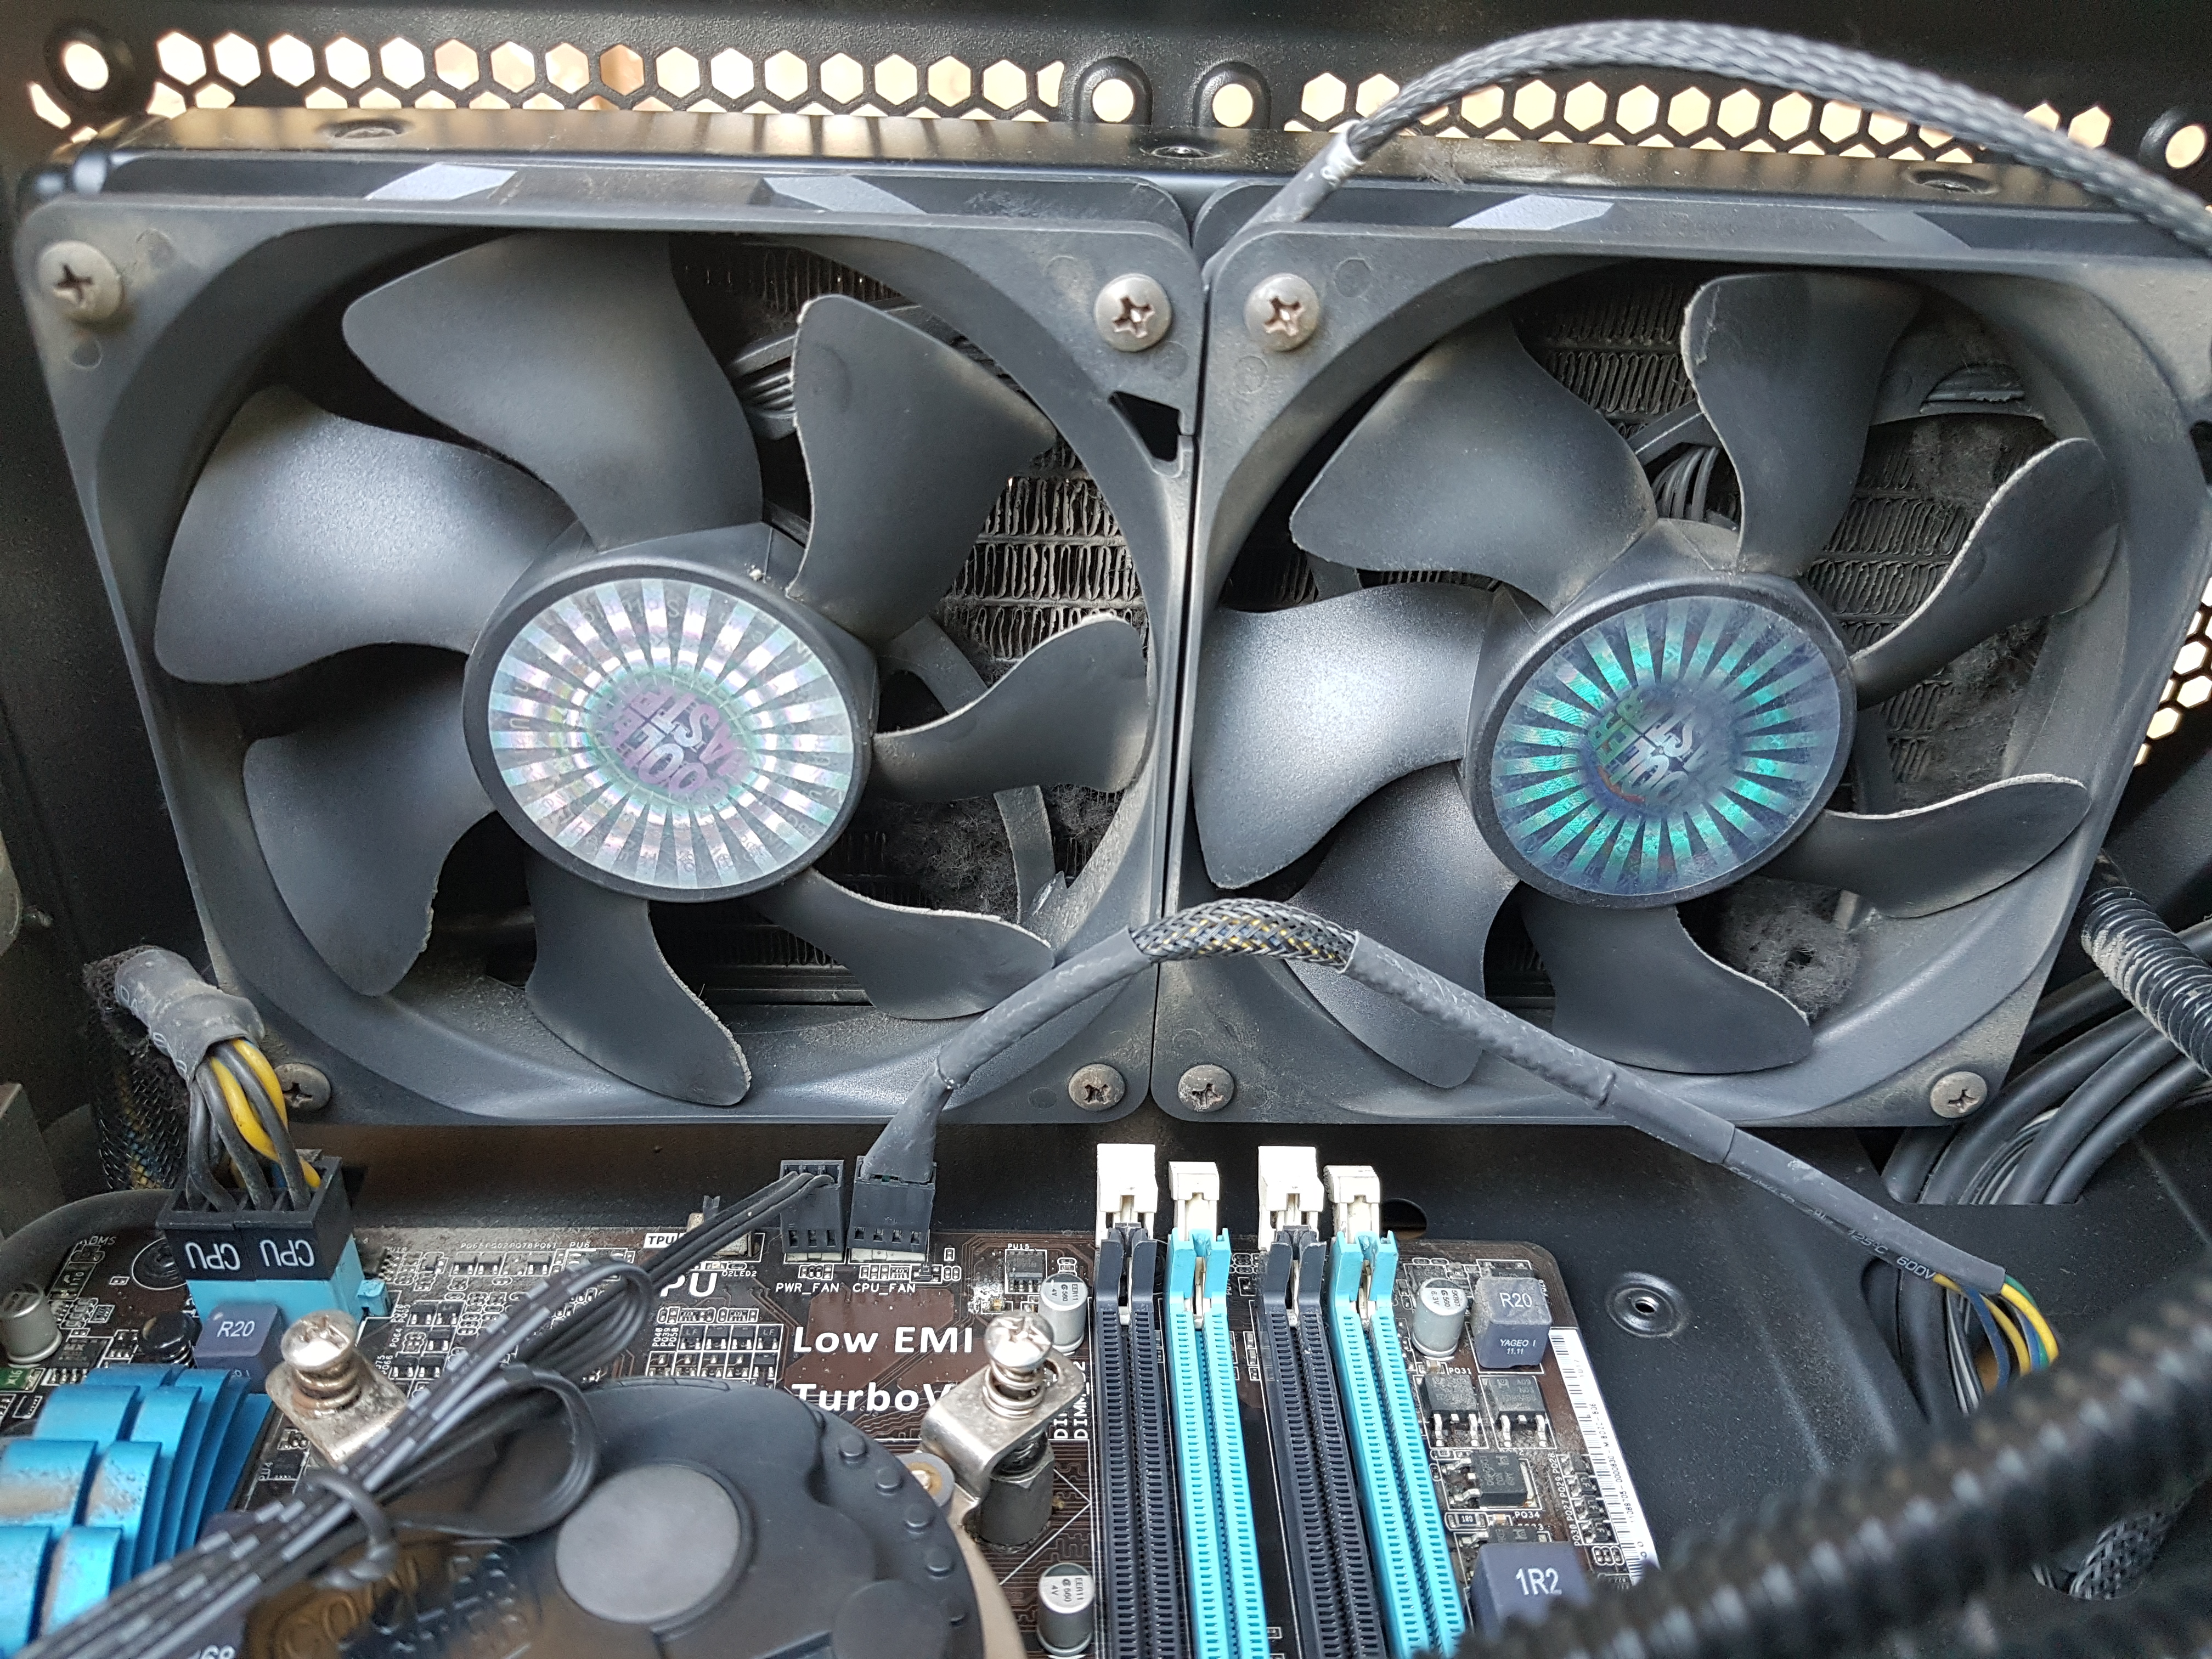
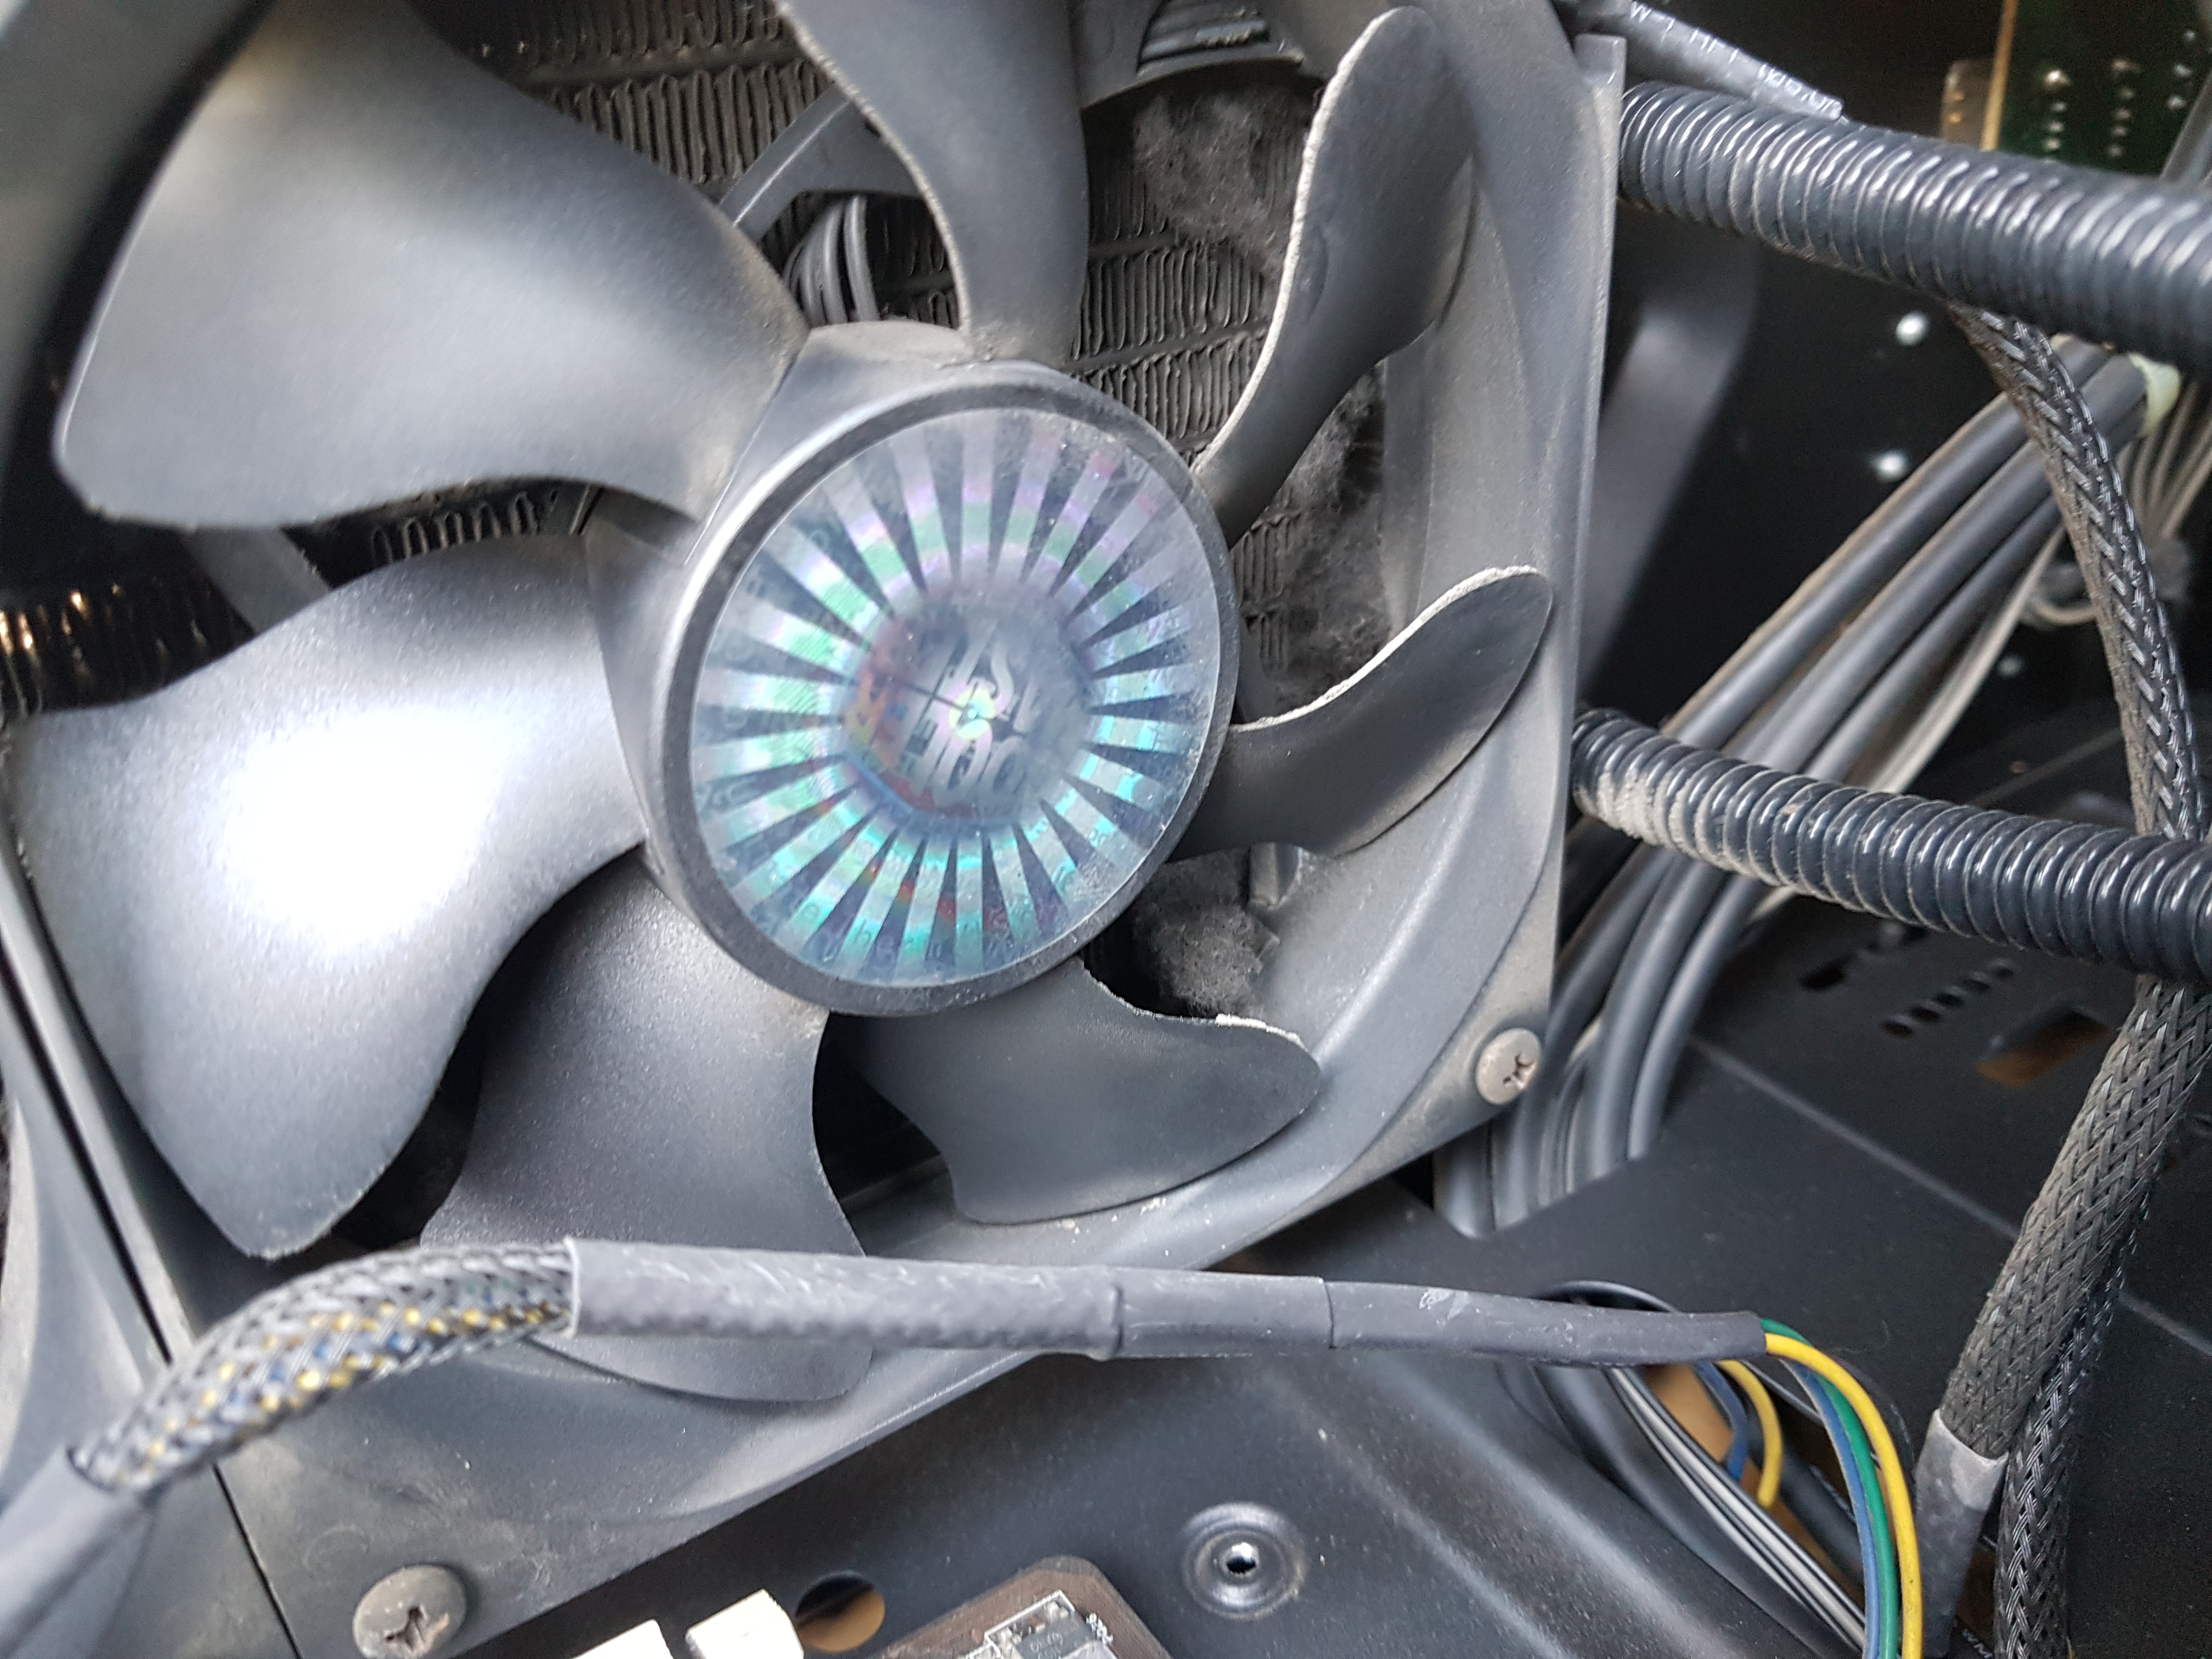
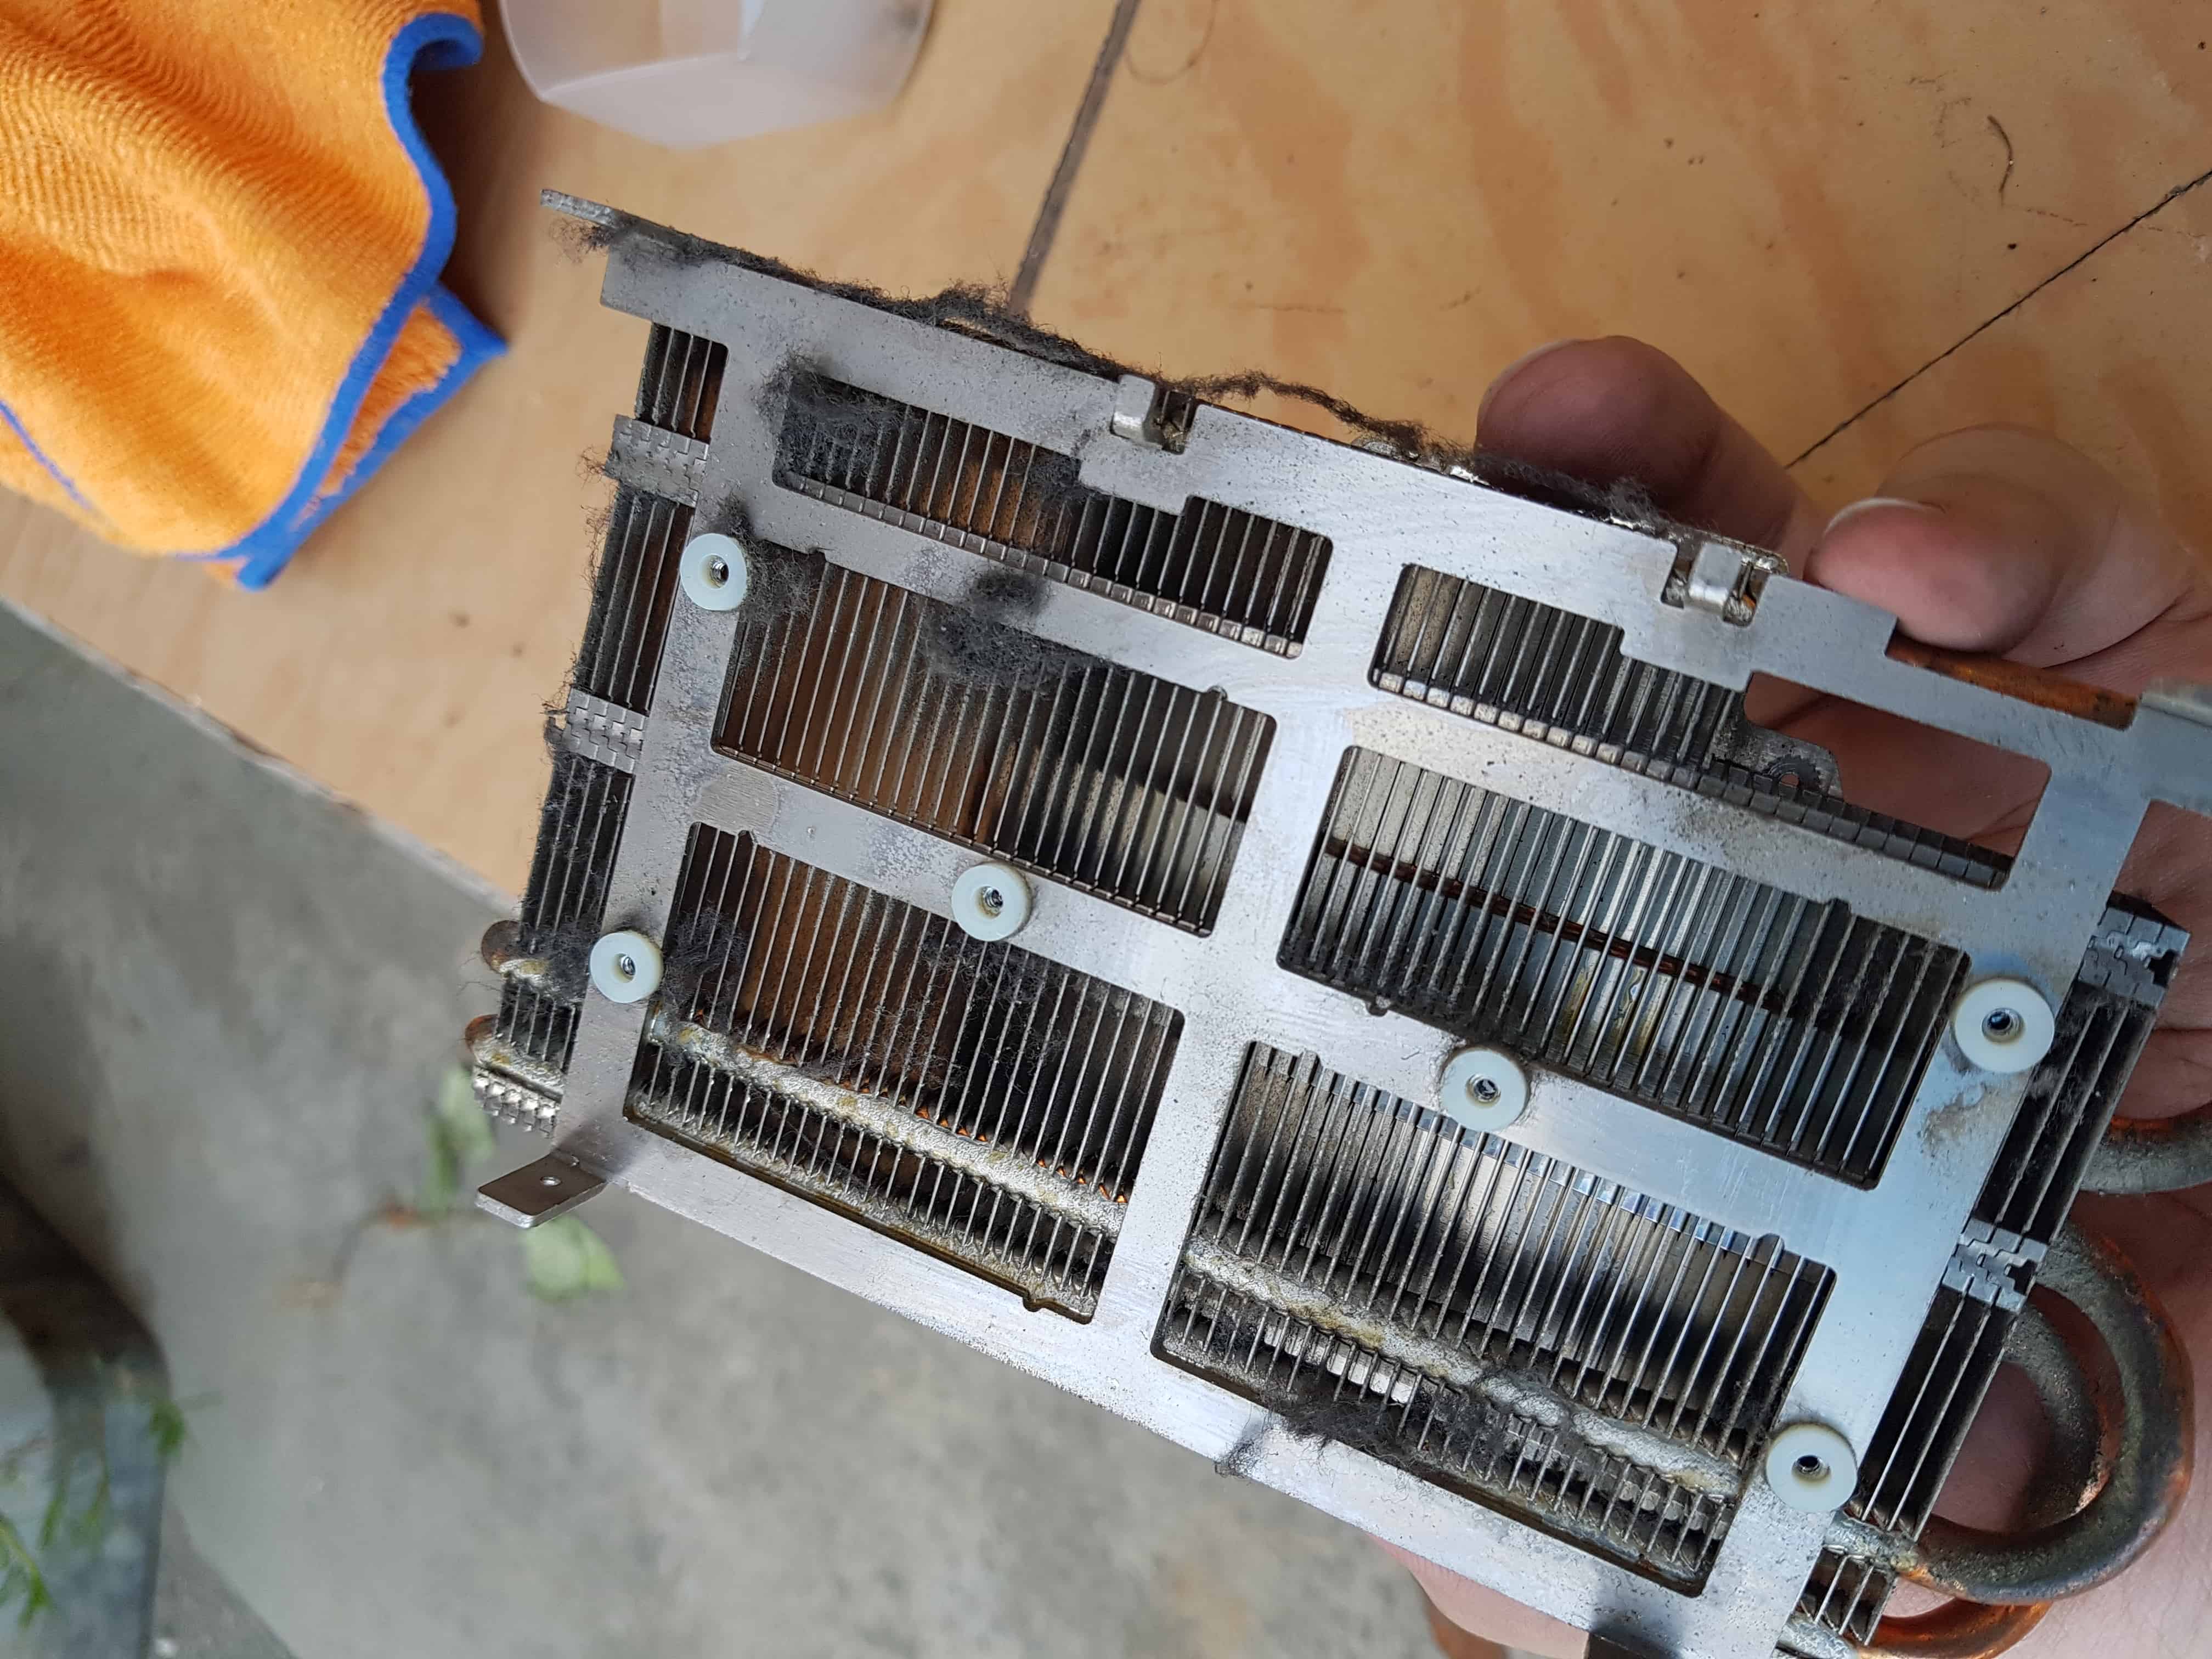
That’s alot of dust!
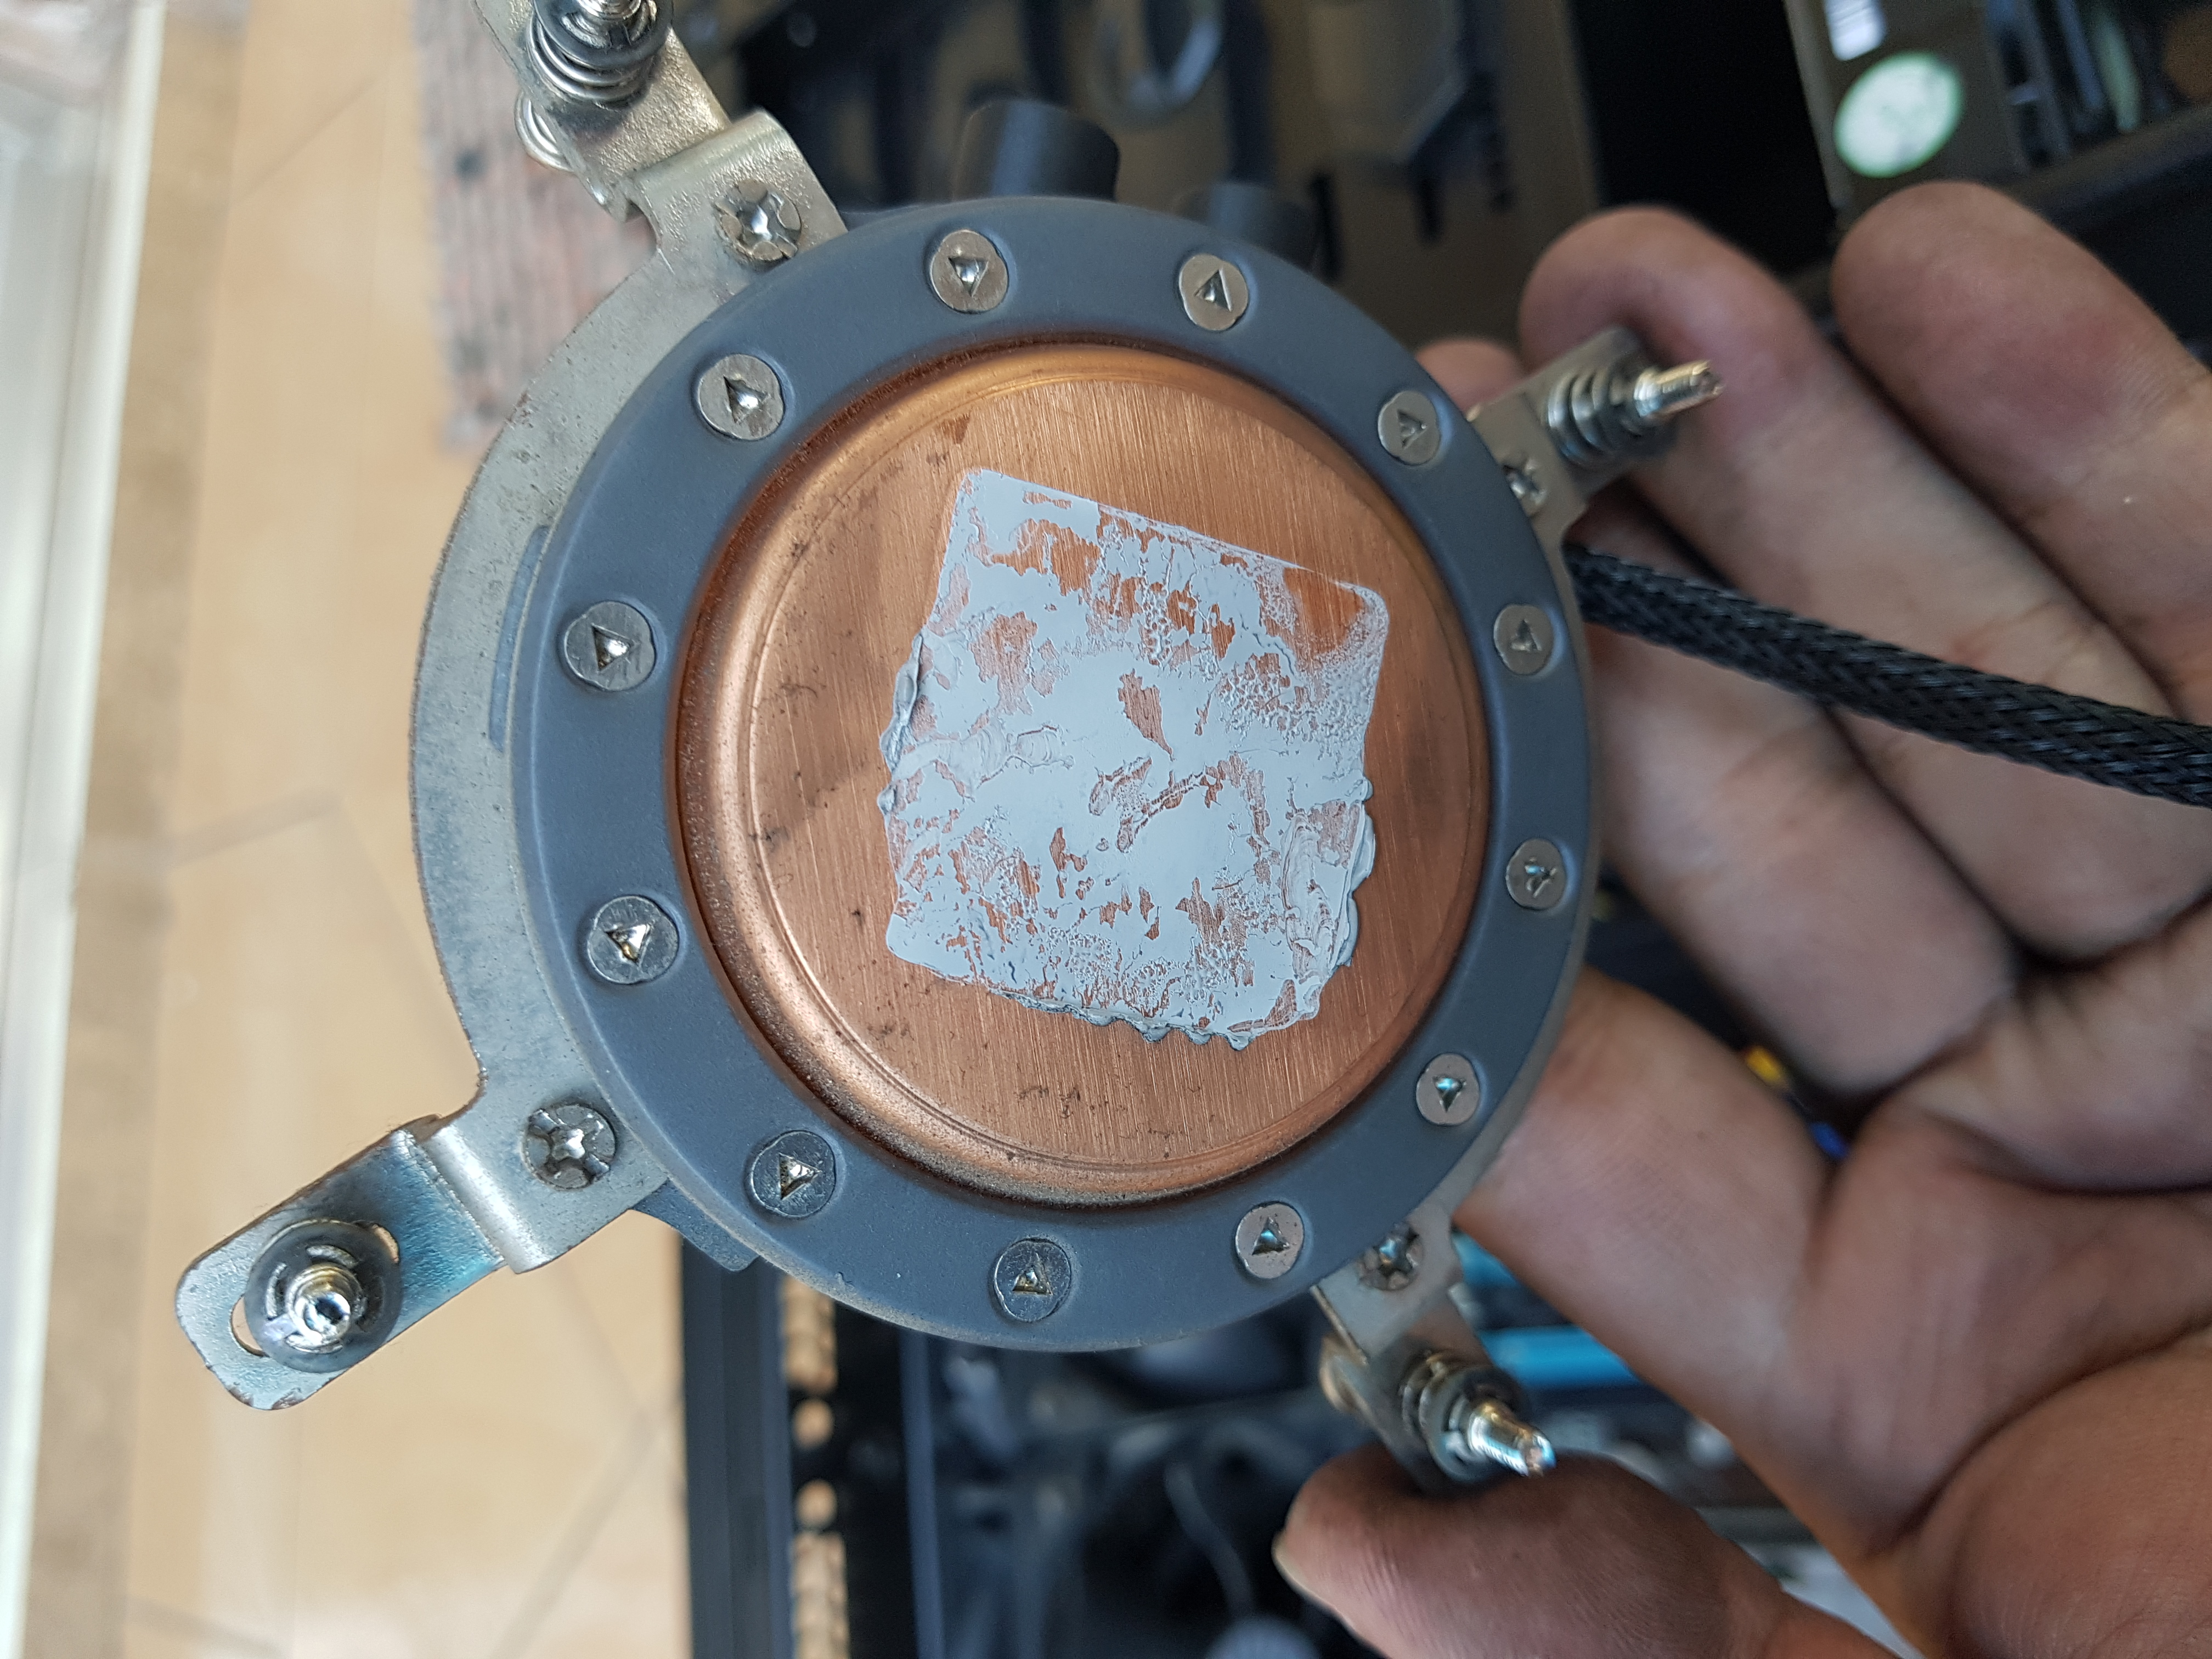
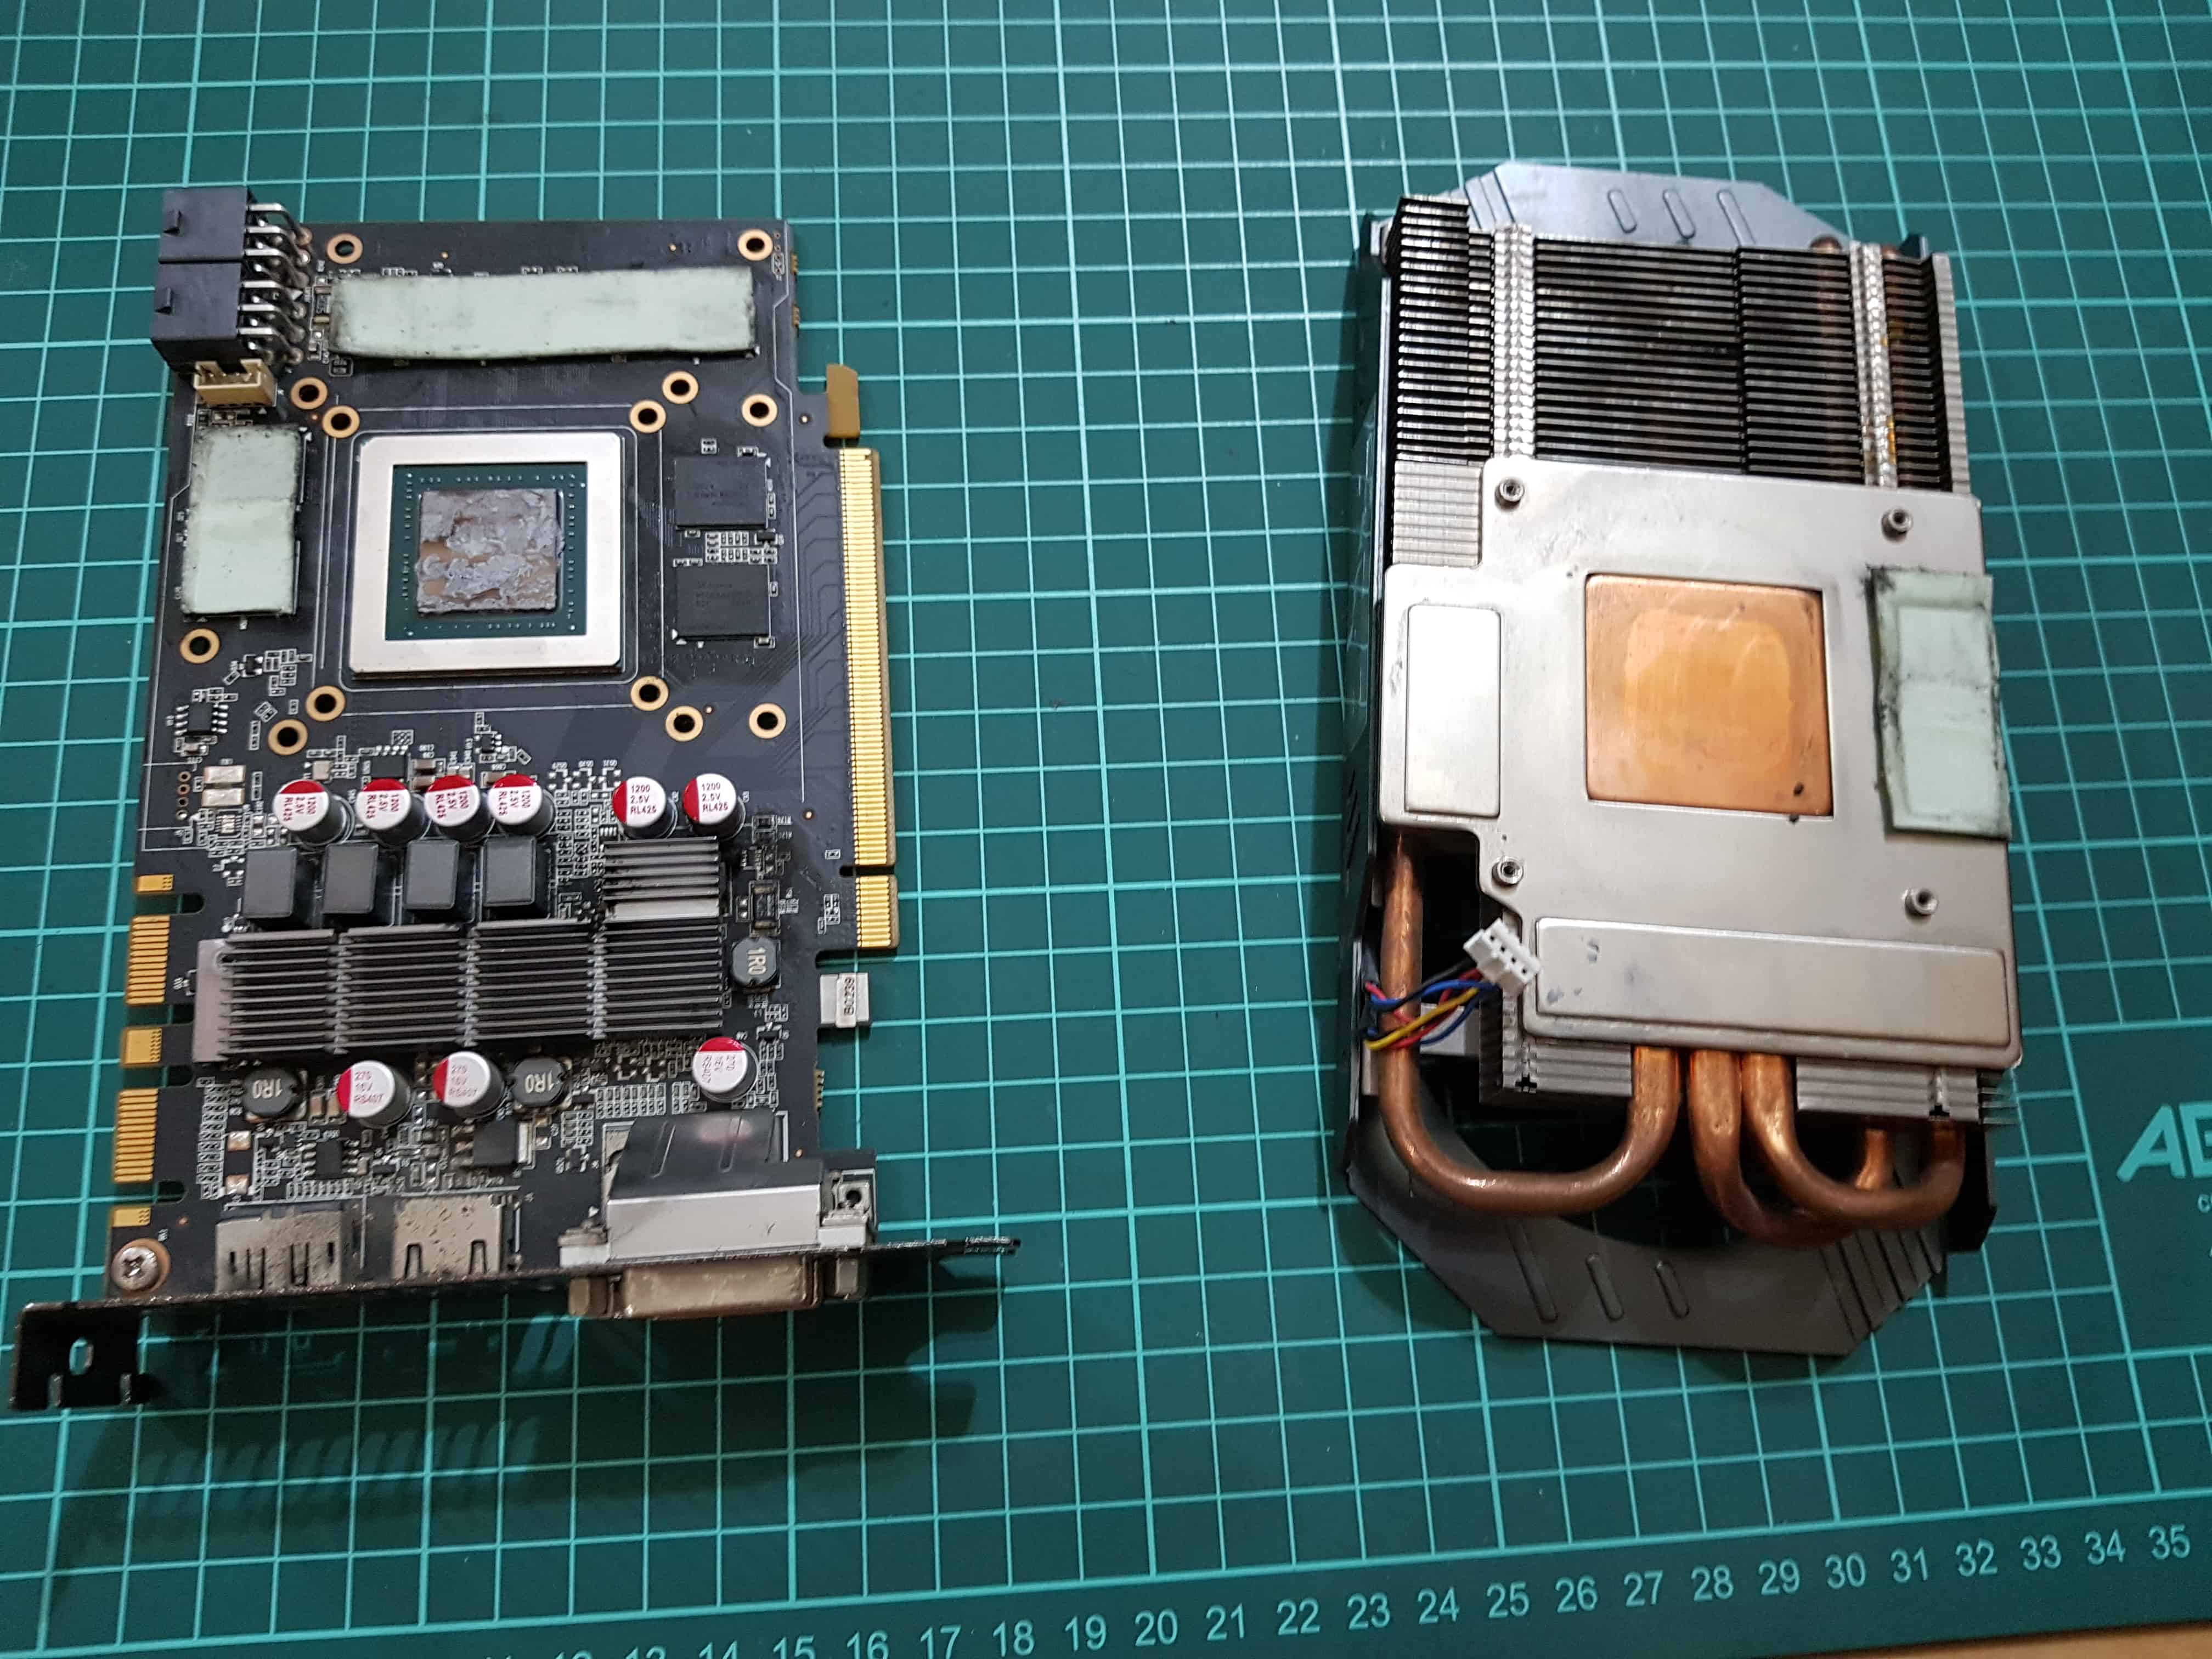
Now the GPU. We will be dismantling the GPU for a cleaning and repaste.
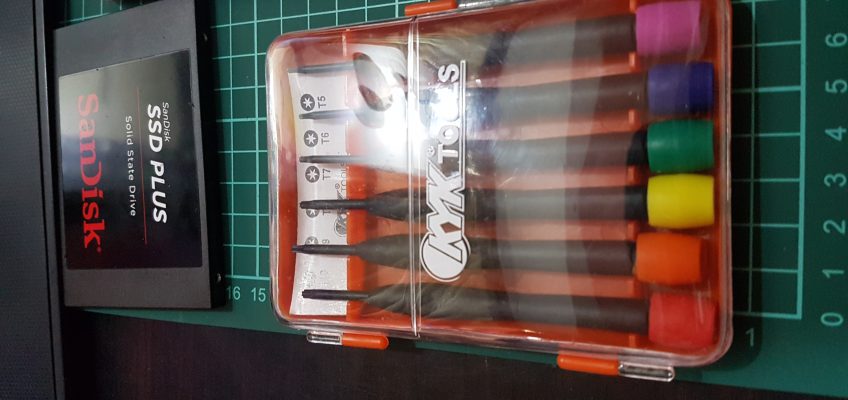
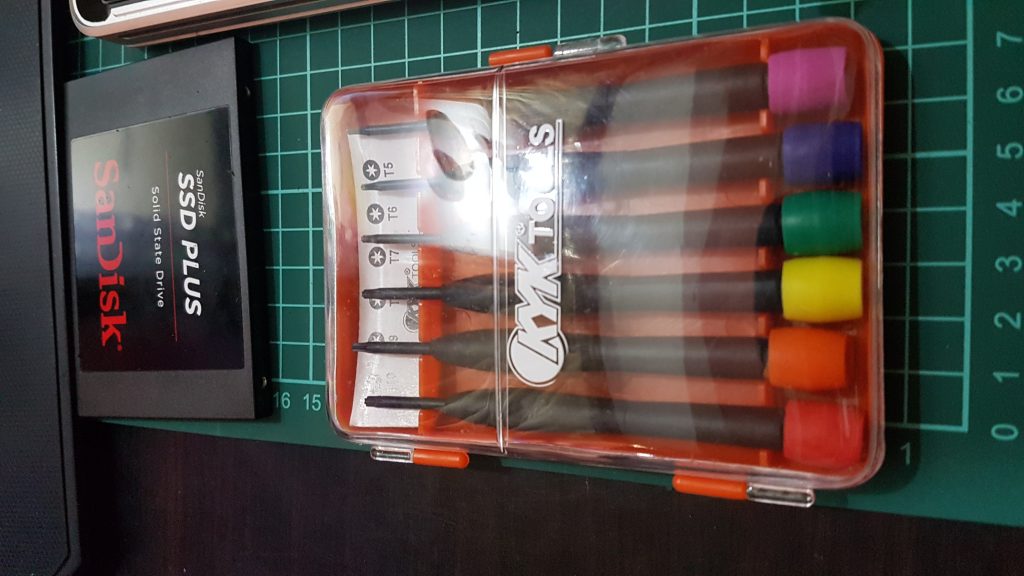
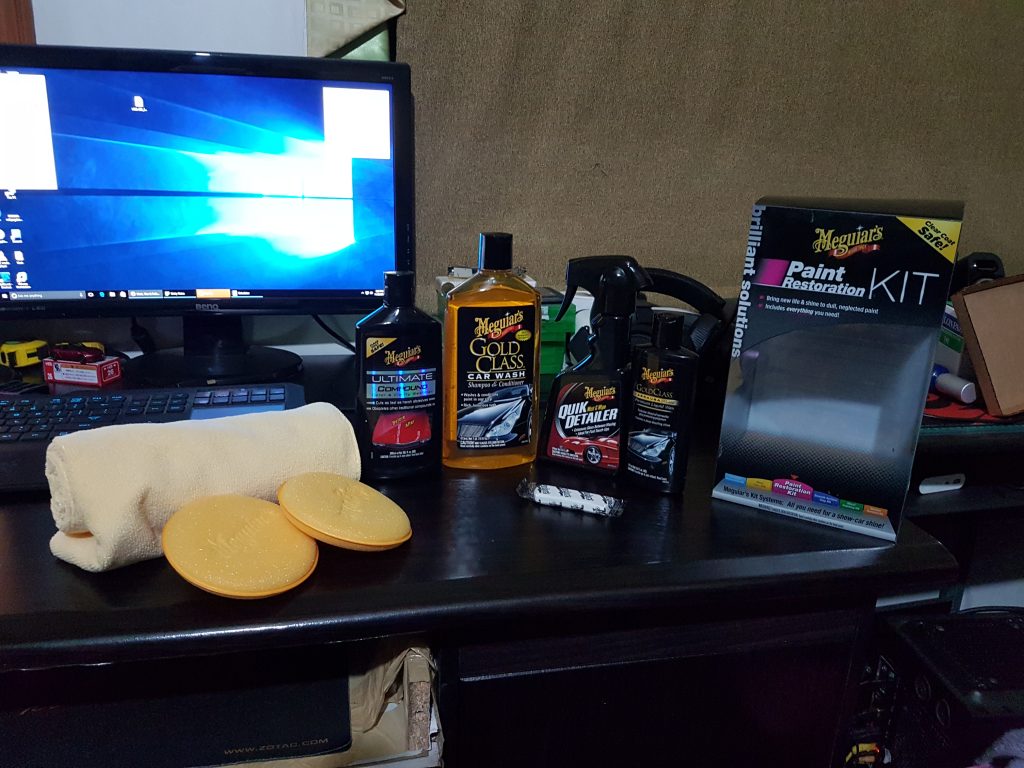
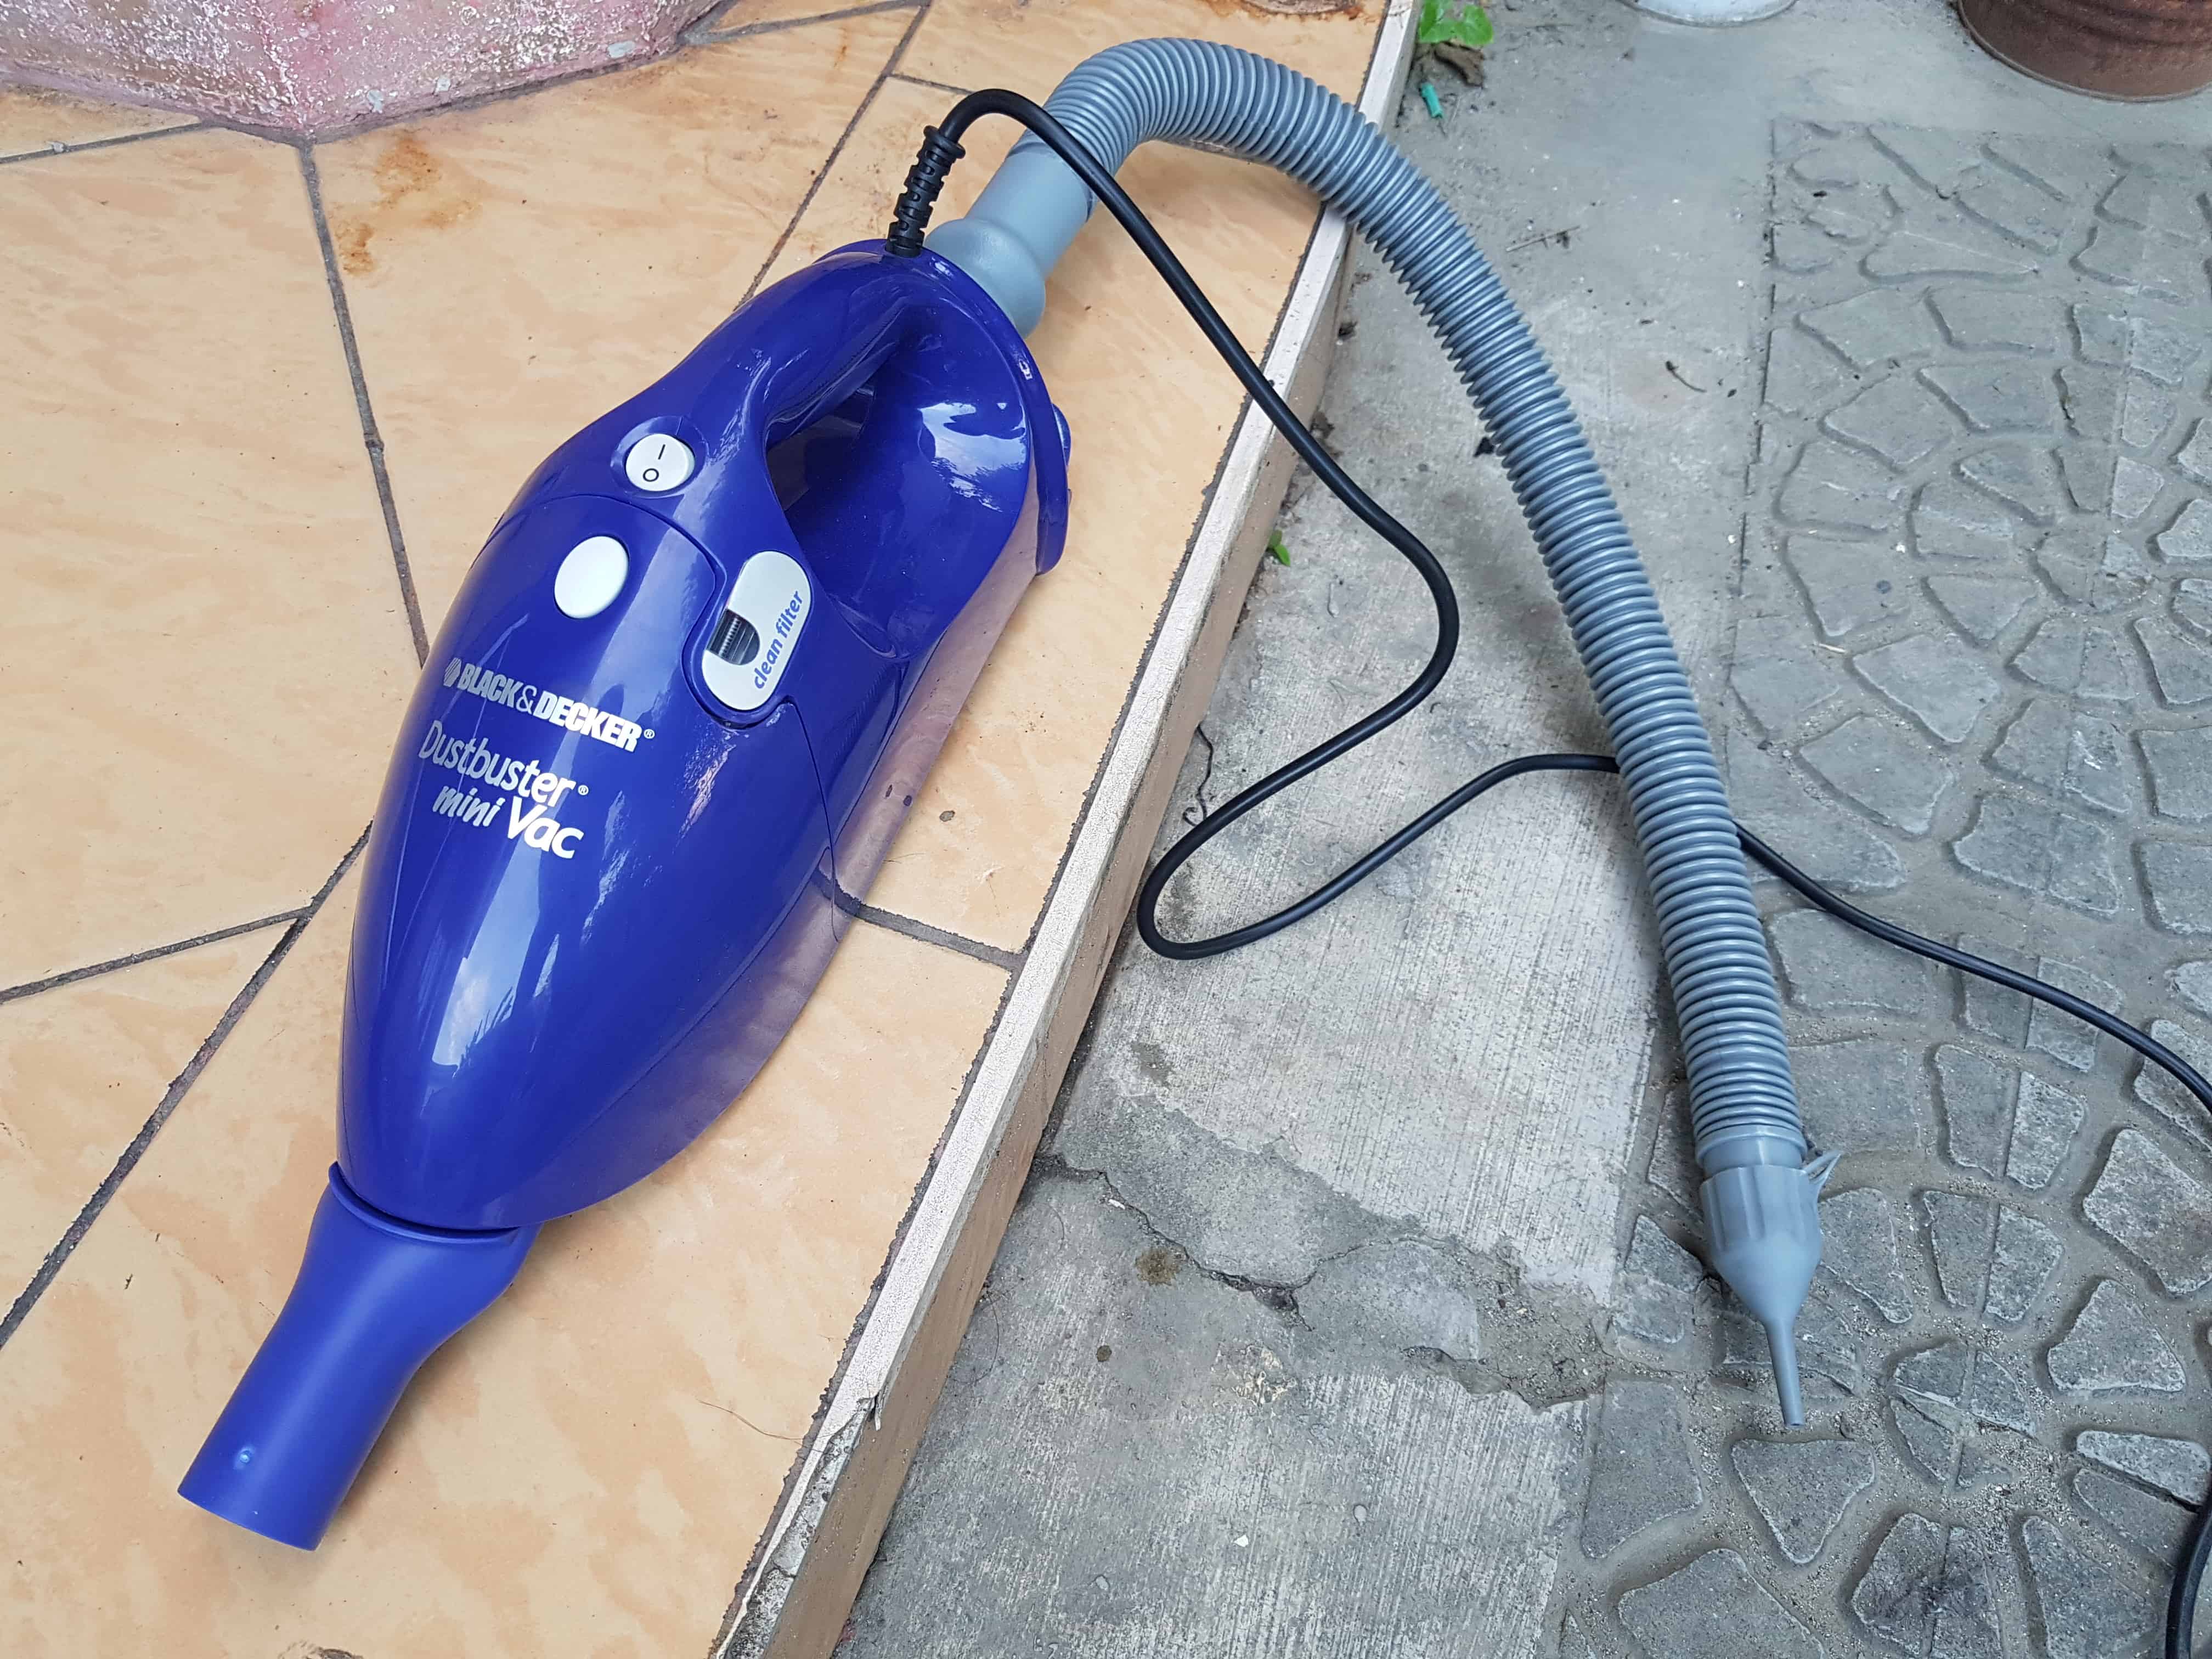
Let’s clean everything up using these tools! A detailing brush and a vacuum / blower.

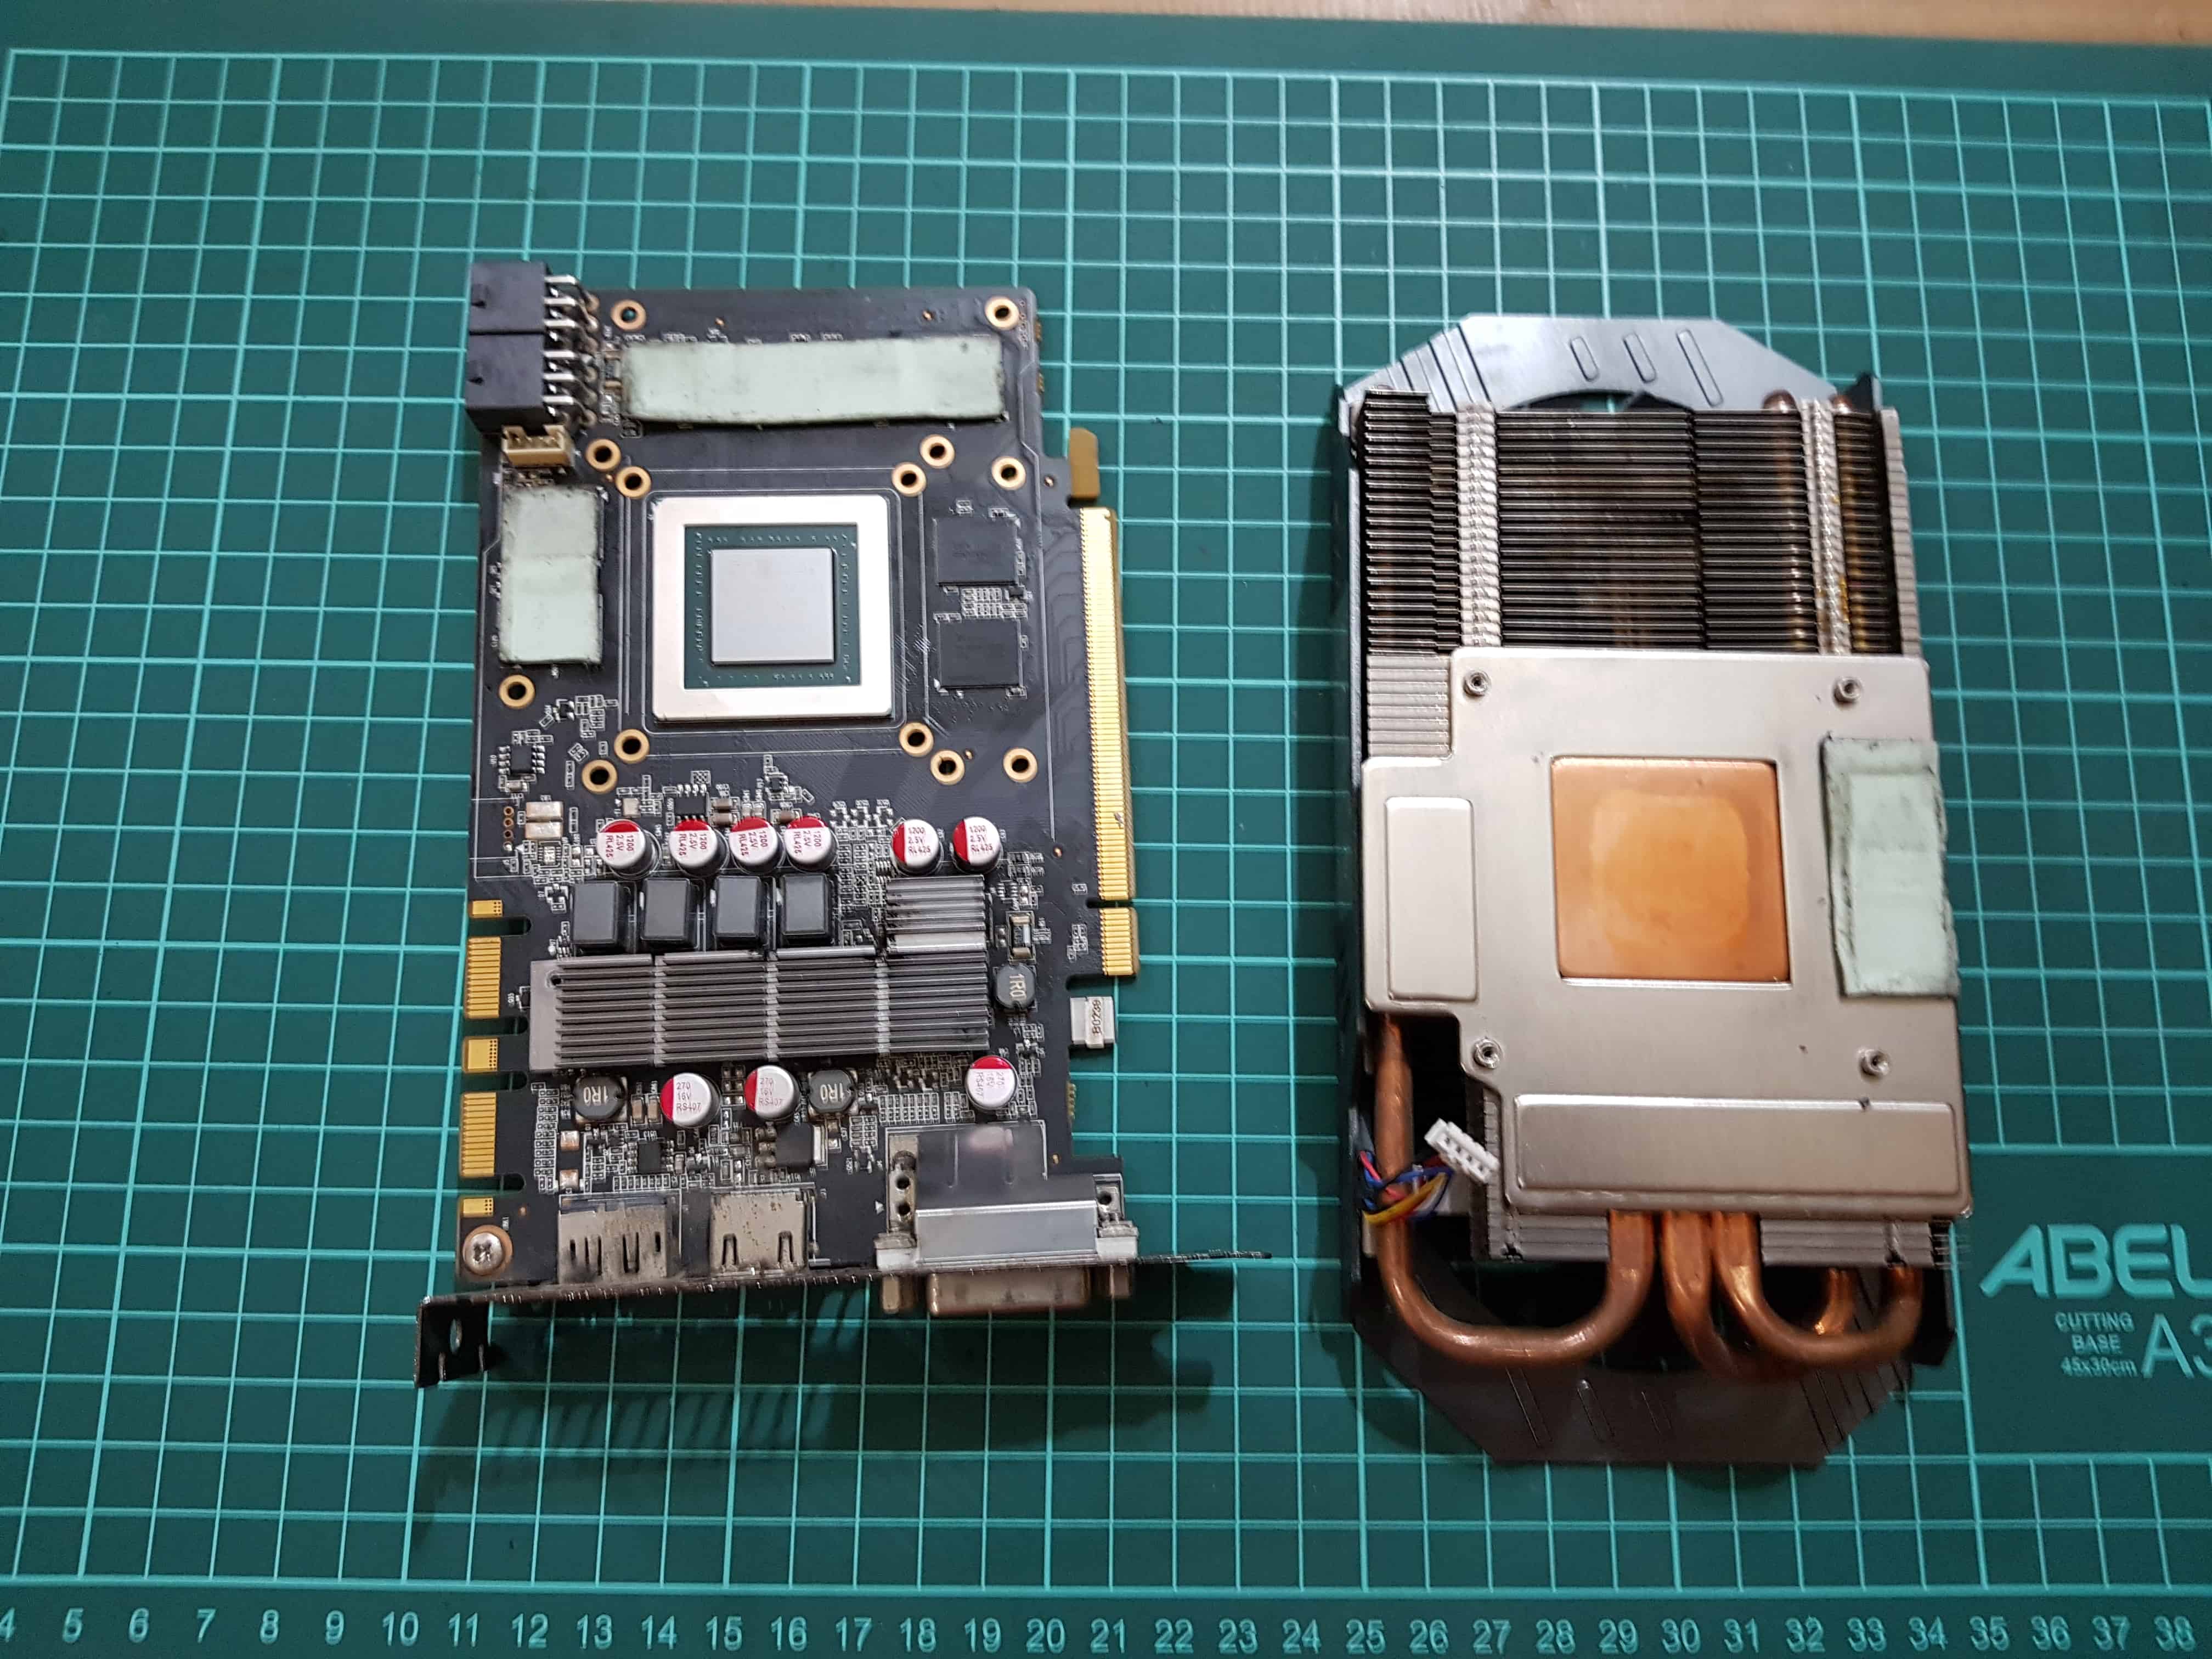
All clean! (Clean enough)
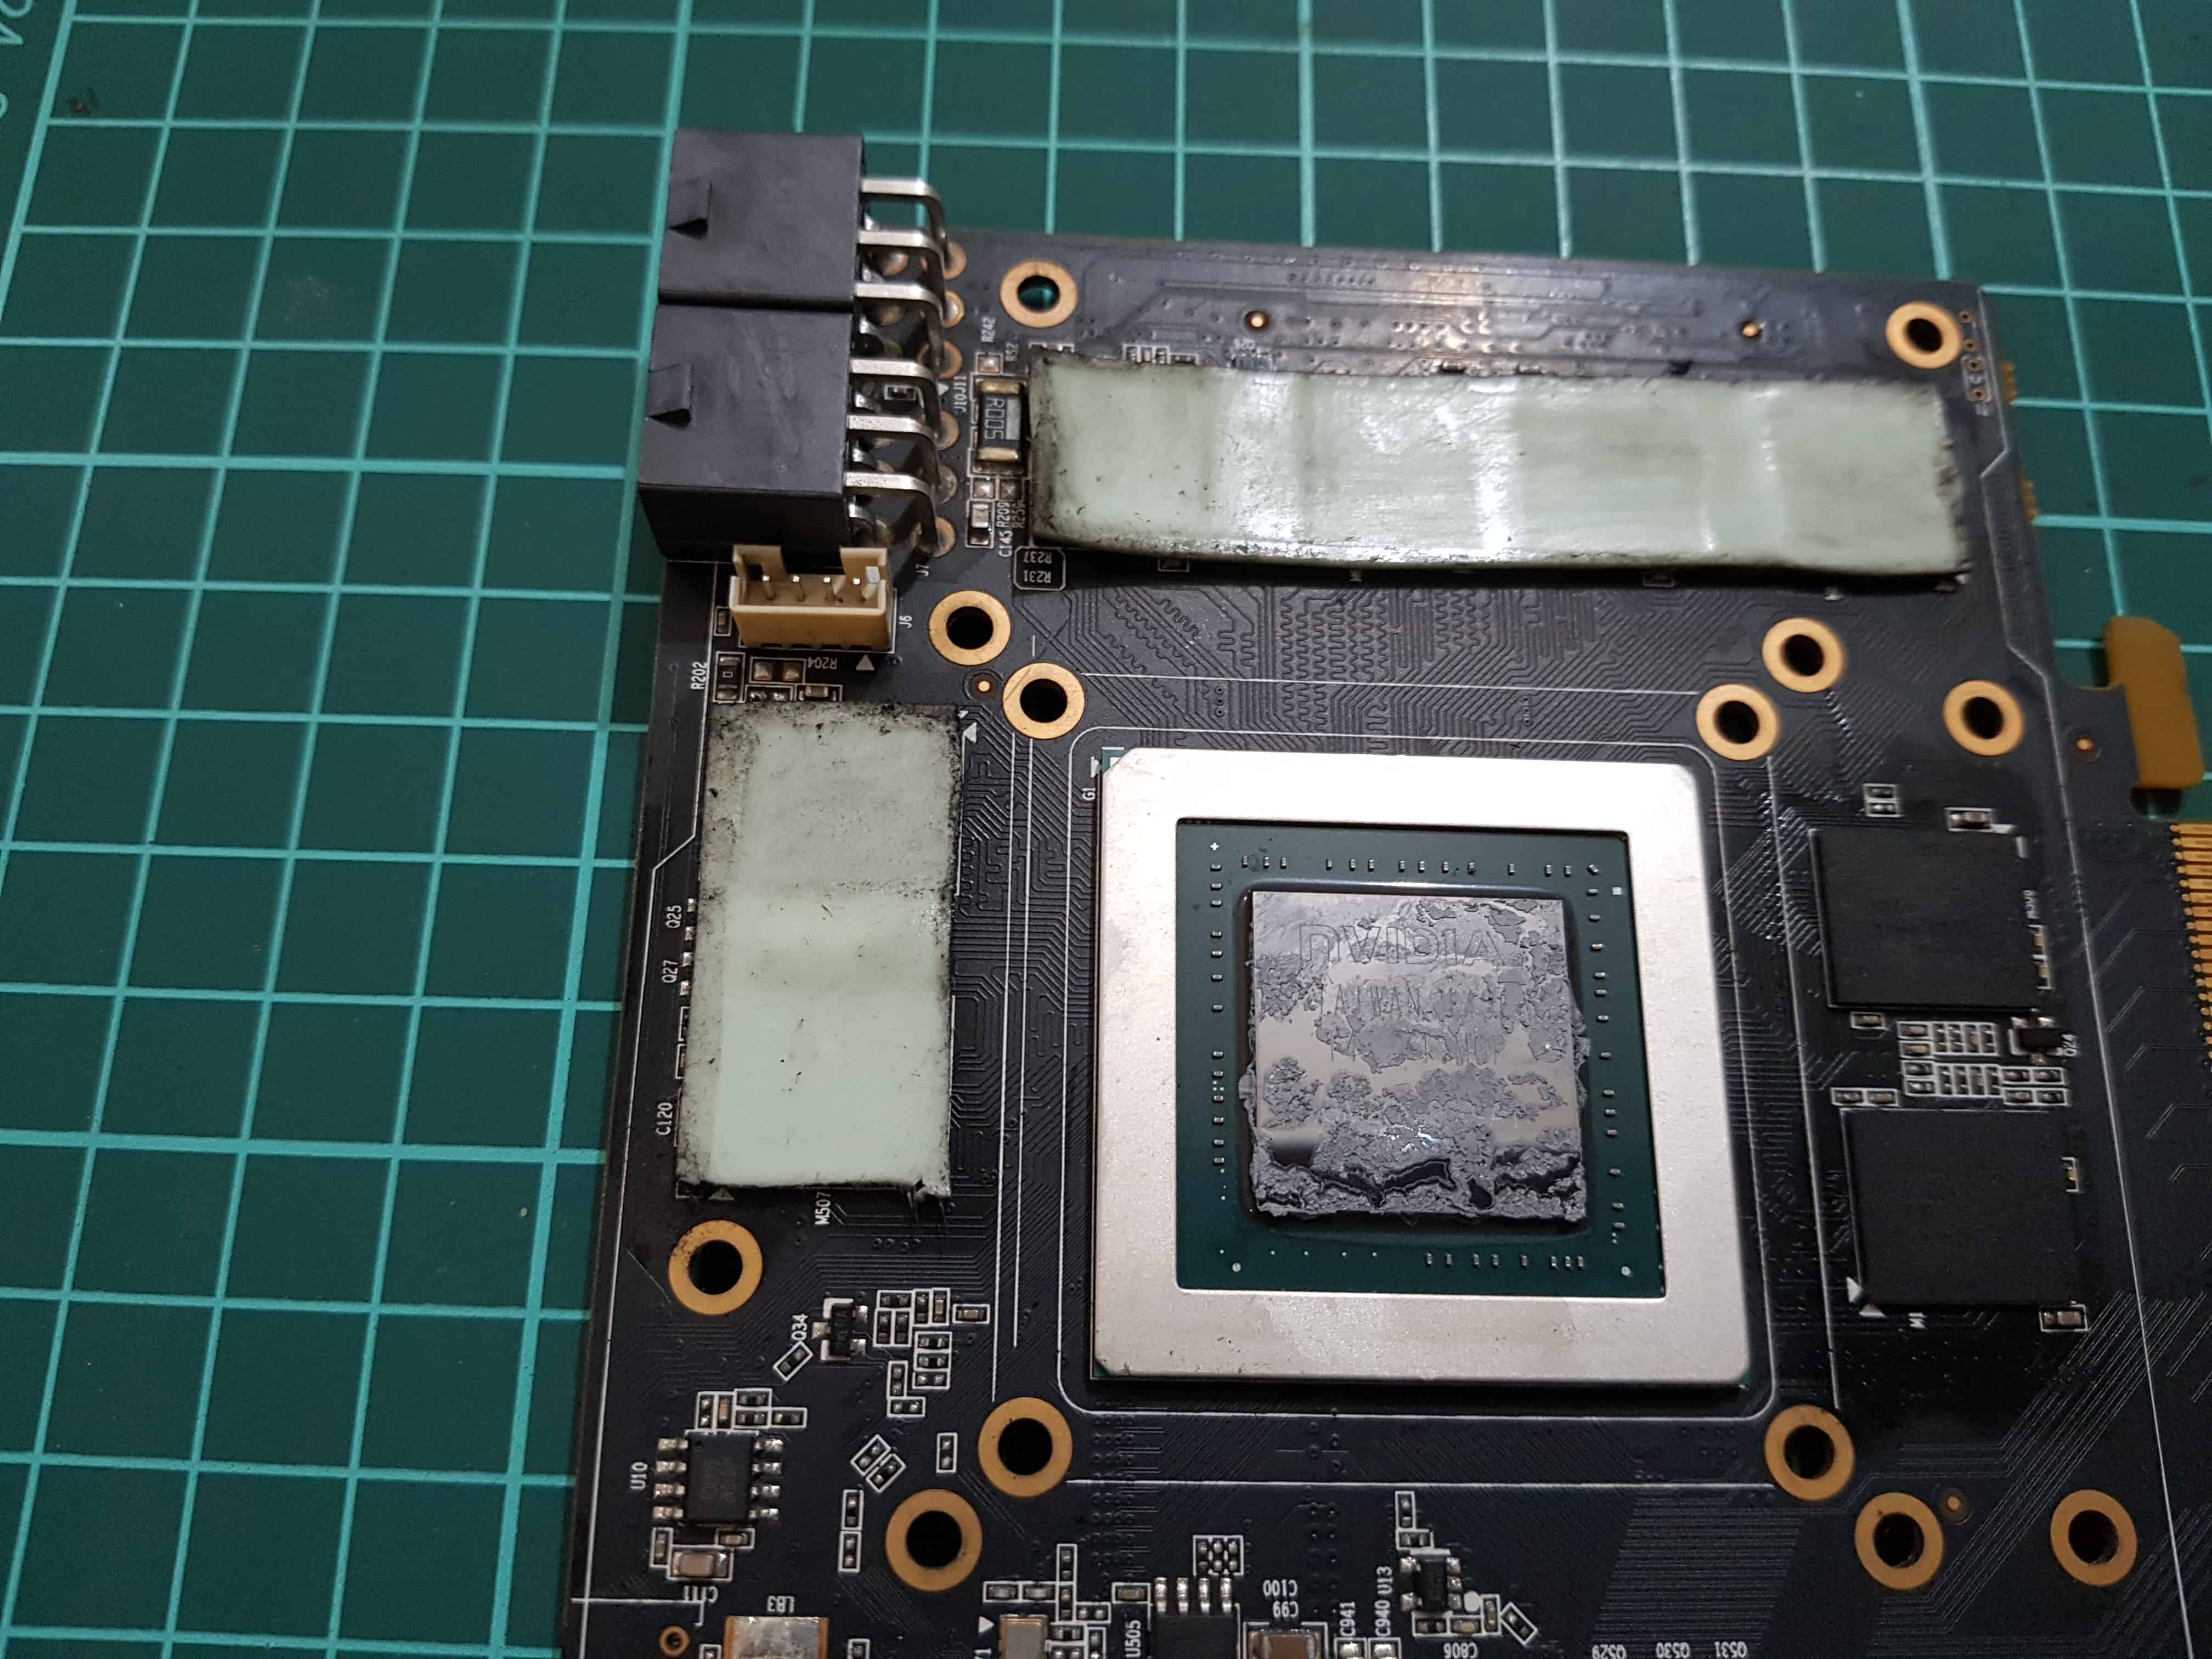
Let’s clean the GPU for repasting. I will be using some Cooler Master X1 Extreme Fusion I have lying around.
Let’s put her back together!

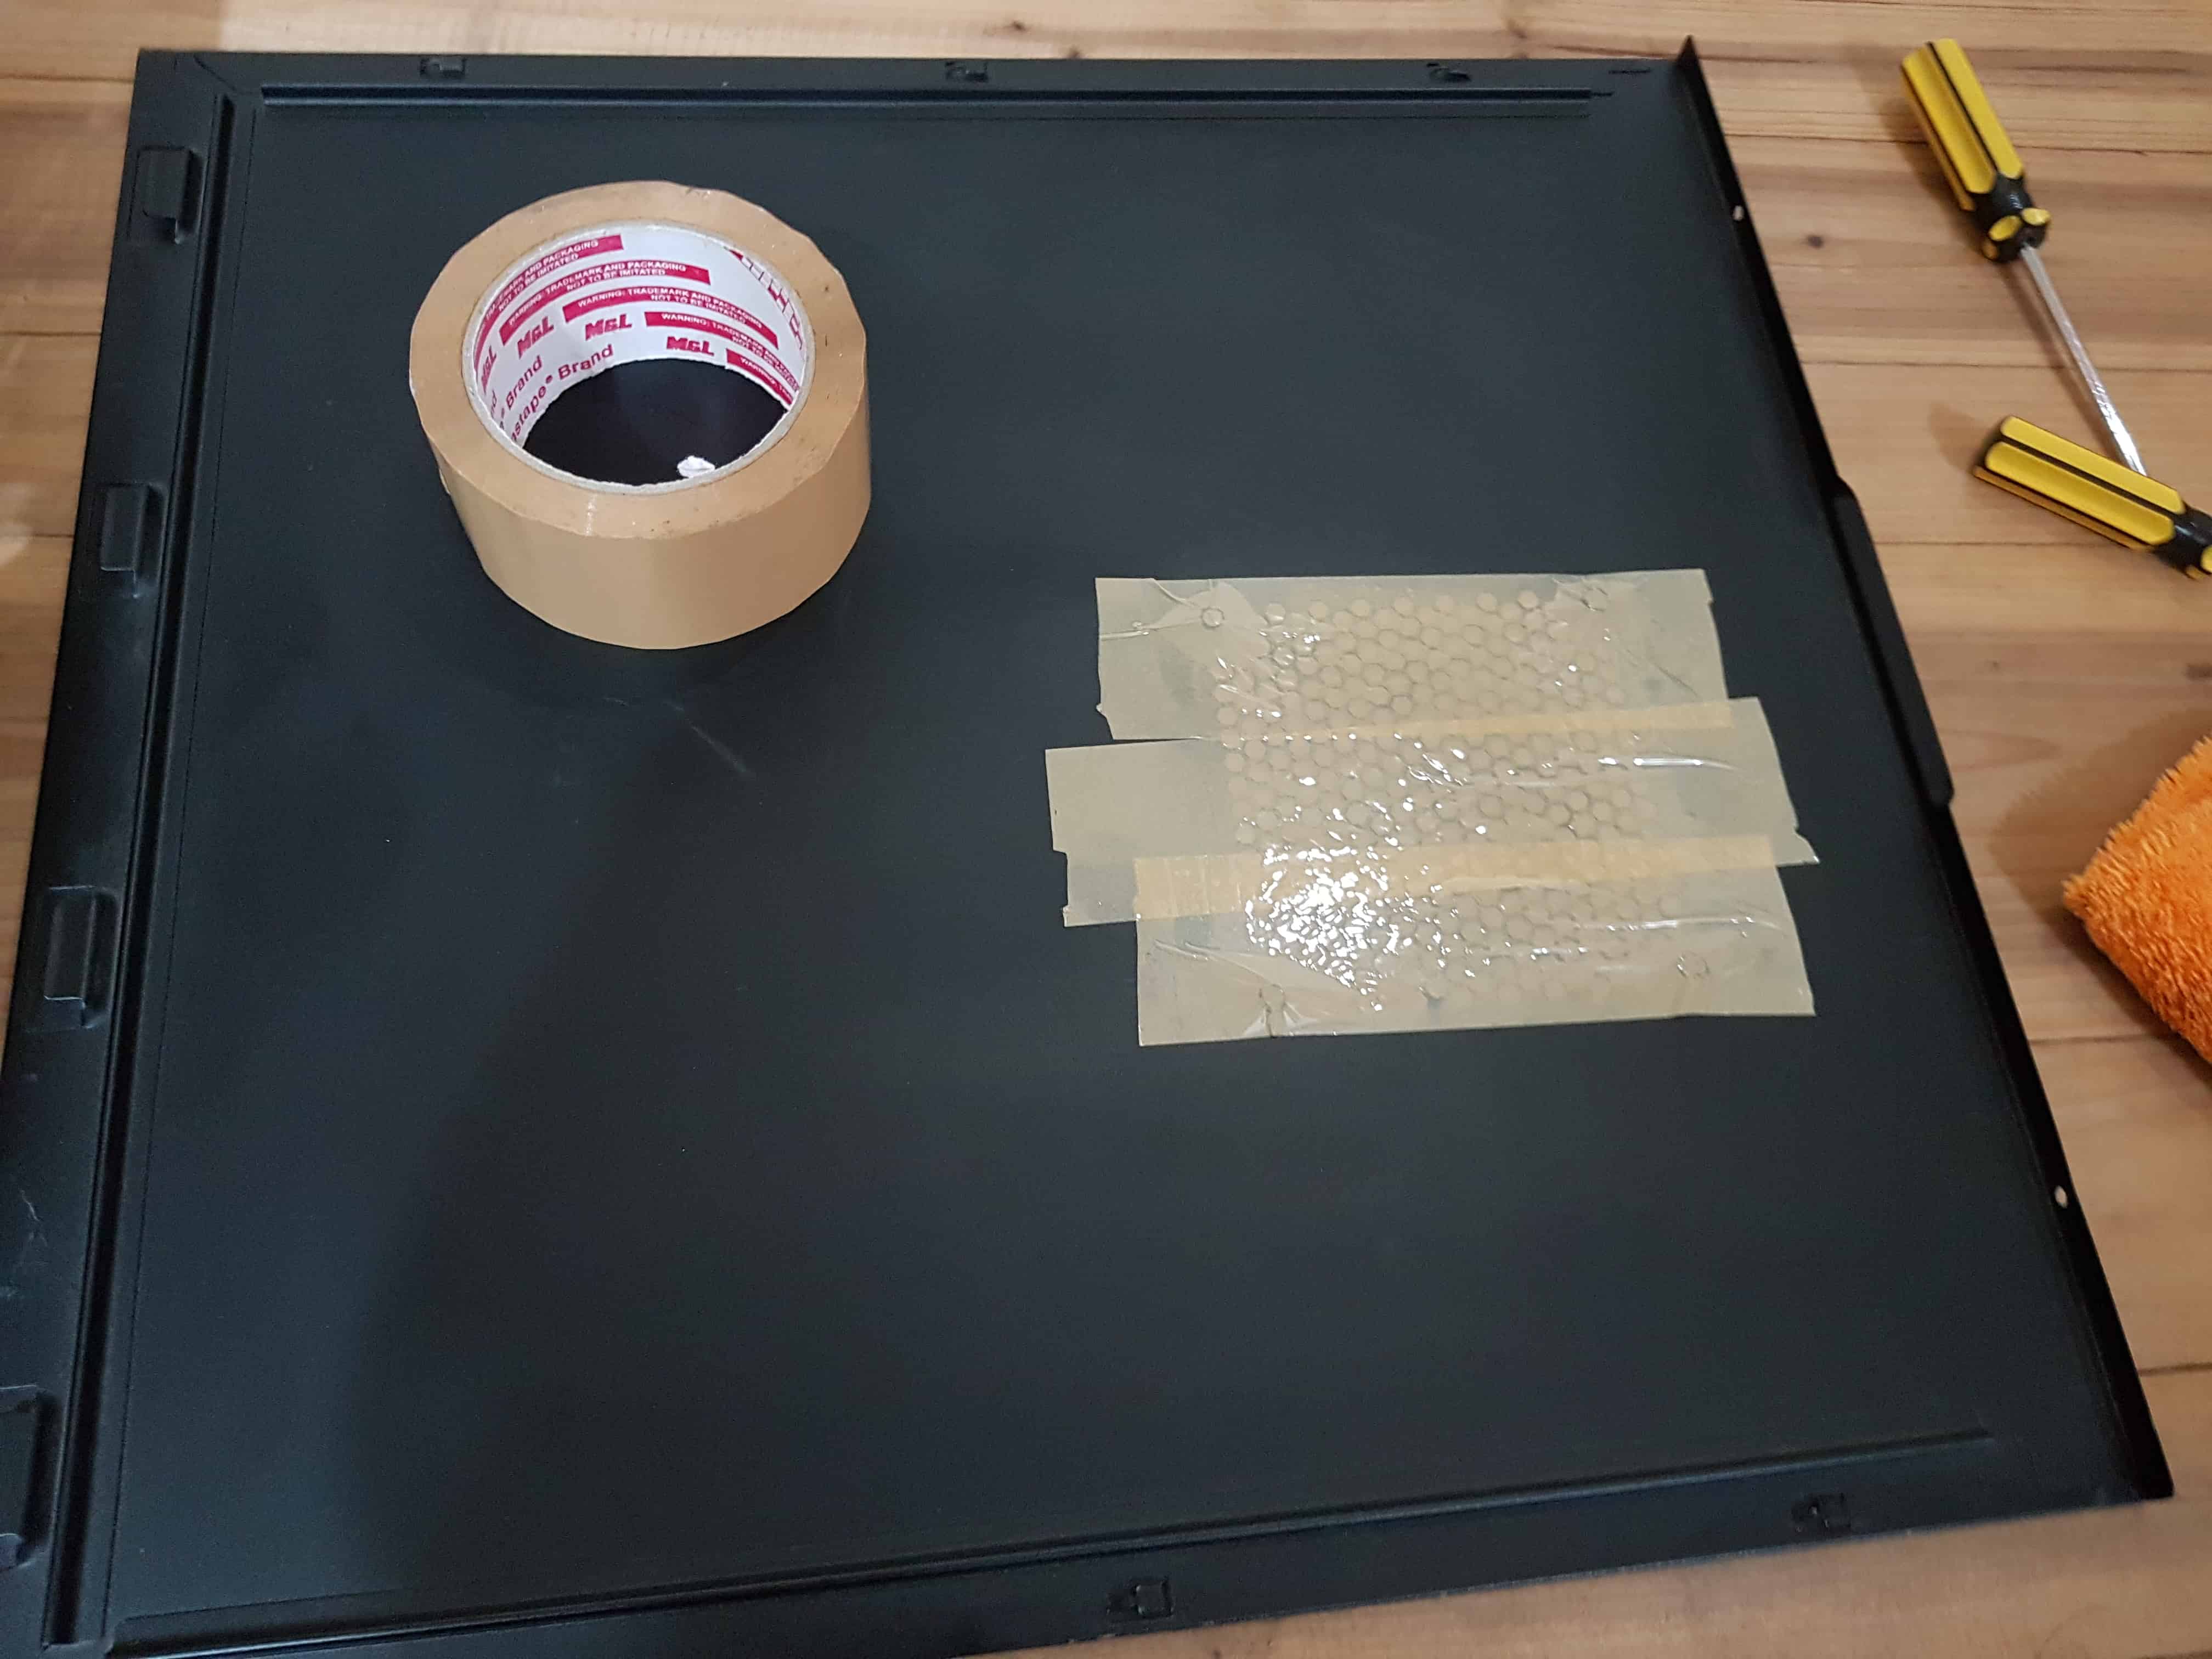
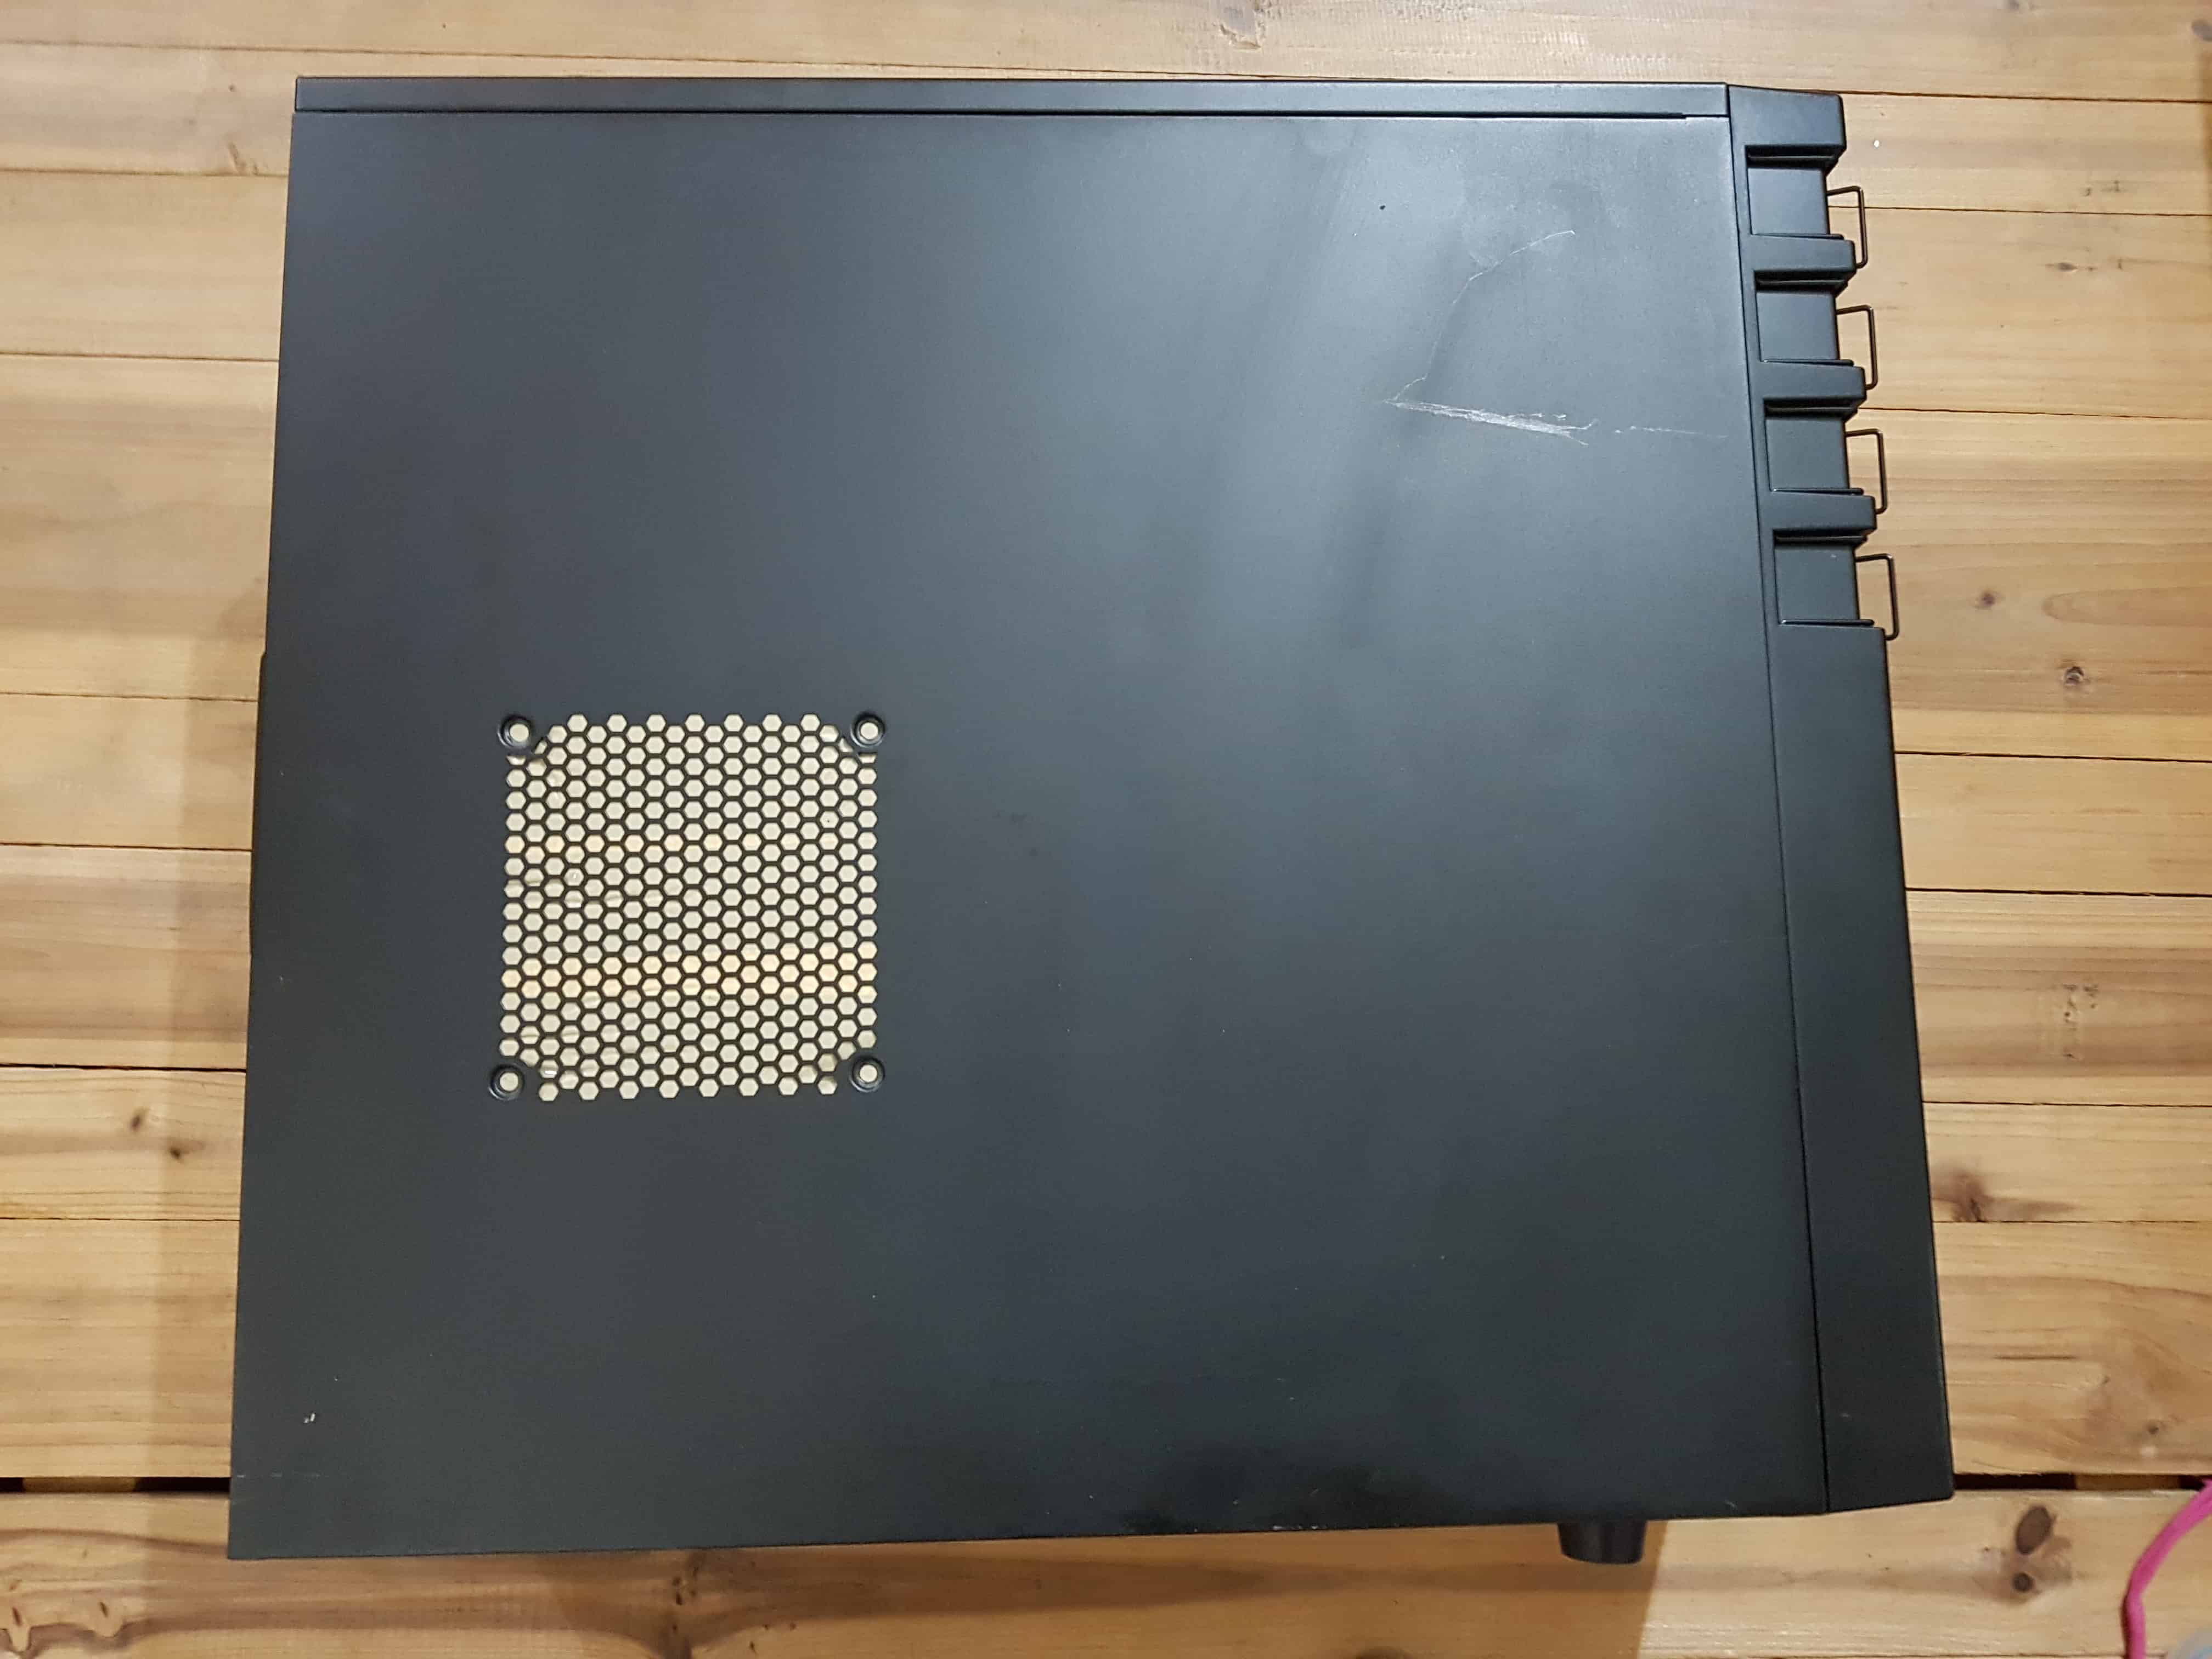
I will be taping off the side fan area of the case. Unfortunately I do not have a fan to fill it with, I will put a fan in there once the one I ordered comes in. Since my airflow is negative pressure, I want most air coming in in the front which is filtered.
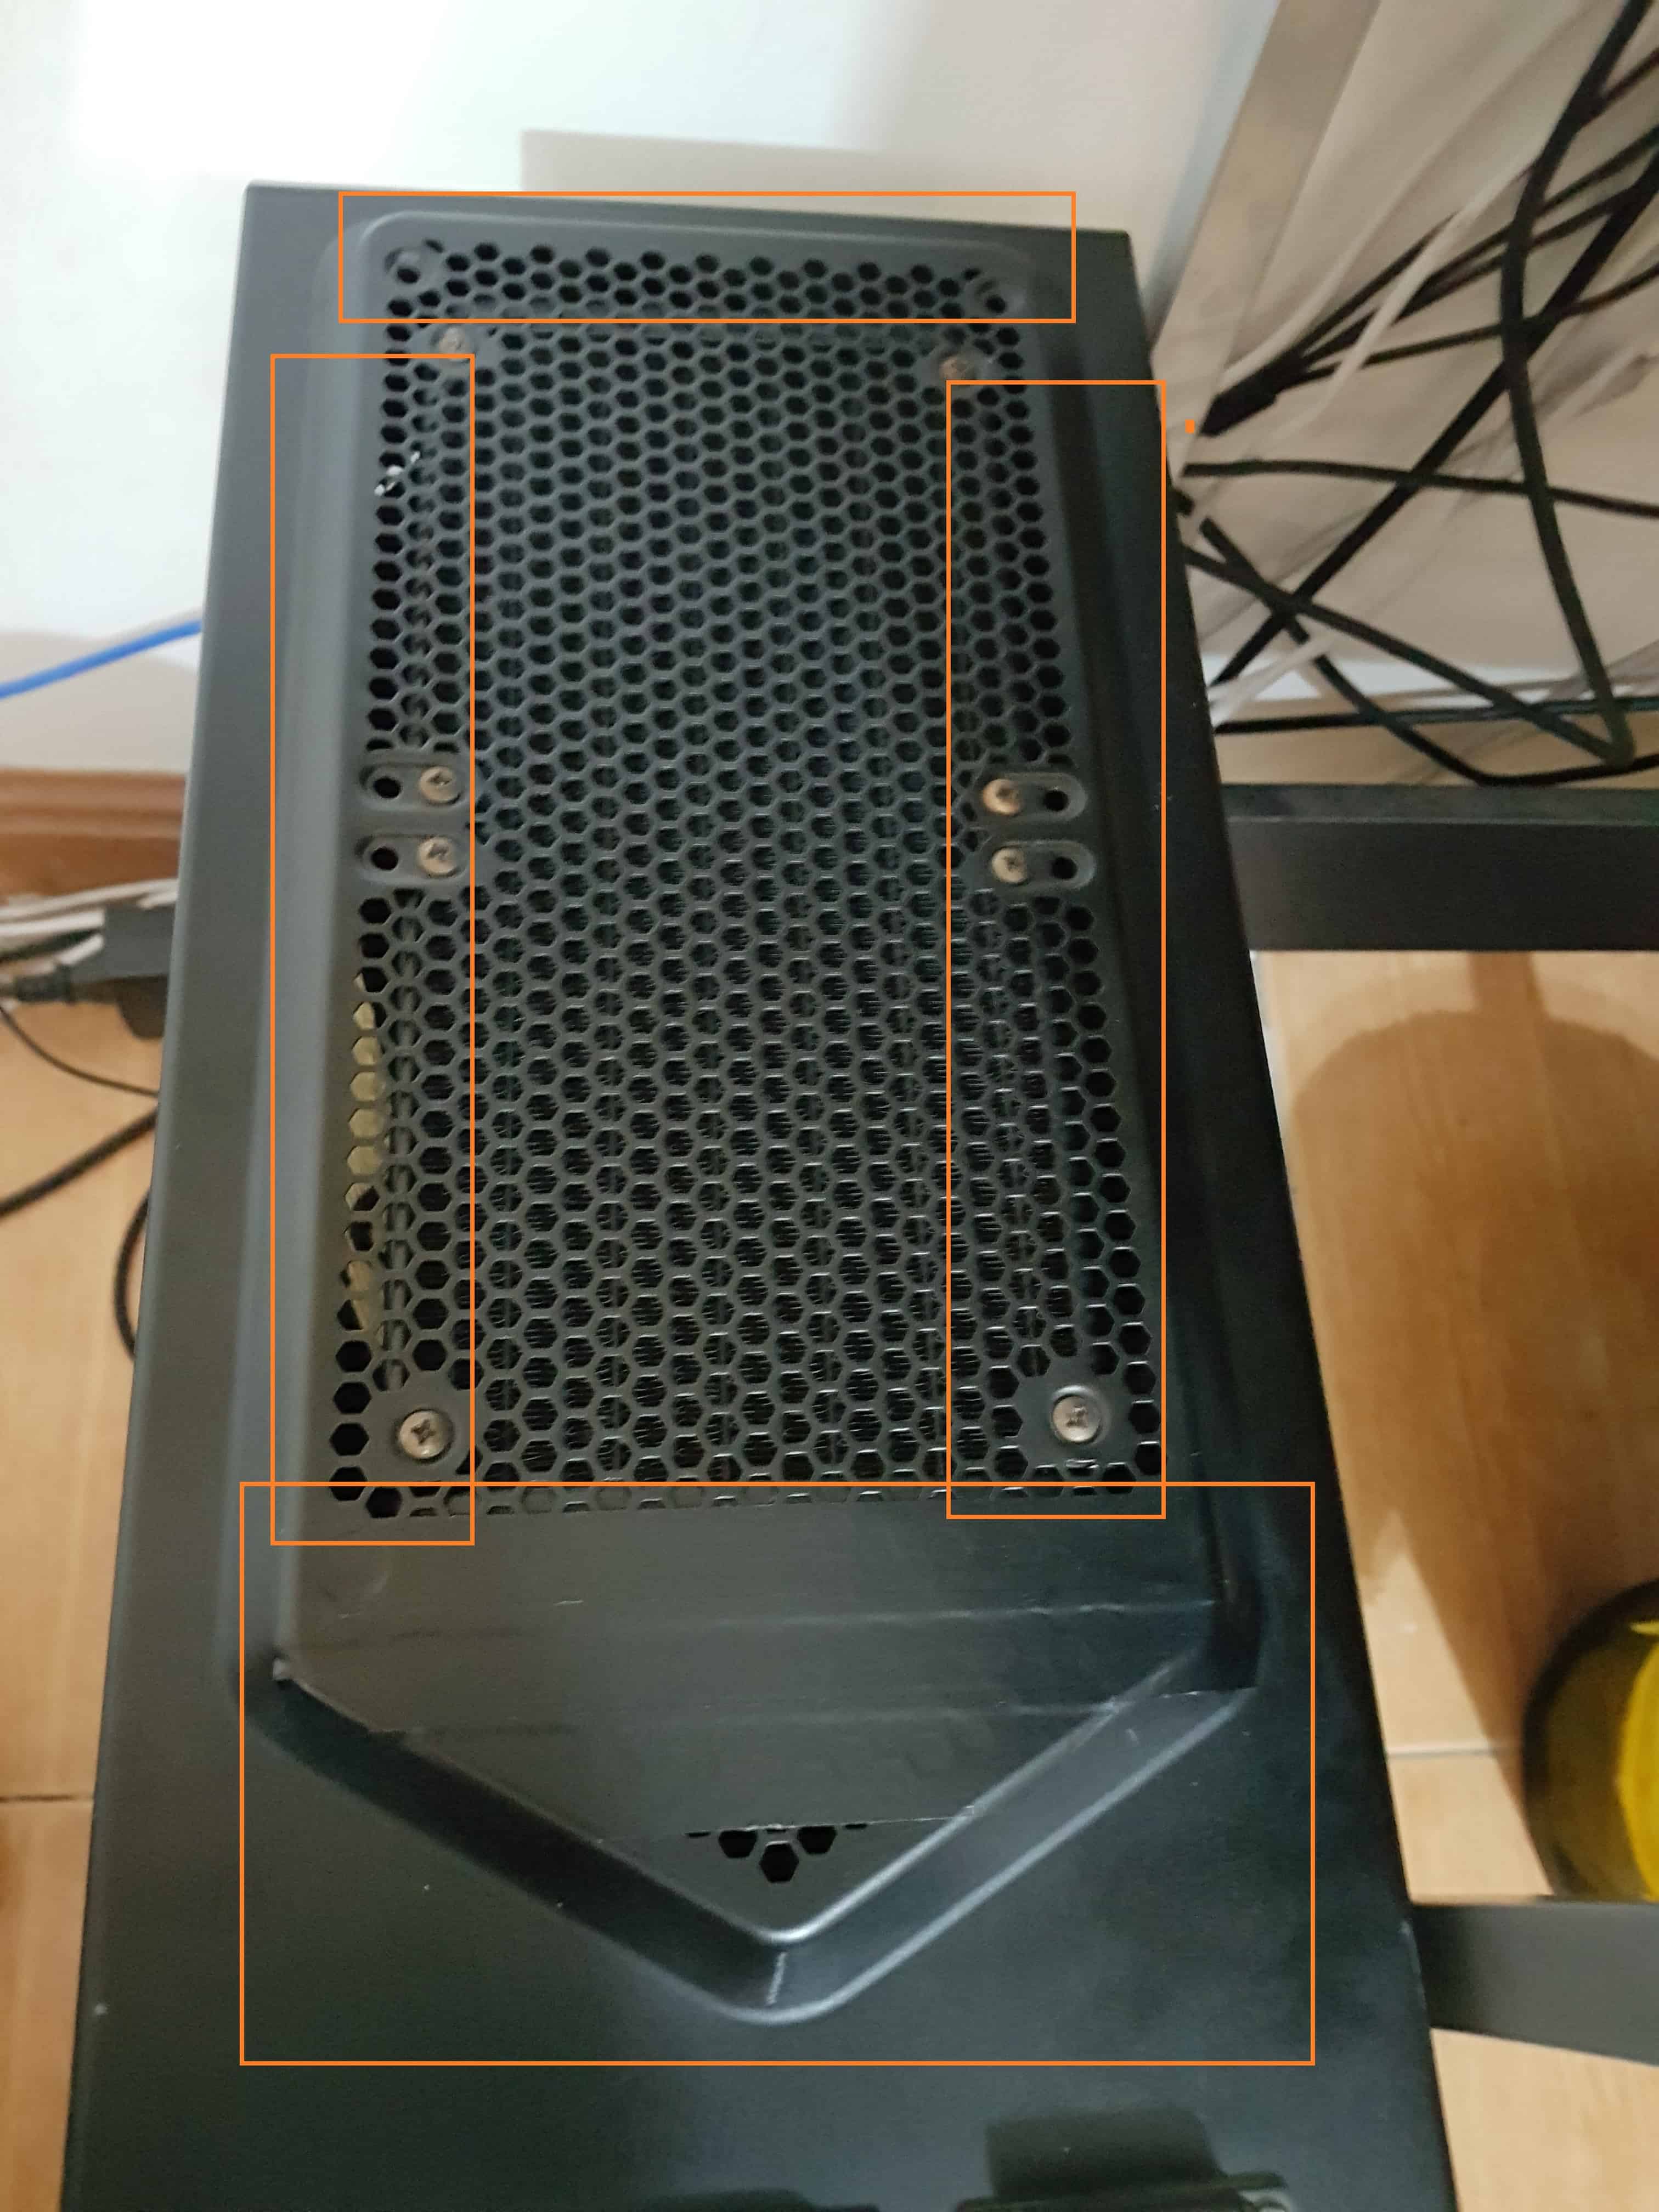
I will also be sealing off the top part of the case where the radiator doesn’t quite meet the edges of the top fan area of the case.
And we are done! Time for some testing!
Testing performance
Before I tore down the PC, I did some benchmarks with the intent of comparing the results between the super dirty PC and a clean one. Both will have the same configuration where the 2500K is overclocked to 4.6 GHz at +0.80V voltage offset.
Cinebench

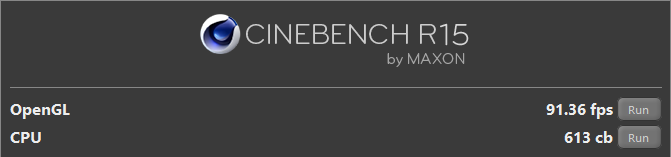
Same CPU scores but higher FPS for the dusty PC?!? Probably just margin of error.
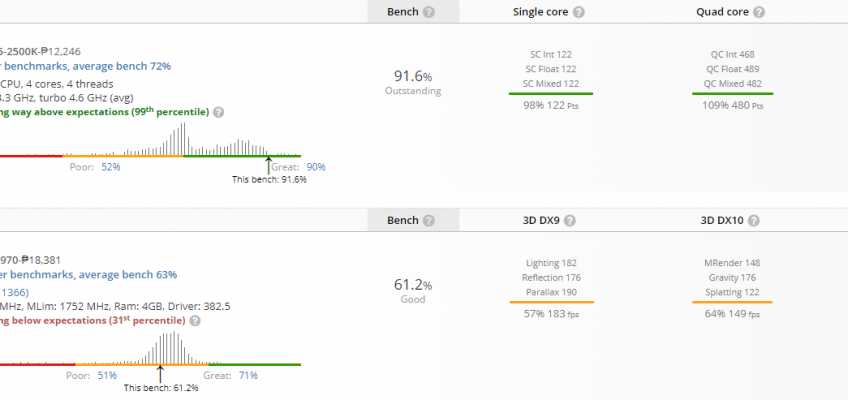
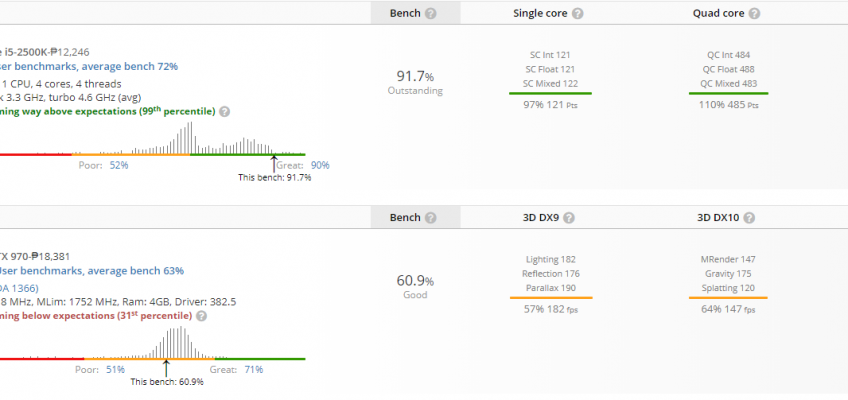
Userbenchmark
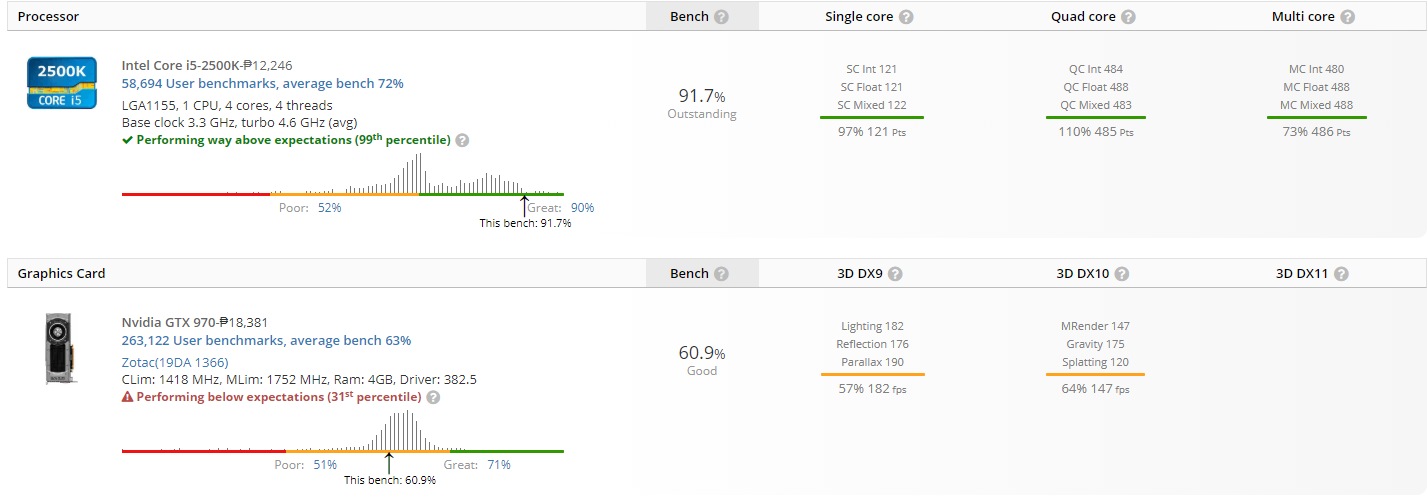
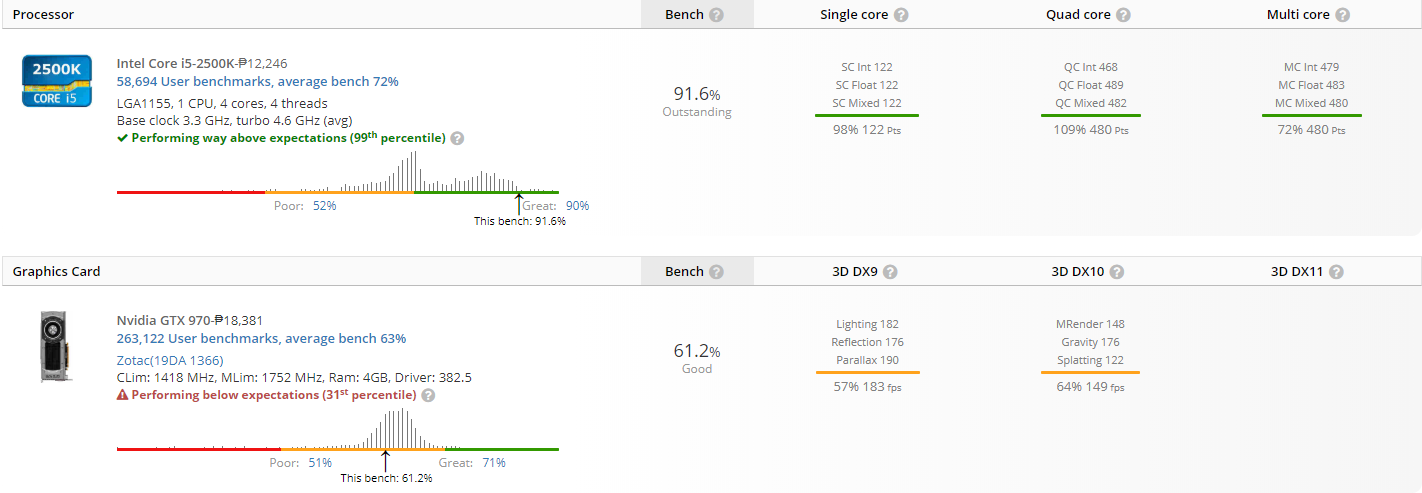
The results are pretty much the same in this one.
Uningine Heaven
Settings: D3D11 | Ultra Quality | Extreme Tesselation | 3440×1440 8xAA

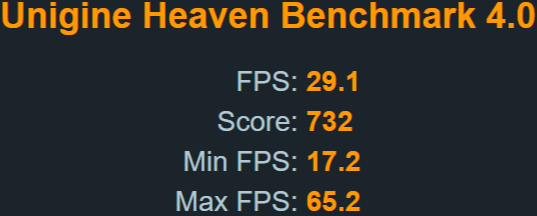
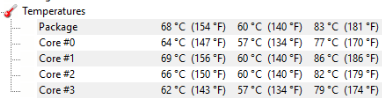

Now there’s a clearer gap between the two. Since the benchmark stresses the components more, generates more heat and lasts longer.
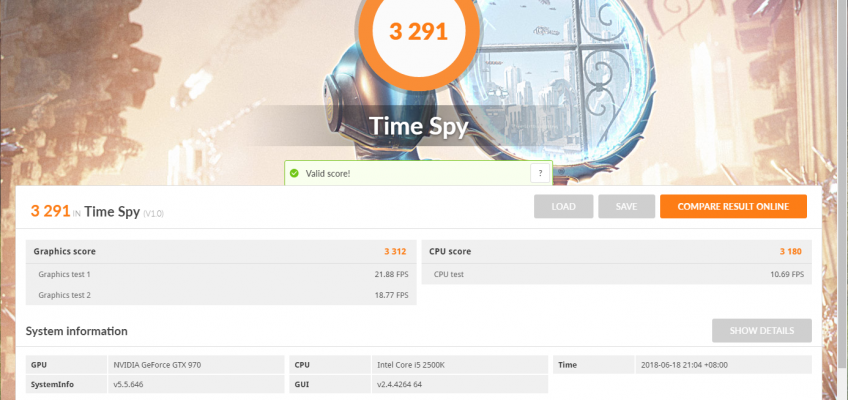
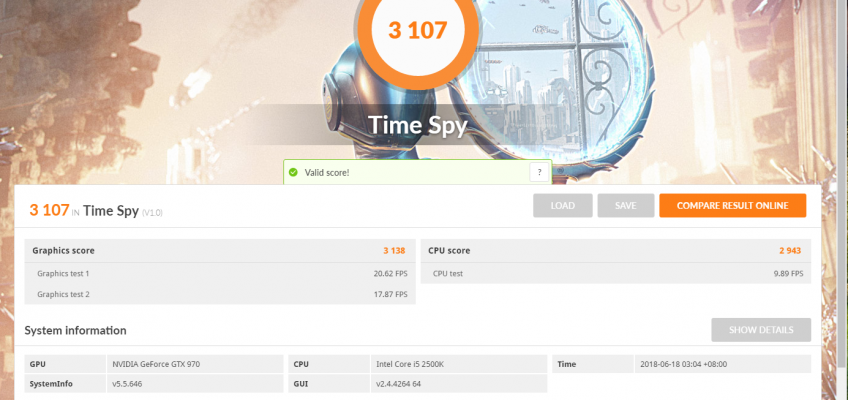
3DMark Firestrike

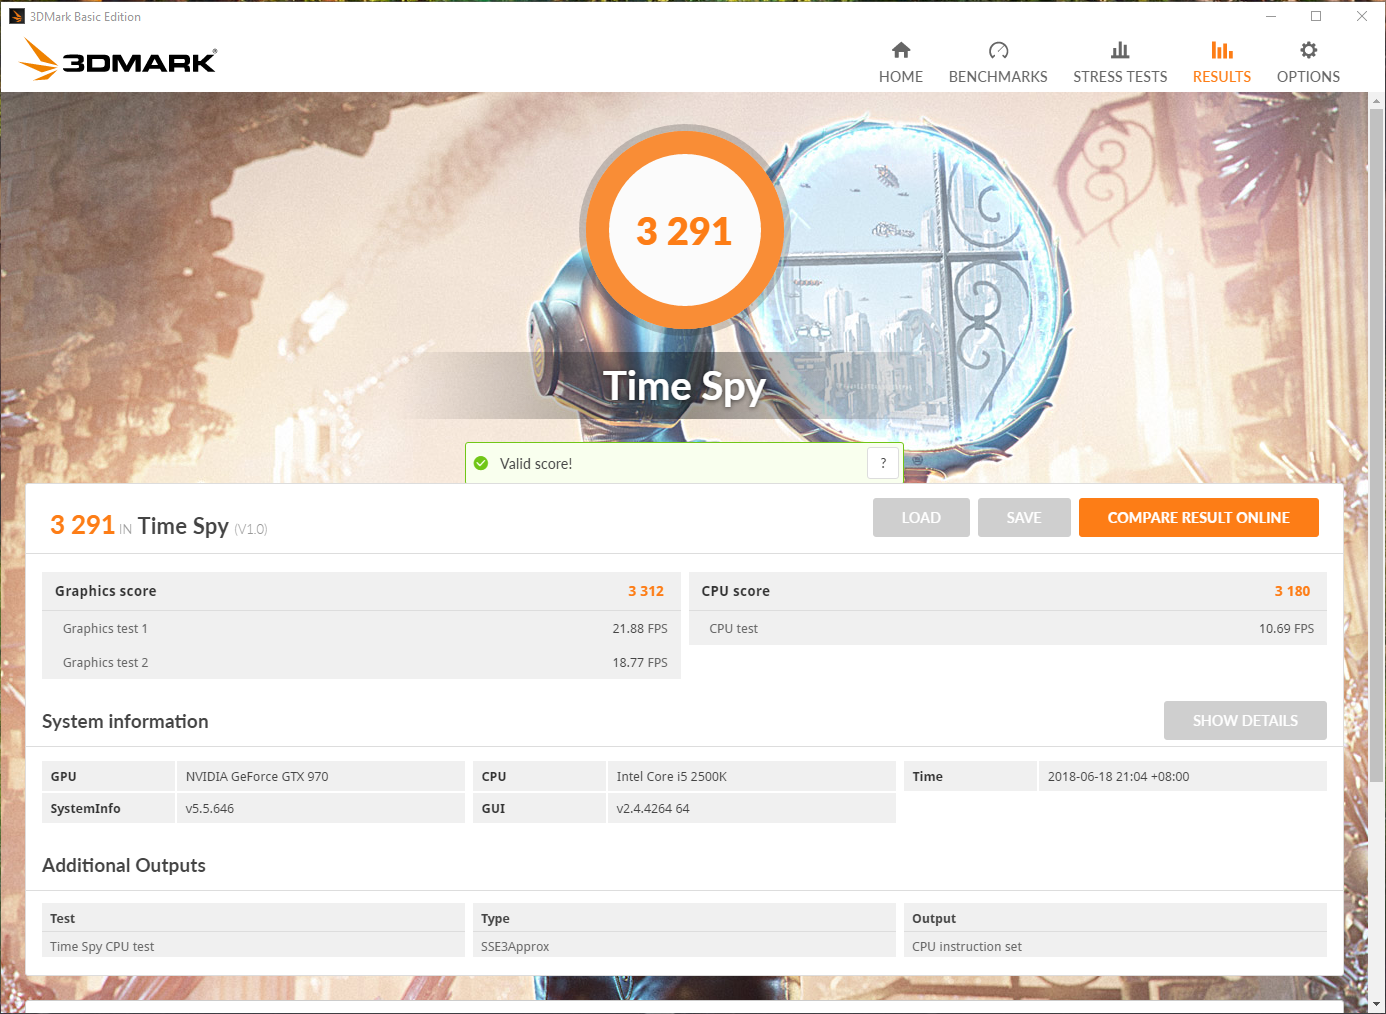
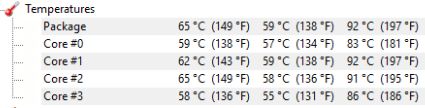

Similar story here.
TL:DR
Regularly clean your PC! Dust buildup will interfere with cooling, decreasing your thermal headroom and making you reach the throttling temperatures.