
Old Mac
I’ve recently needed an iOS development machine for a couple of projects, and while I could use a hackintosh or a macOS inside a virtual machine (VM), I thought that I could use an old MacBook Pro we have lying around. After updating the macOS X Lion to Sierra and installing XCode, the hardware started to show its age.
The device is a MacBook Pro (13-inch, Early 2011) A1278. It has the following:
CPU : 2.4 GHz dual-core Intel i5 processor with 3MB L3 cache
RAM : 4 GB 1333 MHz DDR3
Storage : 320 GB 5400 RPM SATA HDD
Time for an upgrade!
I considered getting a new one but for the cost and I generally just don’t like the newer macbook pros, it might be worthwhile to just upgrade this one.
Usually with these older laptops, you can easily get massive performance boost by upgrading the RAM and the storage device. And its a no brainer since its one of the few user serviceable parts in a macbook pro.
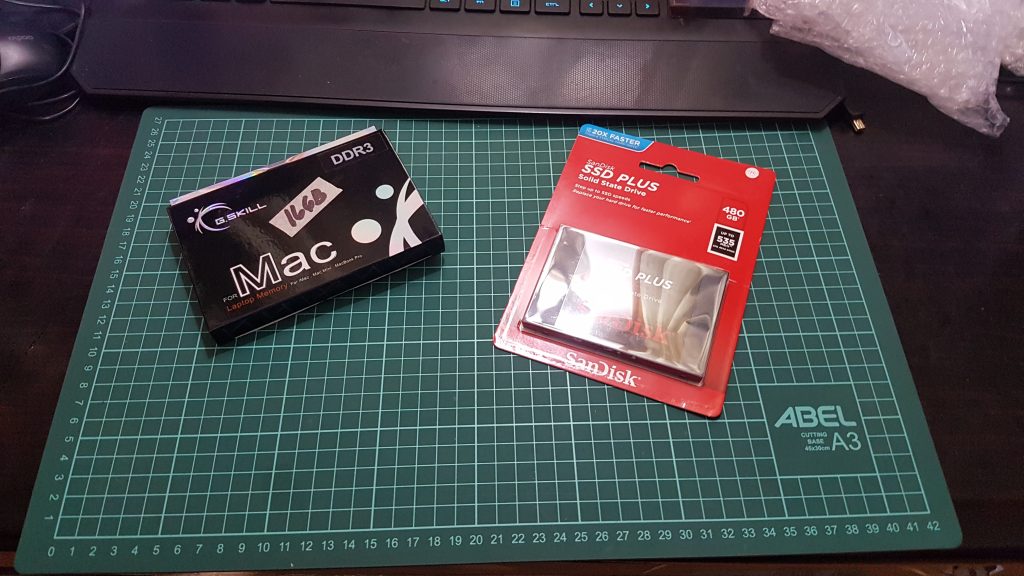
I went to Lazada PH and checked if there’s RAM compatible for this old macbook pro, also looked for an SSD drive, and I found the following:
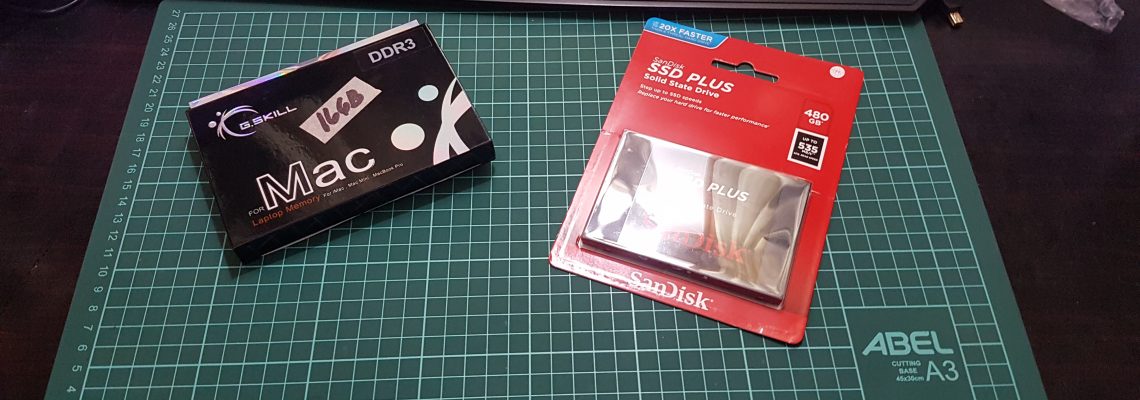
RAM : Gskill FA-1333C9D-16GSQ 16GB DDR3 1333 Mac Compatible Memory 2011 Series
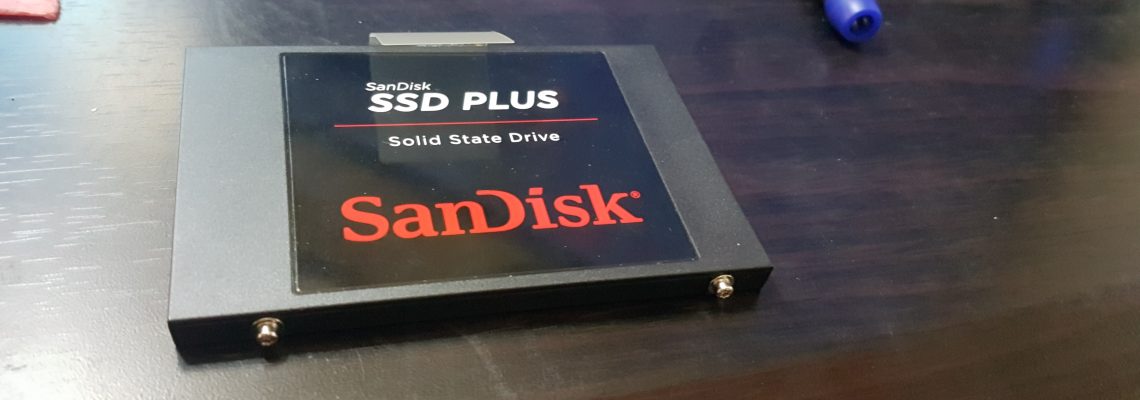
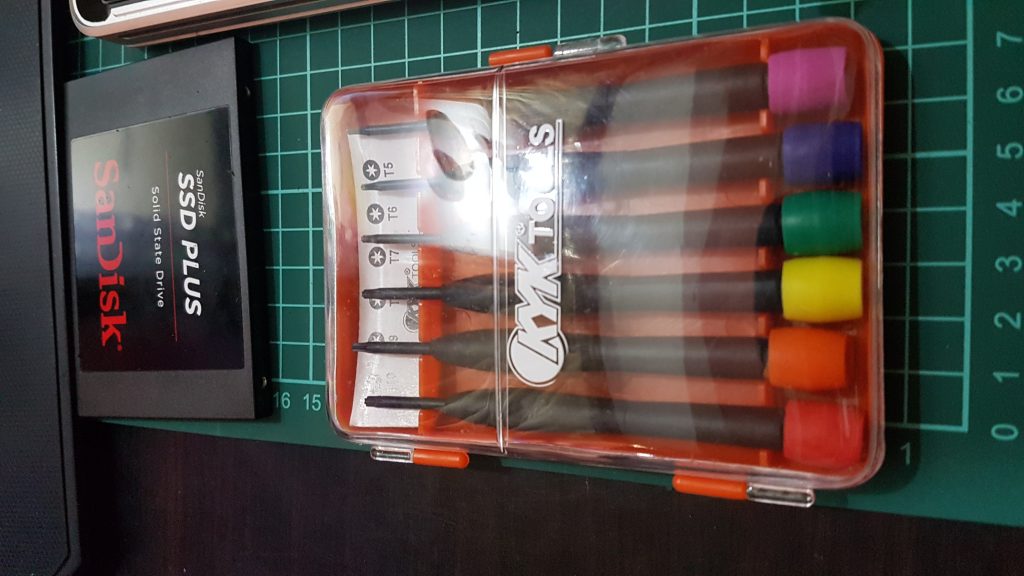
SSD : SanDisk SDSSDA-480G 480GB SSD PLUS Solid State Drive
Upgrade Process
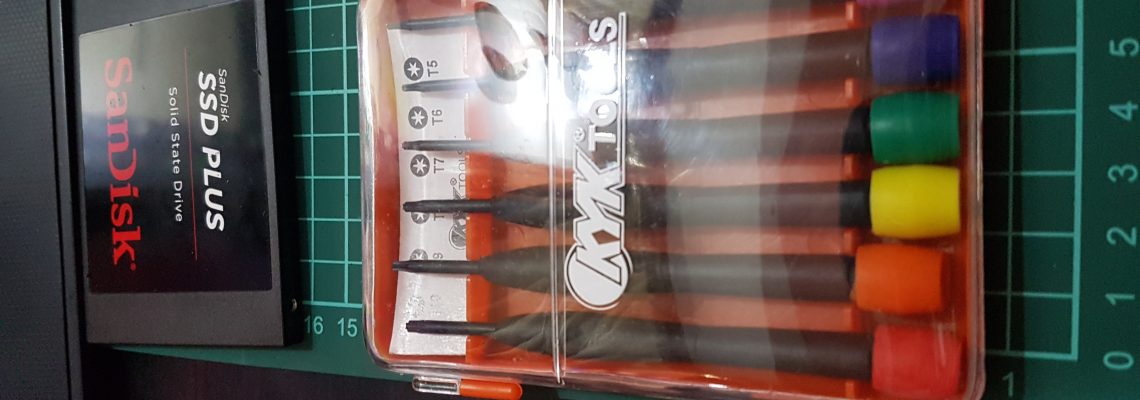
To proceed with the upgrade I needed two screwdriver types:
- 00 Philips screwdriver
- T6 Torx screwdriver
The following photos are the steps that it took me to replace both those components.
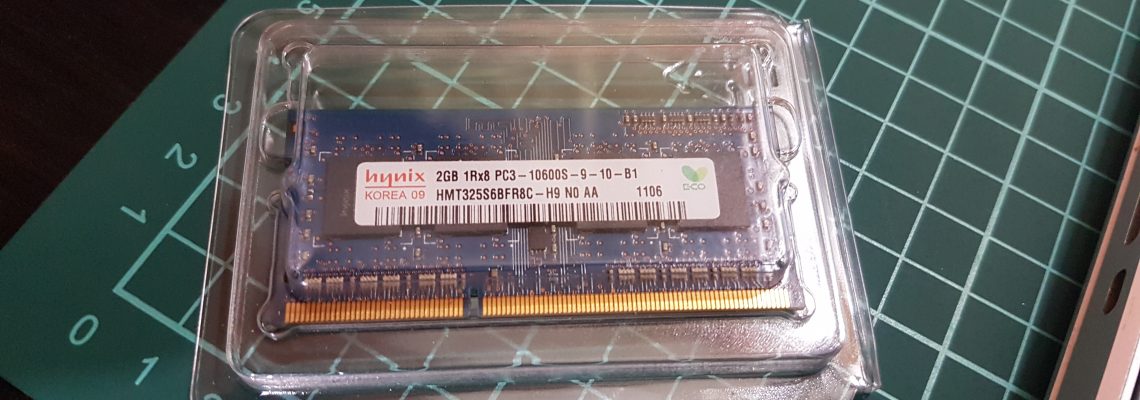
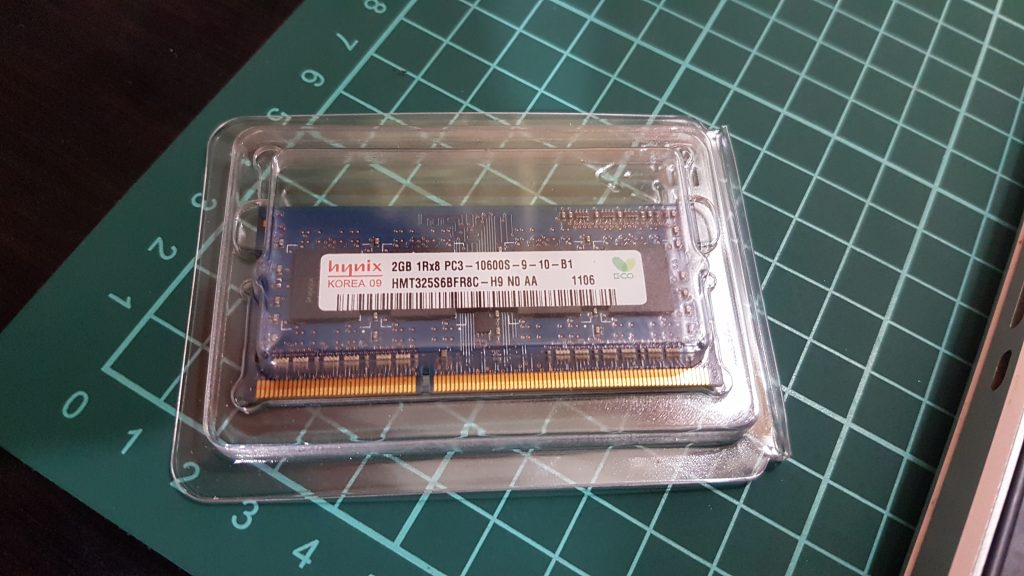
Here’s the RAM and SSD.
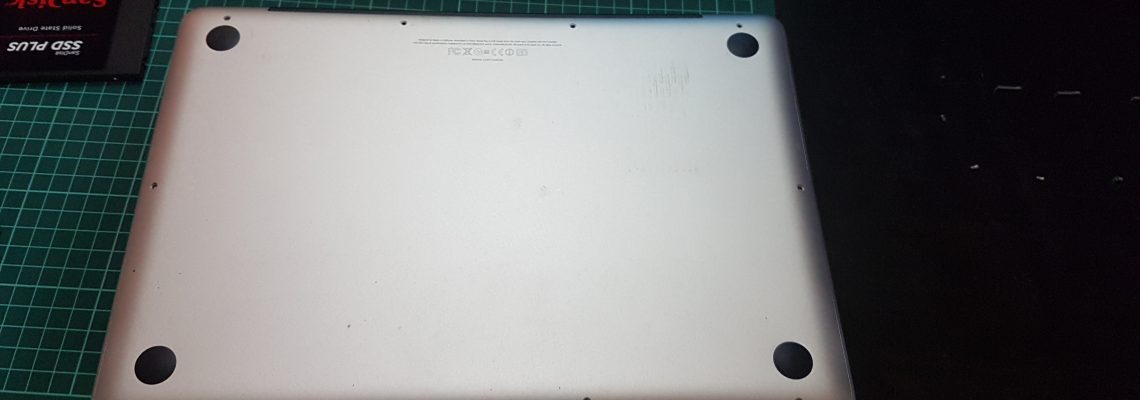
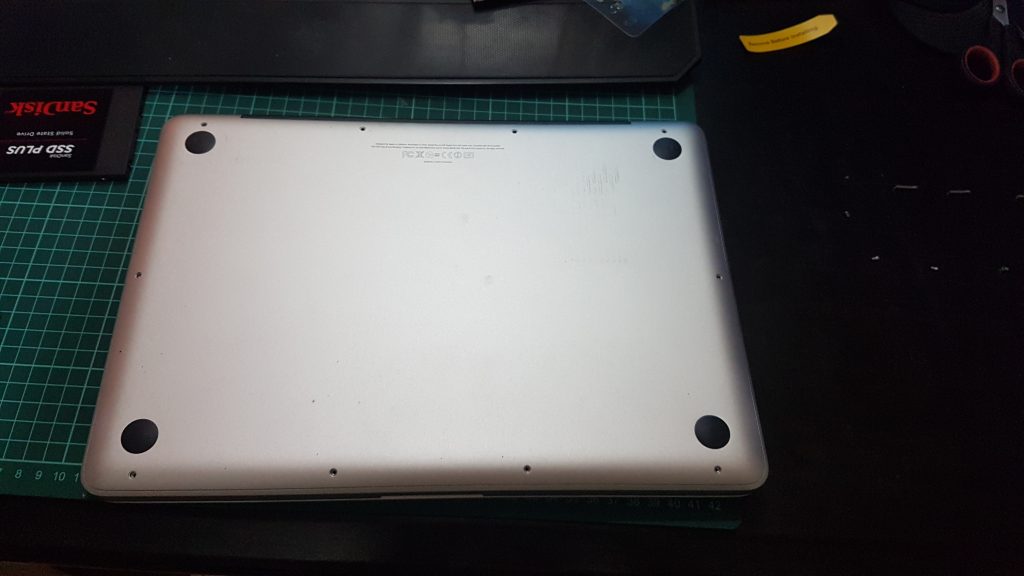
Turn it around and remove the screws using the philips screwdriver.
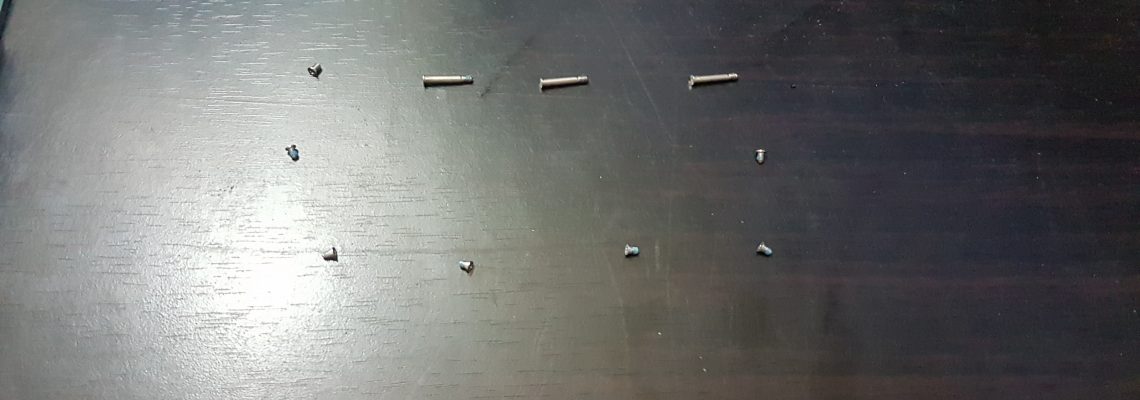
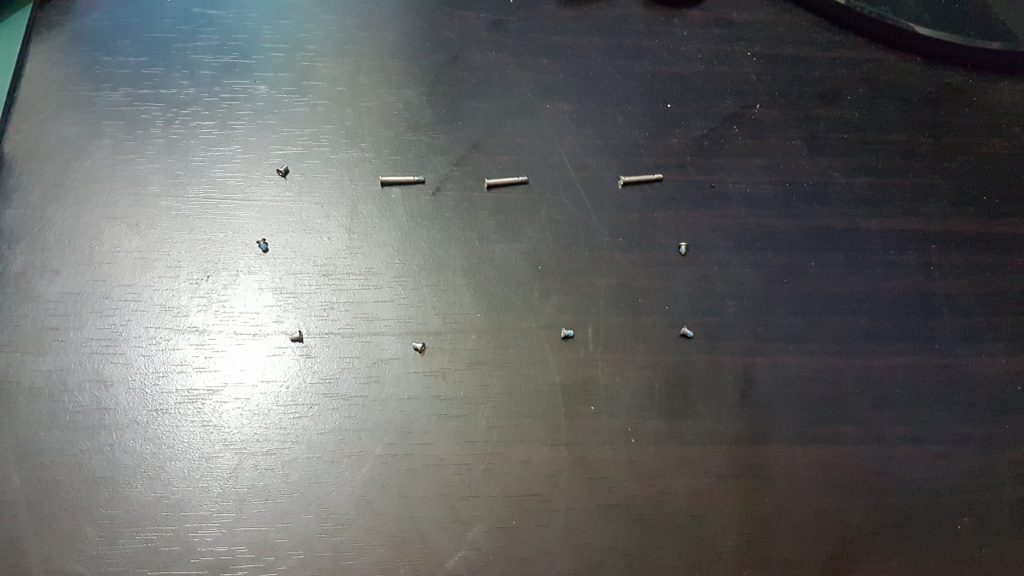
I arrange the screws the same way as I removed it as a practice so I do not forget.
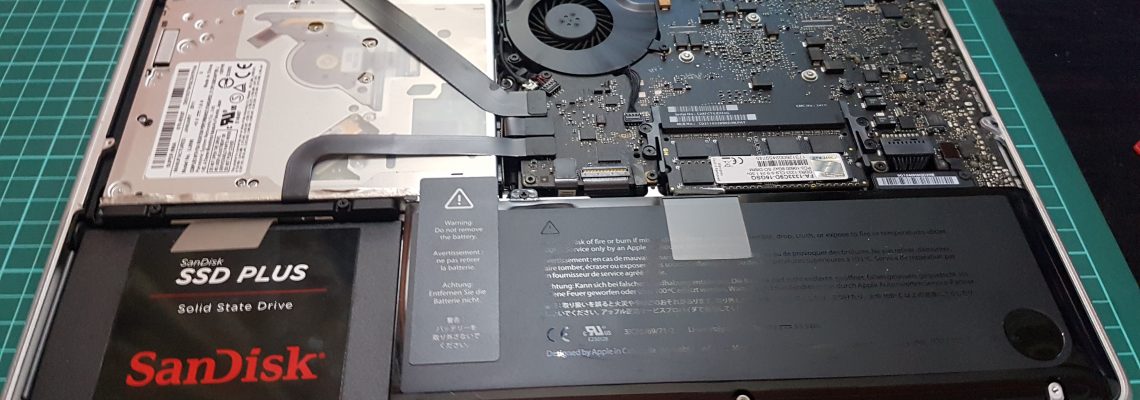
Remove the top cover, pull from the backside near the hinge for the screen.
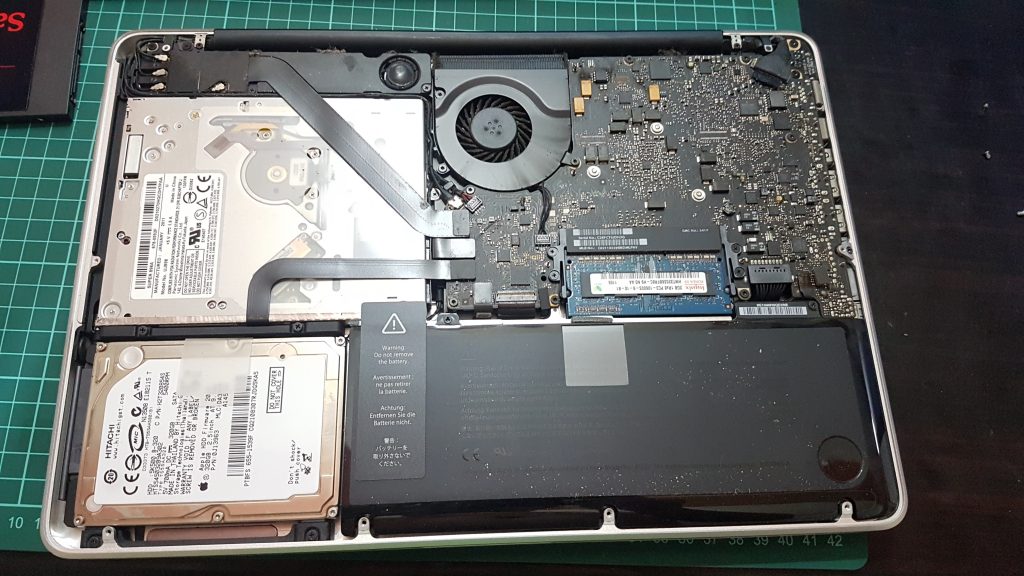
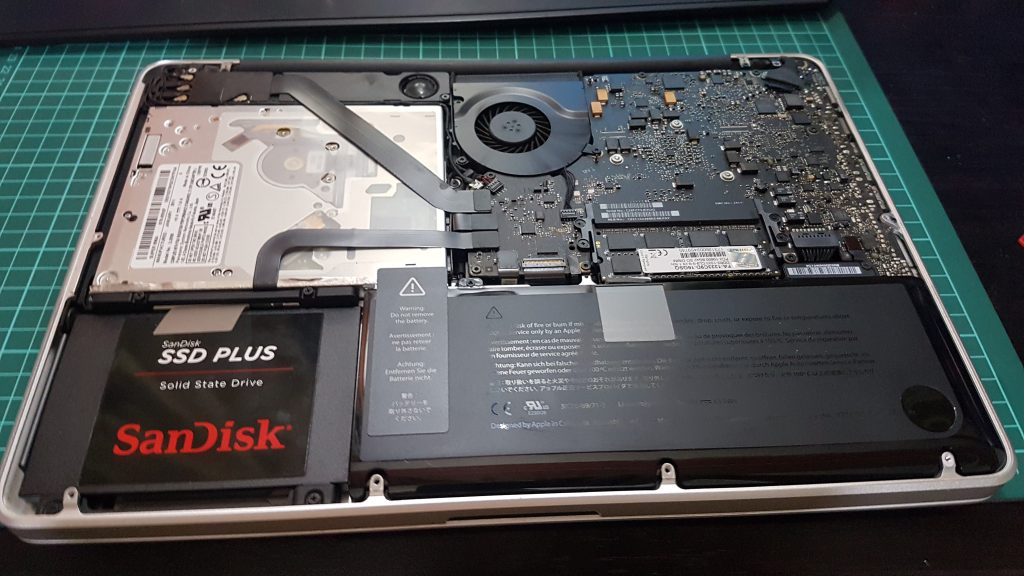
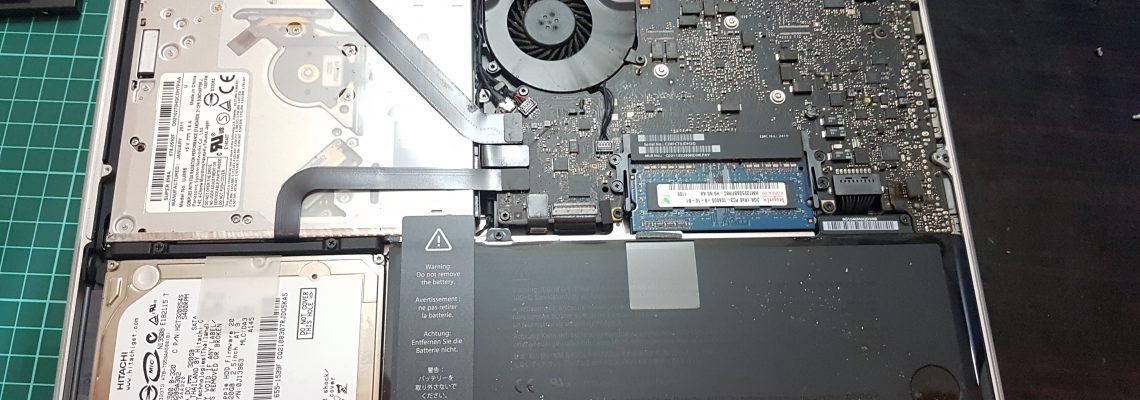
Disconnect the battery to be on the safe side, I used a little plastic to push it up.
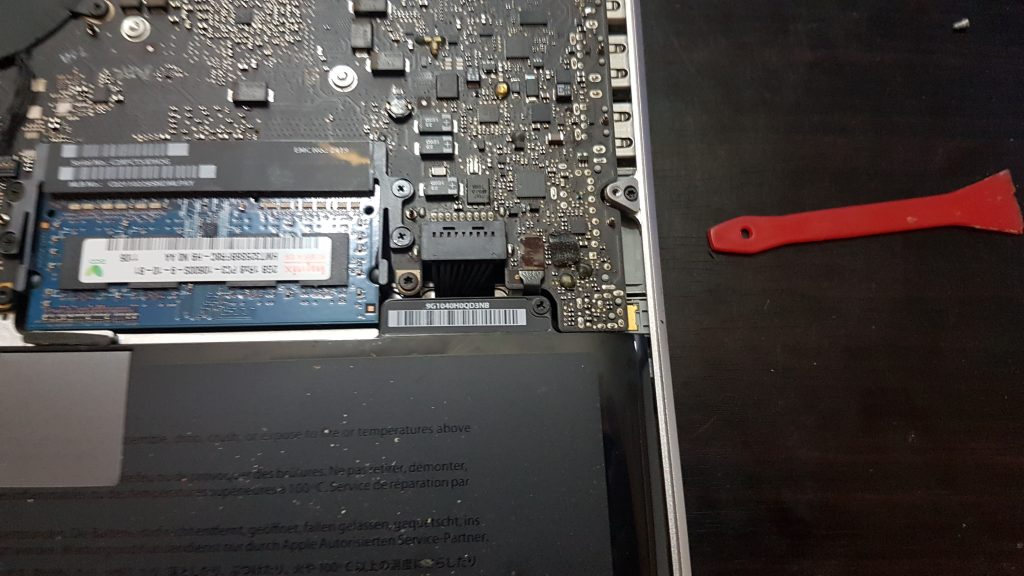
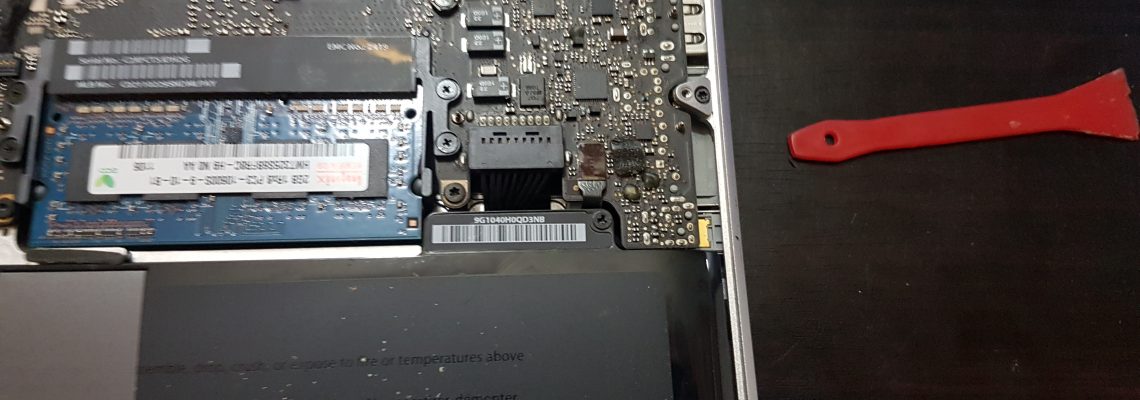
Now that the battery is disconnected, time to remove the RAM, push to the side those rounded notches.
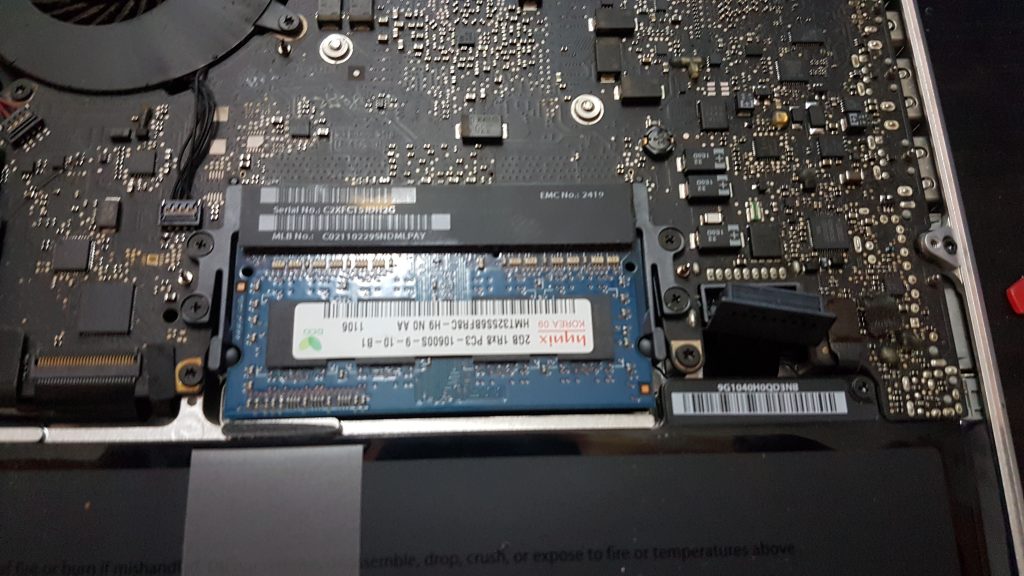
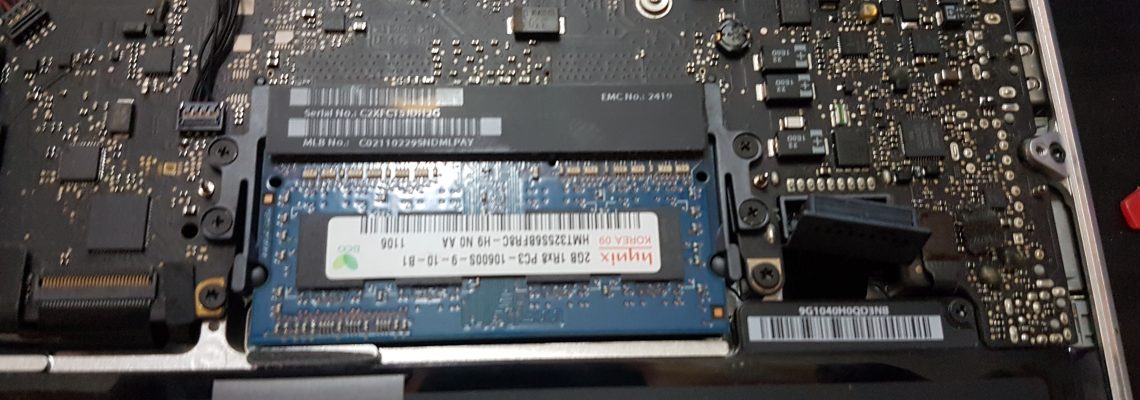
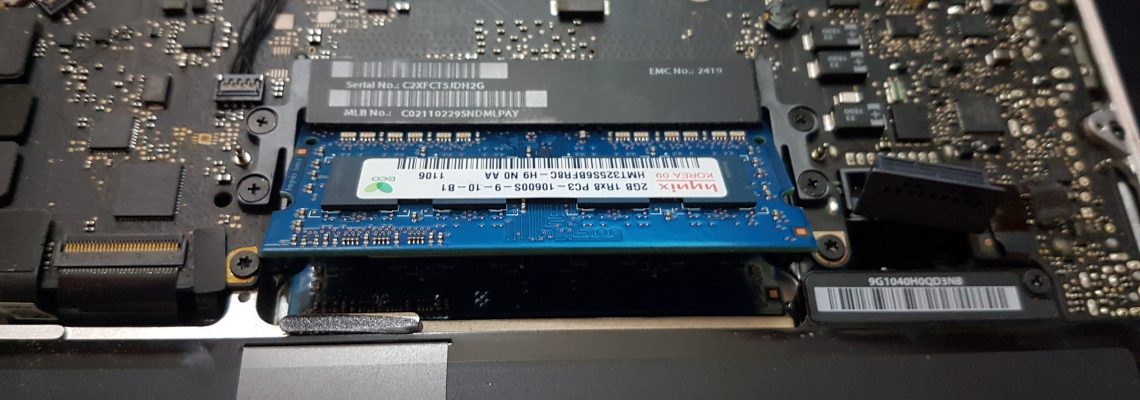
First RAM stick popped out.

Here goes the second.
Forgot to take photos, but just slap in the new RAM where the old ones were.
Put the old RAM into the new RAM’s packaging just in case I need it in the future.
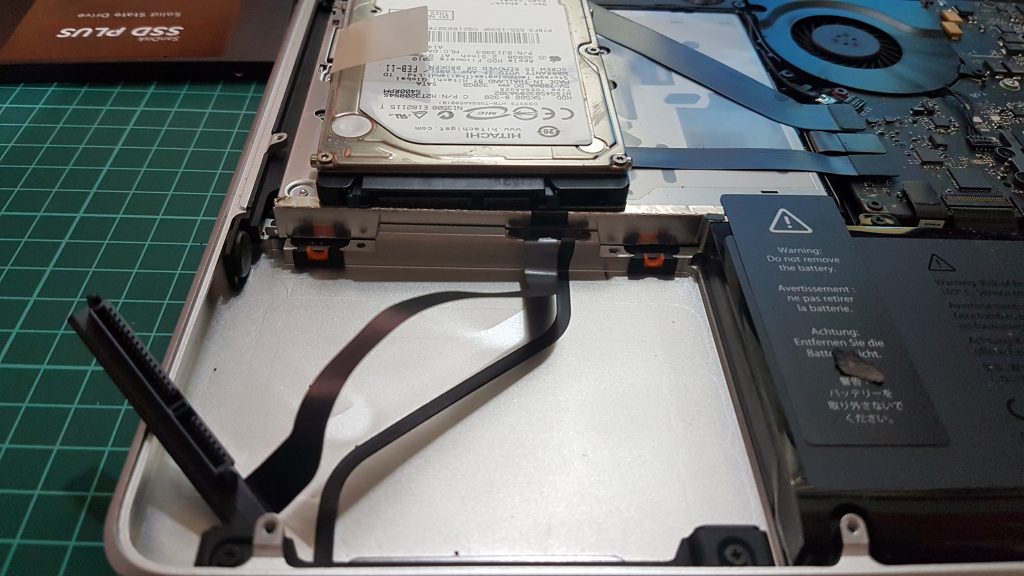
Next, the HDD to SDD upgrade.
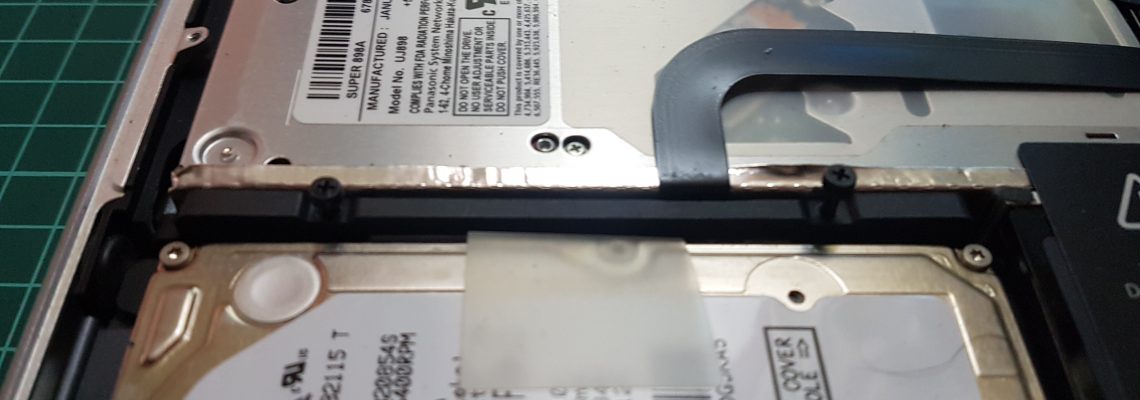
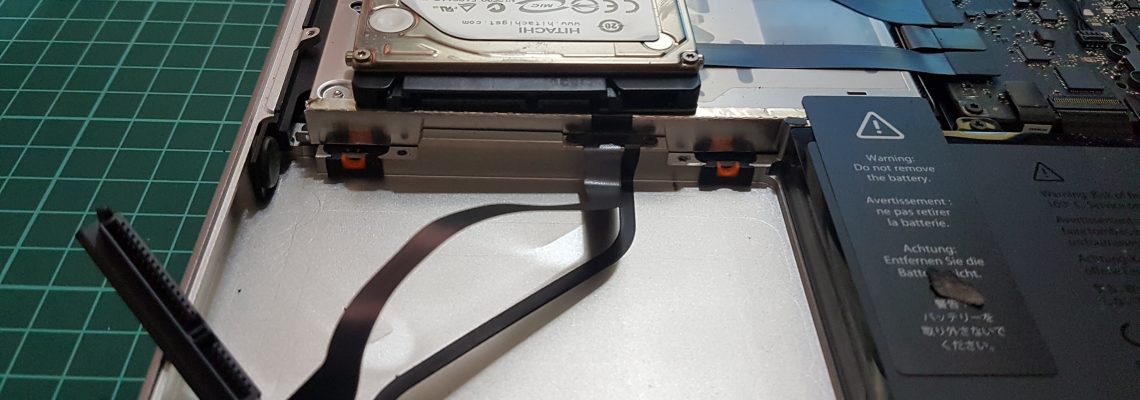
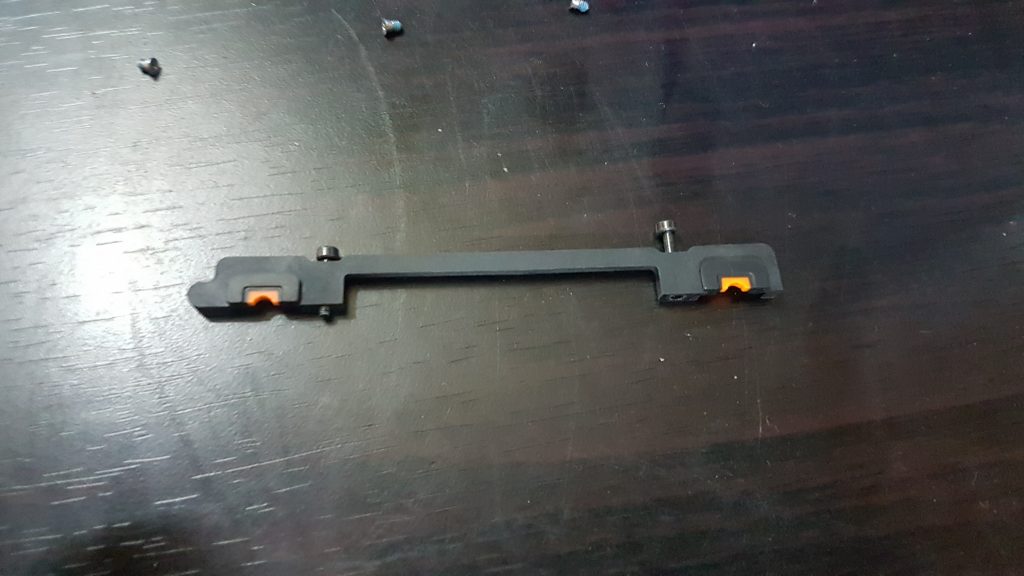
Loosen those screws that secure that black plastic bar that secures the HDD in place.
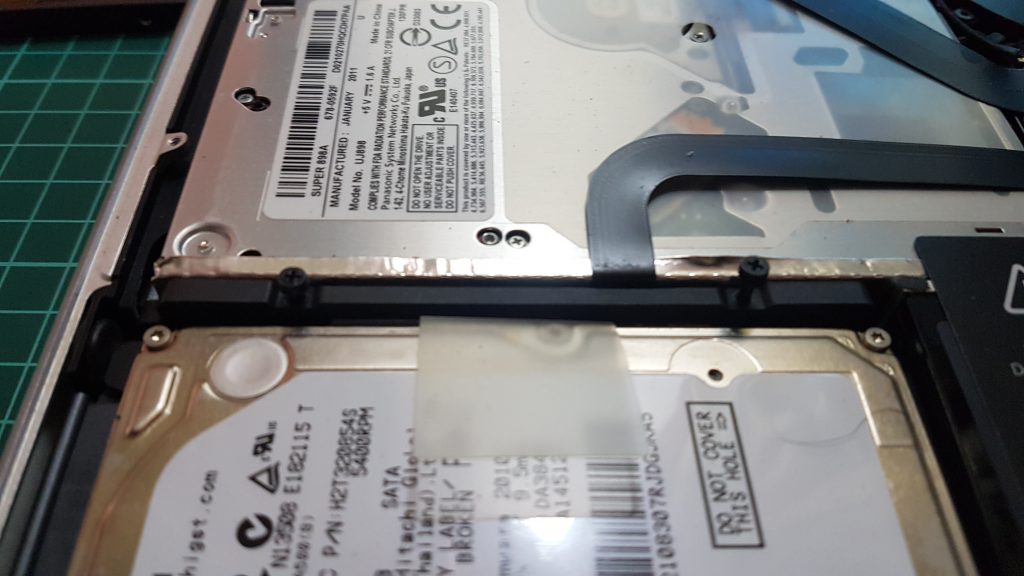
Remove that.
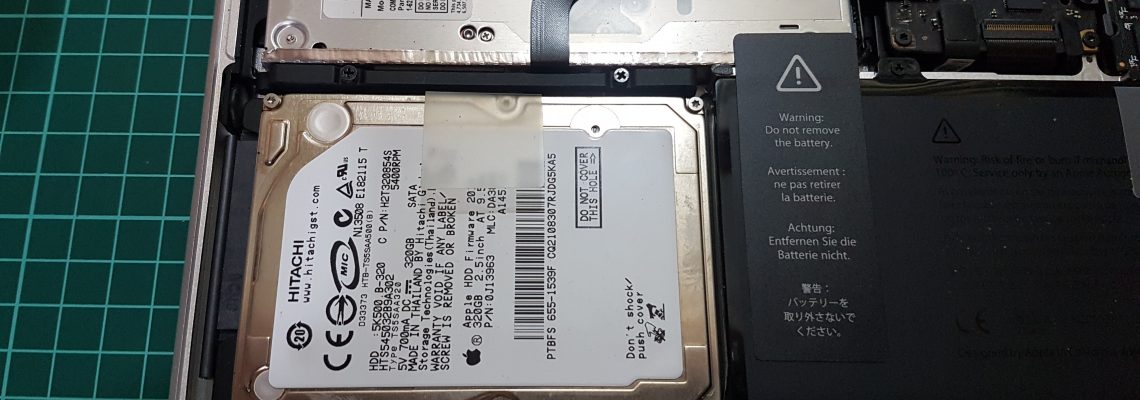
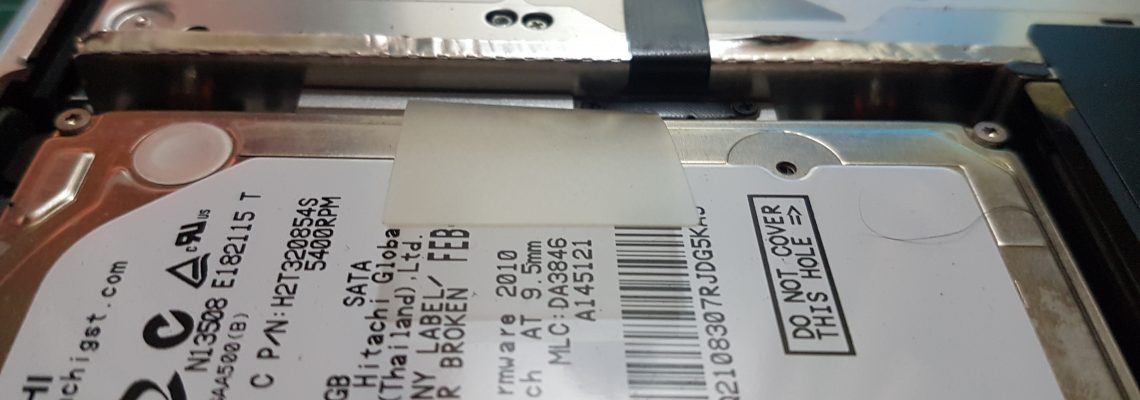
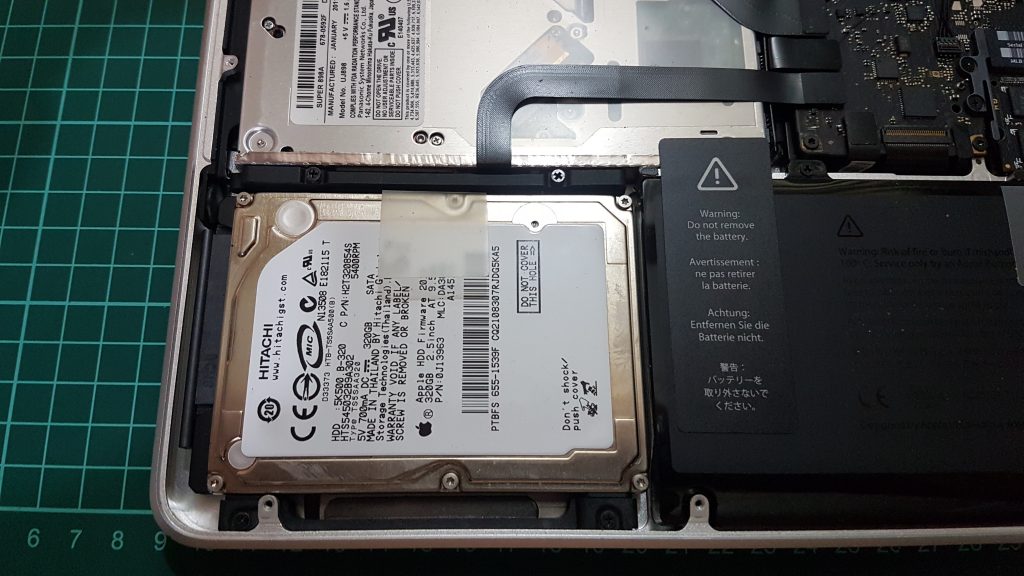
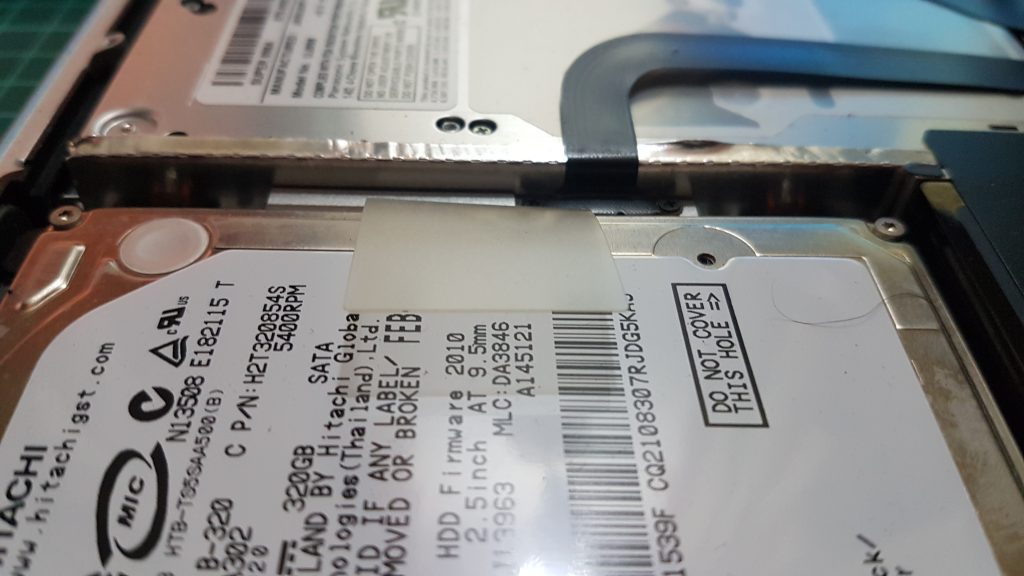
Pull this plastic pull tab to remove the HDD. Note how you have to remove it this way, so you know how to put the new one in. There are screws attached to the drive that goes in the notches of the drive bay
Here’s the old HDD.
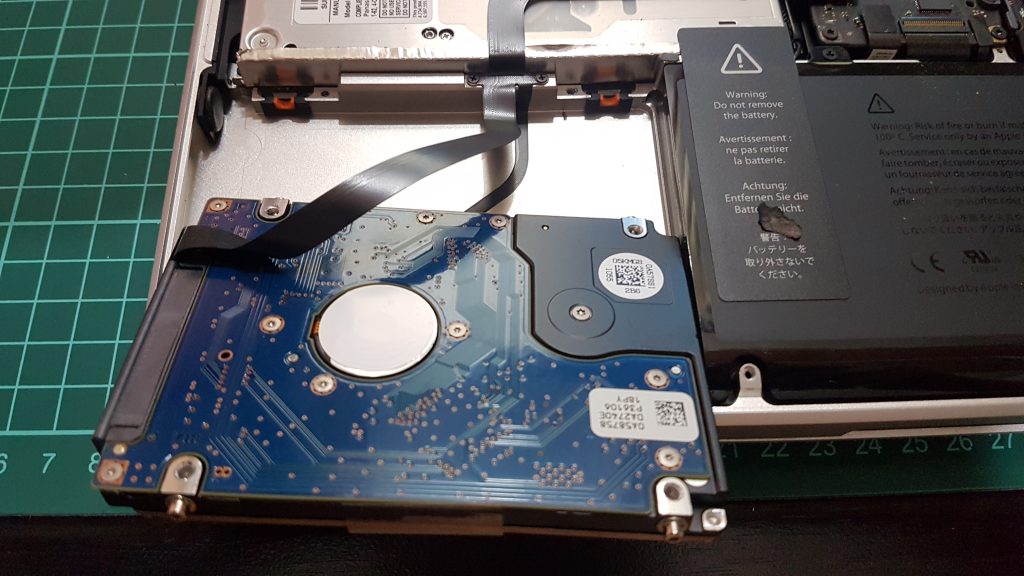
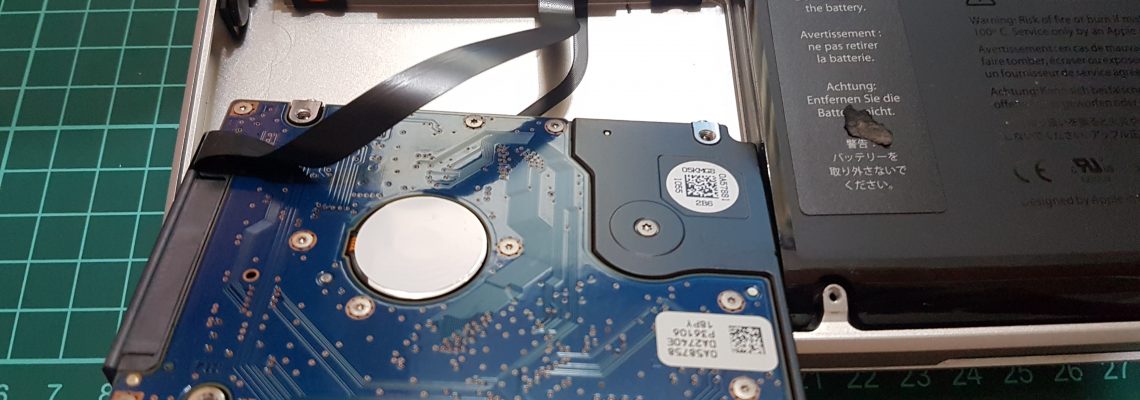
Remove it from the SATA connector.
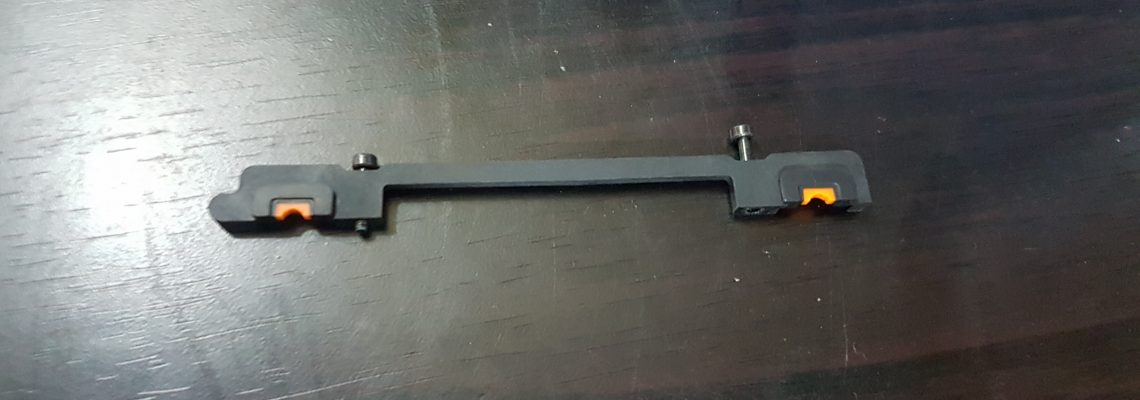
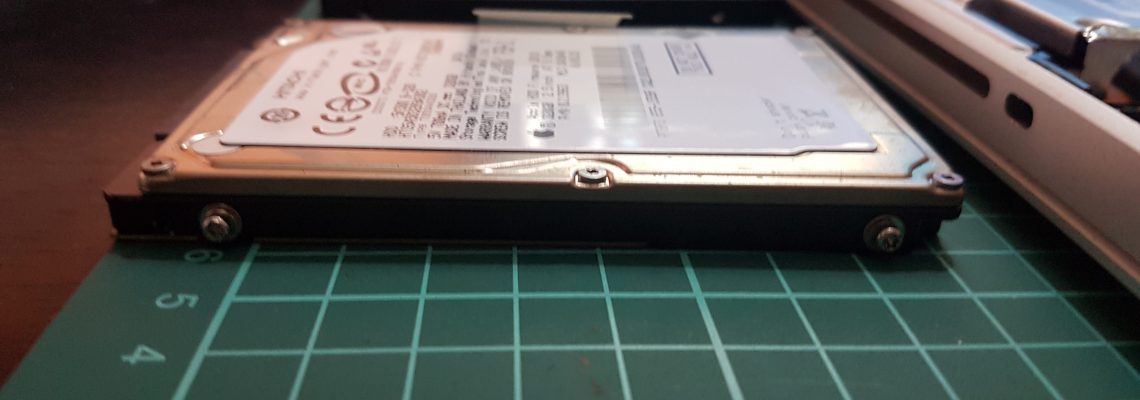
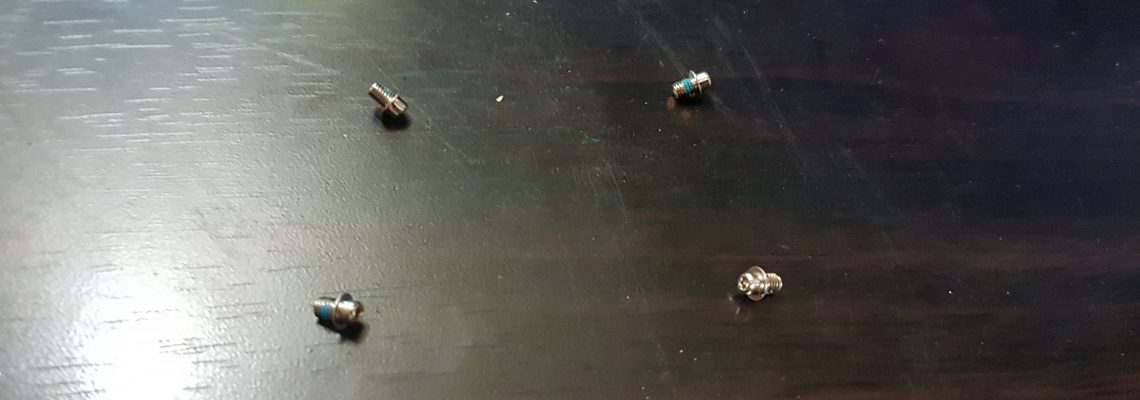
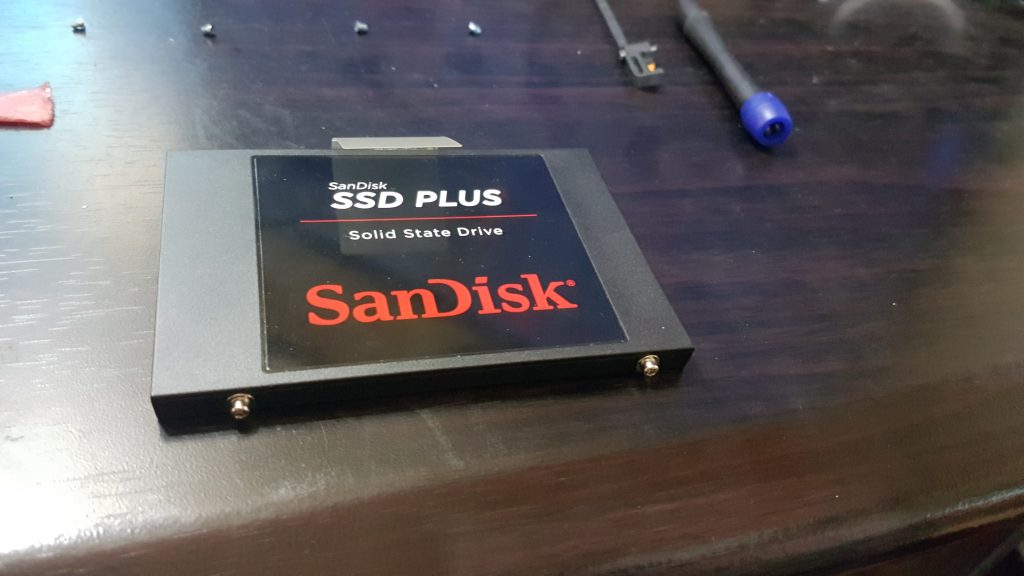
The old HDD has these screws.
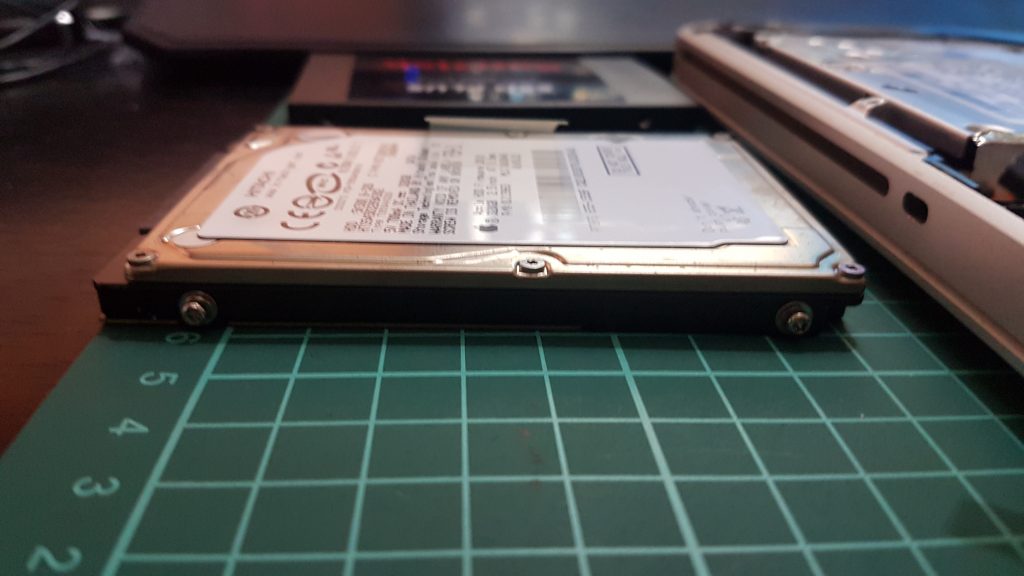
Remove them with the T6 Torx screwdriver, picked this Torx screwdriver set at All Home hardware.
Here are the screws.
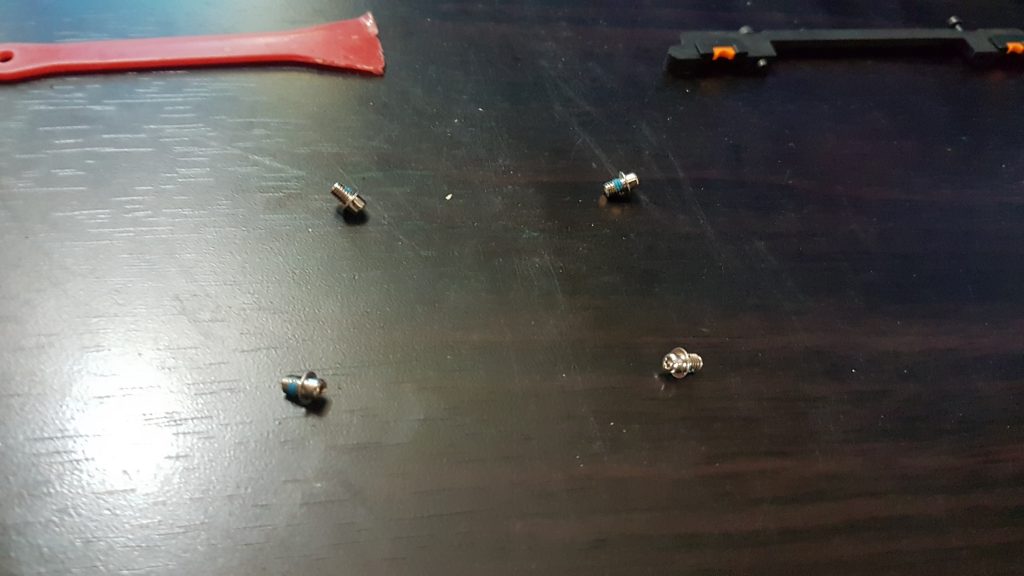
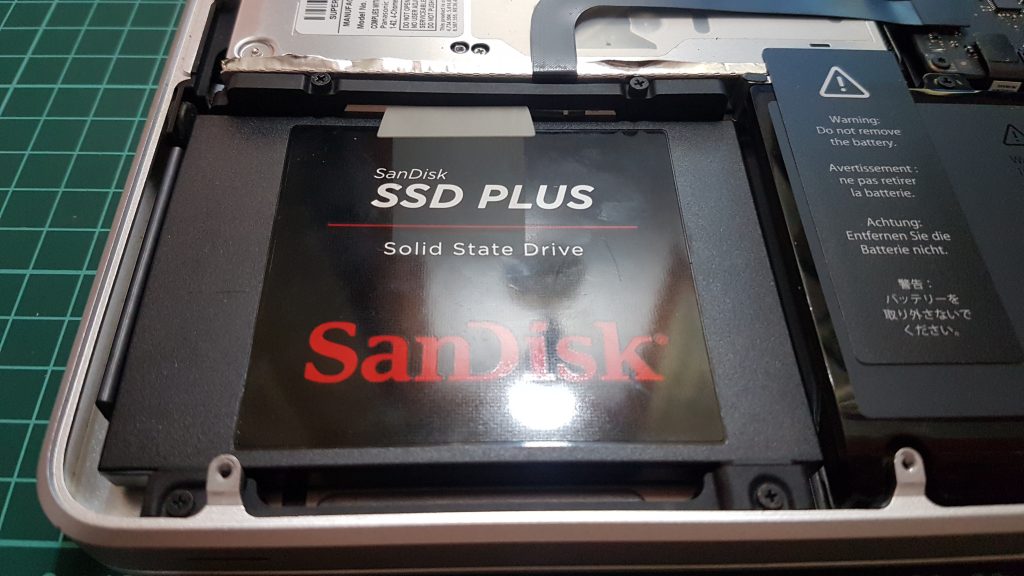
Transfer those screws to the new SSD drive, transfer the pull tab as well.
Reseat the new SSD and secure it in place.
Done!